Introduction
An interrupt is an event that occurs randomly in the flow of continuity. It is just like a call you have when you are busy with some work and depending upon call priority you decide whether to attend or neglect it.
The ESP32 has two cores, with 32 interrupts each. Each interrupt has a certain priority level, most (but not all) interrupts are connected to the interrupt mux.
GPIO pin interrupts are supported through Arduino interrupt functions i.e., attachInterrupt, detachInterrupt.
Interrupts can be attached to any GPIO pin. Standard Arduino interrupt types are supported i.e., HIGH, LOW, CHANGE, RISING, FALLING.
Arduino Interrupt functions for ESP32
Let’s see the functions that are used to set interrupts for the ESP32 board in Arduino IDE.
attachInterrupt()
This function is used to attach an interrupt on the specified pin.
Syntax: attachInterrupt(pin, ISR(callback function), interrupt type/mode);
Parameters:
pin: The pin number for which interrupt is to be set.
ISR (callback function): The ISR to call when the interrupt occurs; this function does not take any parameters and returns nothing.
Interrupt type/mode: It defines when the interrupt should be triggered.
CHANGE: Used to trigger the interrupt whenever the pin value changes.
RISING: Used to trigger an interrupt when the pin goes from low to high.
FALLING: Used to trigger an interrupt when the pin goes from high to low.
HIGH: Used to trigger the interrupt whenever the pin is high.
LOW: Used to trigger the interrupt whenever the pin is low.
Returns: null
detachInterrupt()
This function is used to disable the interrupt on the specified GPIO pin.
Syntax: detachInterrupt(pin)
Parameters:
pin: The GPIO pin of the interrupt to disable.
Returns: null
Example
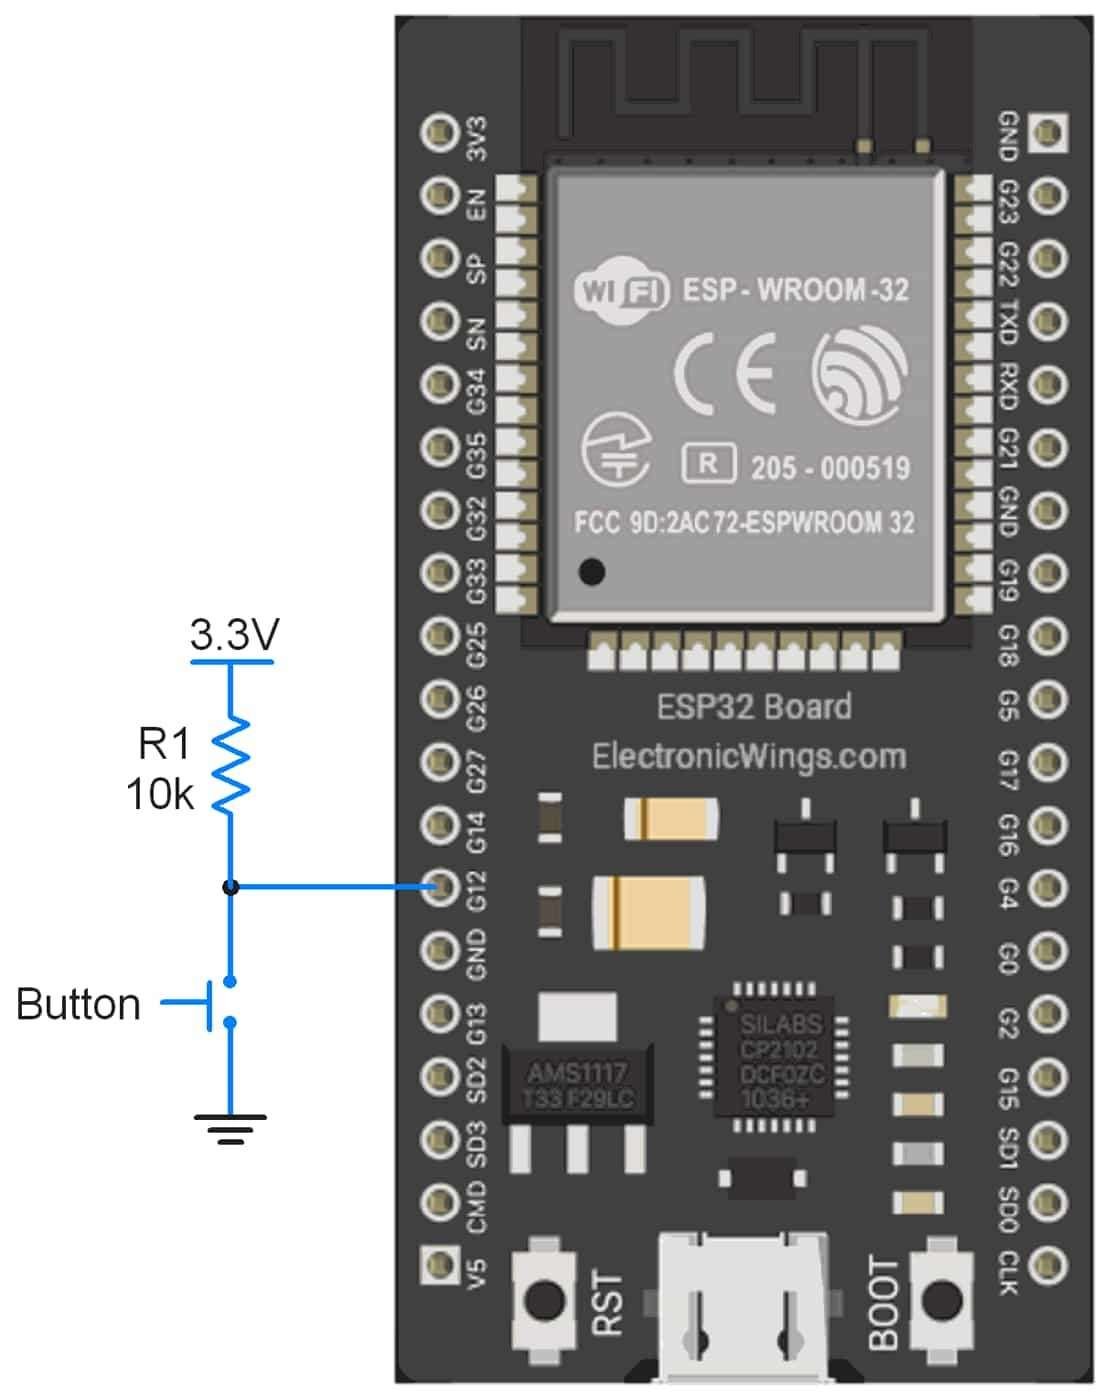
Let’s write an Arduino sketch to set a rising edge-interrupt on the 12th GPIO pin of ESP32. Here we are connecting a switch at the 12th GPIO pin to generate a rising edge interrupt on it. Also, we are going to print the interrupt request on the serial monitor.
Sketch for ESP32 GPIO Interrupt
const uint8_t InterruptPin = 12;
bool Request;
void IRAM_ATTR isr() {
Request = true;
}
void setup() {
Serial.begin(9600);
pinMode(InterruptPin, INPUT);
attachInterrupt(InterruptPin, isr, RISING);
}
void loop() {
if (Request){
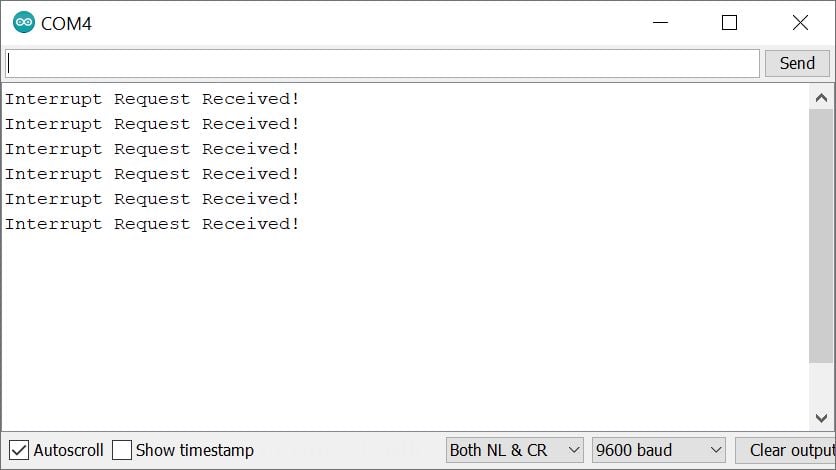
Serial.println("Interrupt Request Received!");
Request = false;
}
}ESP32 GPIO Interrupt Output
Components Used |
||
|---|---|---|
| ESP32 WROOM WiFi Development Tools - 802.11 ESP32 General Development Kit, embeds ESP32-WROOM-32E, 4MB flash. |
X 1 | |
Downloads |
||
|---|---|---|
|
|
ESP32_GPIO_Interrupt | Download |