Introduction
For ESP32 Programming, we can use Arduino IDE. This makes things easy for Arduino developers than learning a new language and IDE for ESP32.
Step 1
Download the latest version of Arduino Software from here and install it.
Step 2
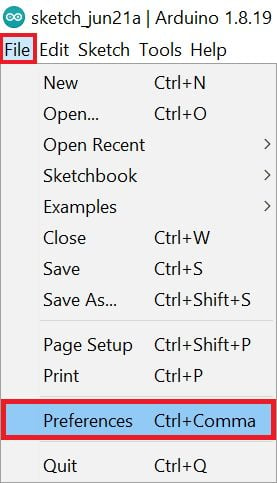
Open the Arduino IDE and go to File ► Preference as shown in the below image.
Step 3
Now on the Preference window, Enter the below link in Additional Boards Manager URLs
https://raw.githubusercontent.com/espressif/arduino-esp32/gh-pages/package_esp32_index.json
.png)
Now click on the OK Button.
Step 4
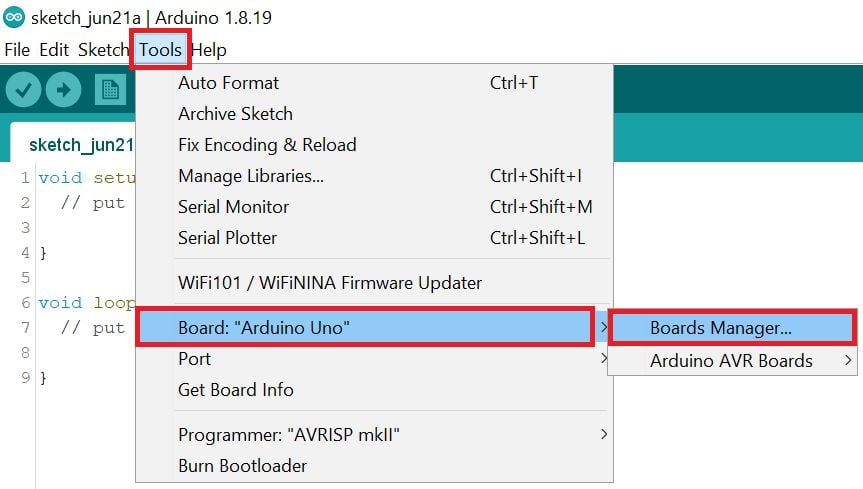
To add the ESP32 board go to the path Tools ► Board ► Boards Manager…
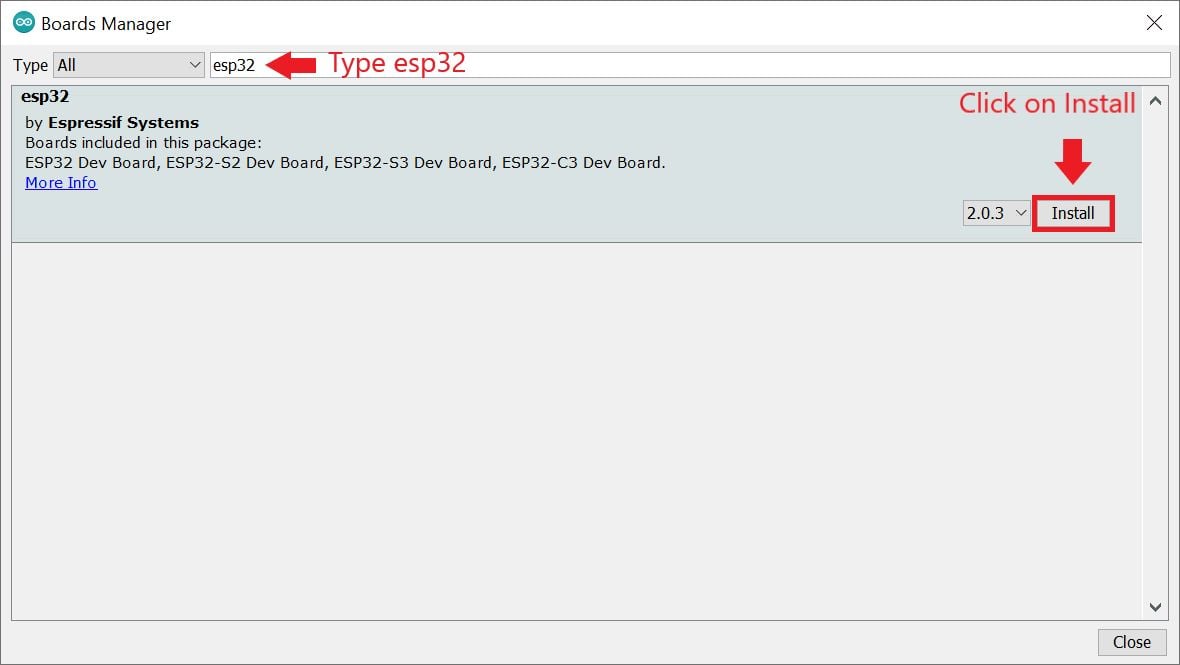
Type on esp32 on the search bar and click on the install button.
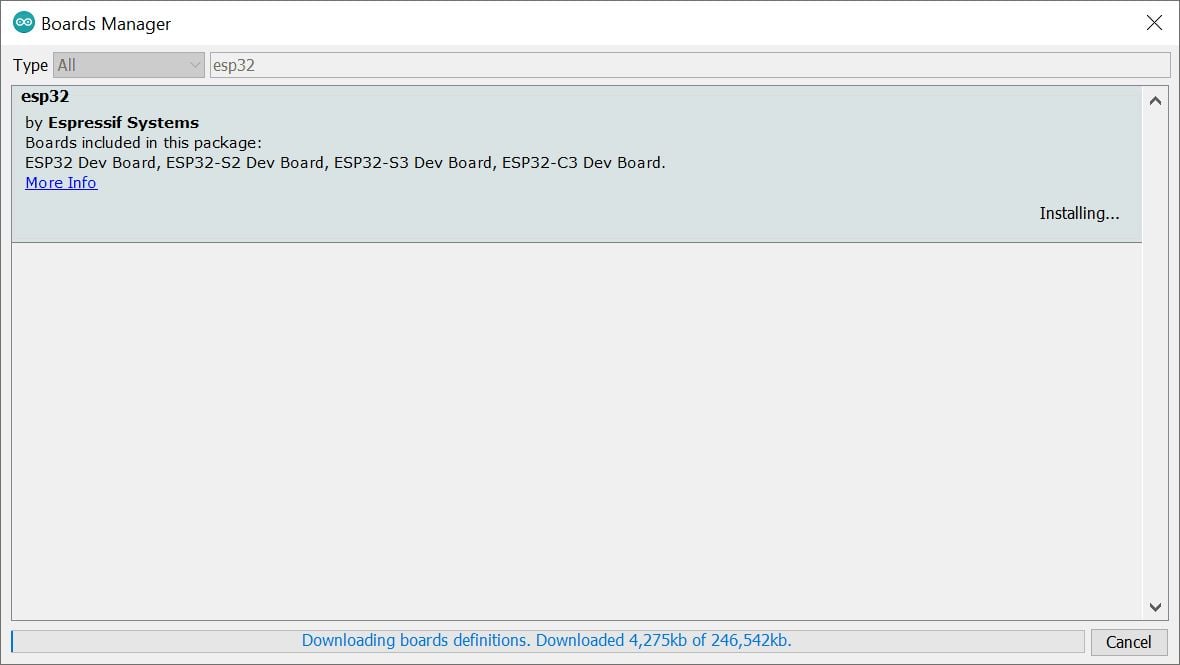
Wait for the installation.
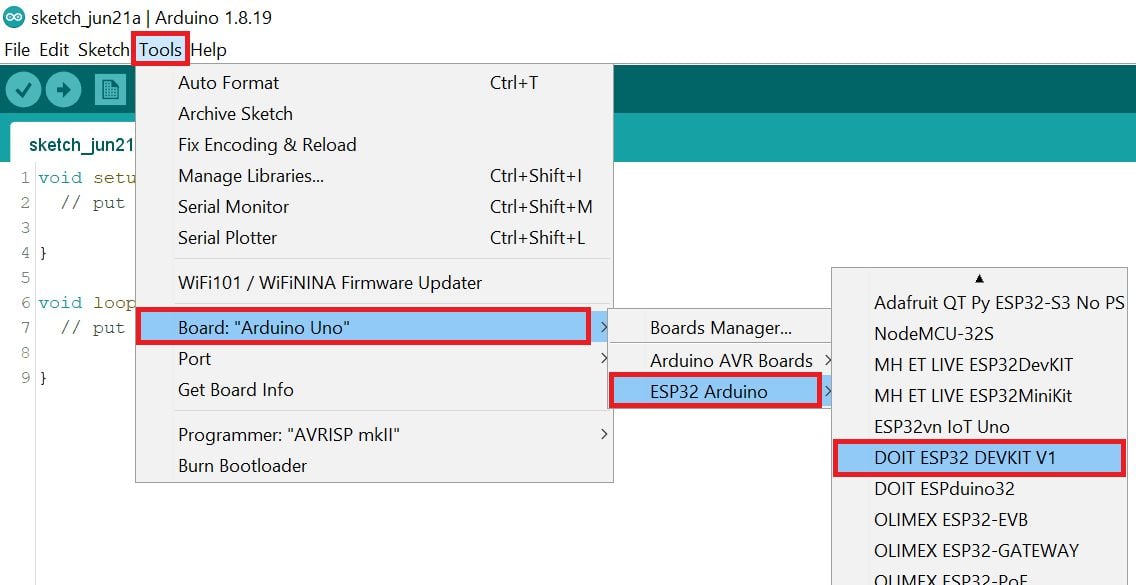
Step 5
After board installation select the ESP32 board using the path Tools ► Board ► ESP32 Arduino ► DOIT ESP32 DEVKIT V1
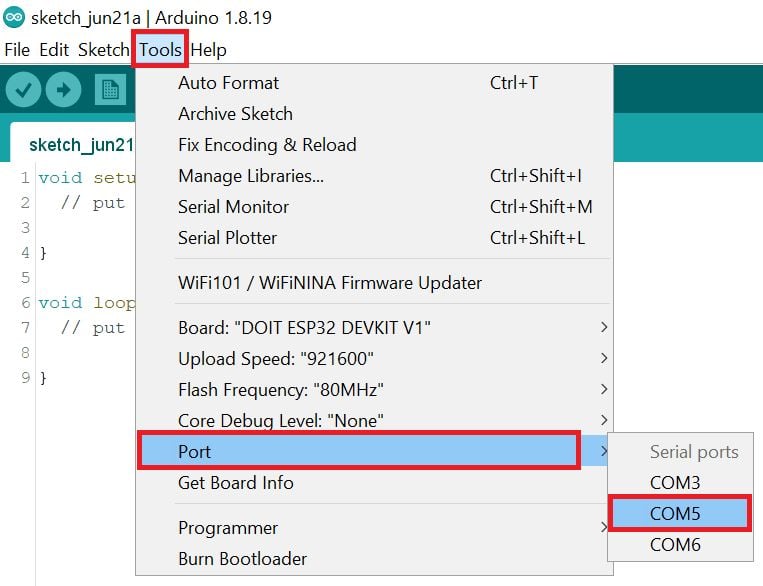
Select the COM Port using Tools ► Port ► COM* path. In our computer, the ESP32’s COM port shows COM5.
Example
Let’s see how to write a simple serial print sketch using Arduino IDE for ESP32.
First, connect ESP32 Development Kit to PC as shown in the below figure.

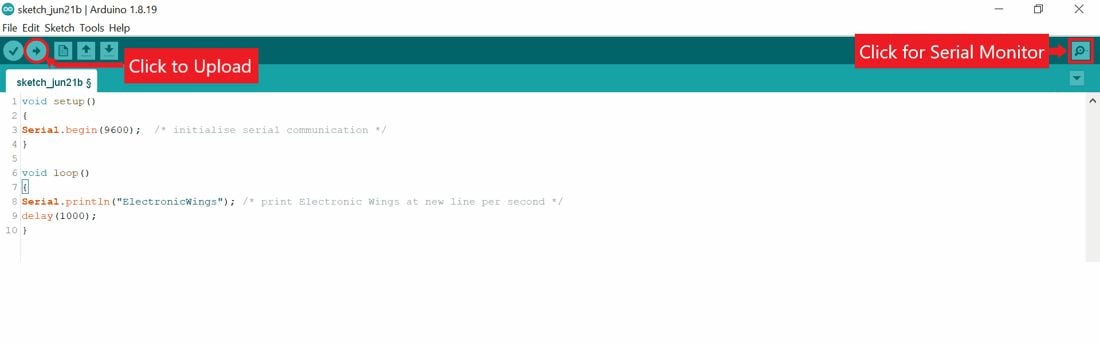
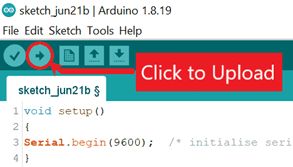
After setting up Arduino IDE for ESP32, open Arduino IDE and write a simple sketch of the serial print as shown in the below figure.
Serial Communication program for ESP32 using Arduino IDE
void setup()
{
Serial.begin(9600); /* initialise serial communication */
}
void loop()
{
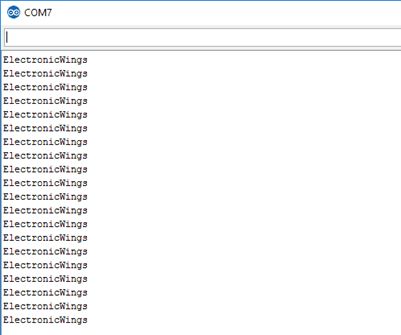
Serial.println("ElectronicWings"); /* print Electronic Wings at new line per second */
delay(1000);
}
Now upload the code using the upload button.
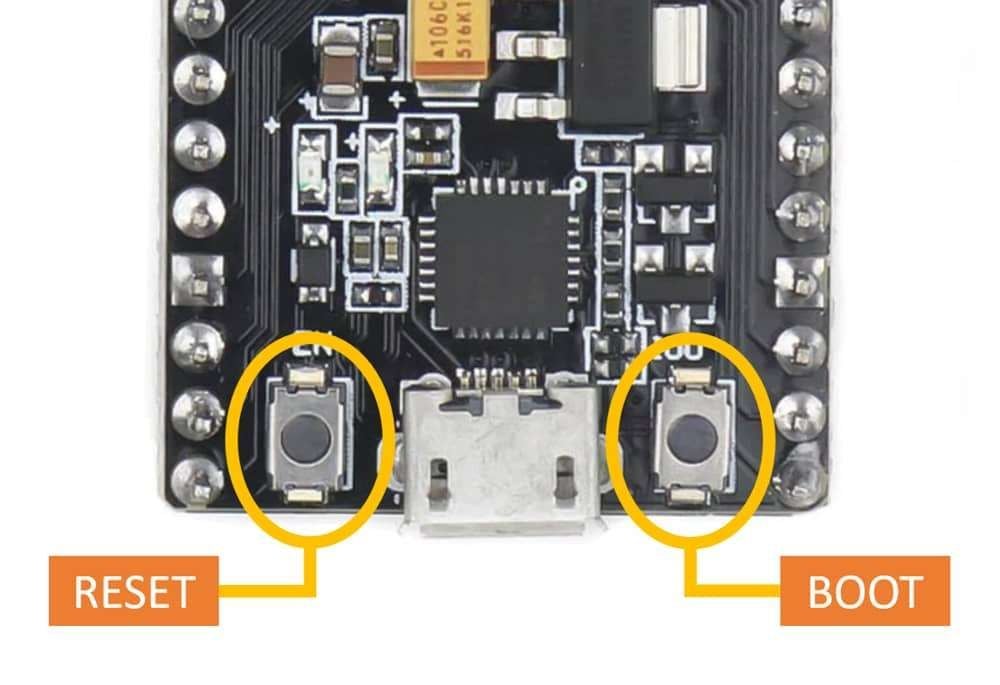
Note: Before uploading the code make sure the ESP32 board is in boot mode, to enter in boot mode press the boot button then press the reset button then release the reset button and then release the boot button, your board will go in boot mode.
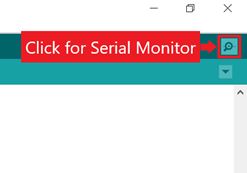
To see the result on the serial, monitor open the Serial Monitor by clicking on the upper right option of Arduino IDE.
Output on Serial Monitor
ESP32 Troubleshooting Guide
- Can’t detect the ESP32 board?
- Check the USB cable connection properly (Sometimes Micro USB cable loose connected)
- Check whether the USB driver is installed or not in the device manager
- Check whether the PC or laptop USB port is working or not.
- Check the ESP32’s power supply.
- Check the ESP32 board is working or not.
- ESP32 Board detects but can’t program?
- Check the correct COM port for ESP32 from device manager and in Arduino IDE is same.
- Check the selected board is ESP32.
- The settings for ESP32 board are ok still can’t program the board?
- Check the ESP32 board is in boot mode or not, sometimes we enter in boot mode, but it can’t go in boot mode because the buttons is very small.
- Remove USB cable from ESP32 and reconnect the ESP32 board and set in boot mode.
- When connect the USB cable to ESP32 chip heat suddenly
- If the board is short internally or externally then this issue occurs.
- Check the supply voltage, if supply voltage is high than rated voltage then also this issue occurs.
Components Used |
||
|---|---|---|
| ESP32 WROOM WiFi Development Tools - 802.11 ESP32 General Development Kit, embeds ESP32-WROOM-32E, 4MB flash. |
X 1 | |