Overview of DC Motor
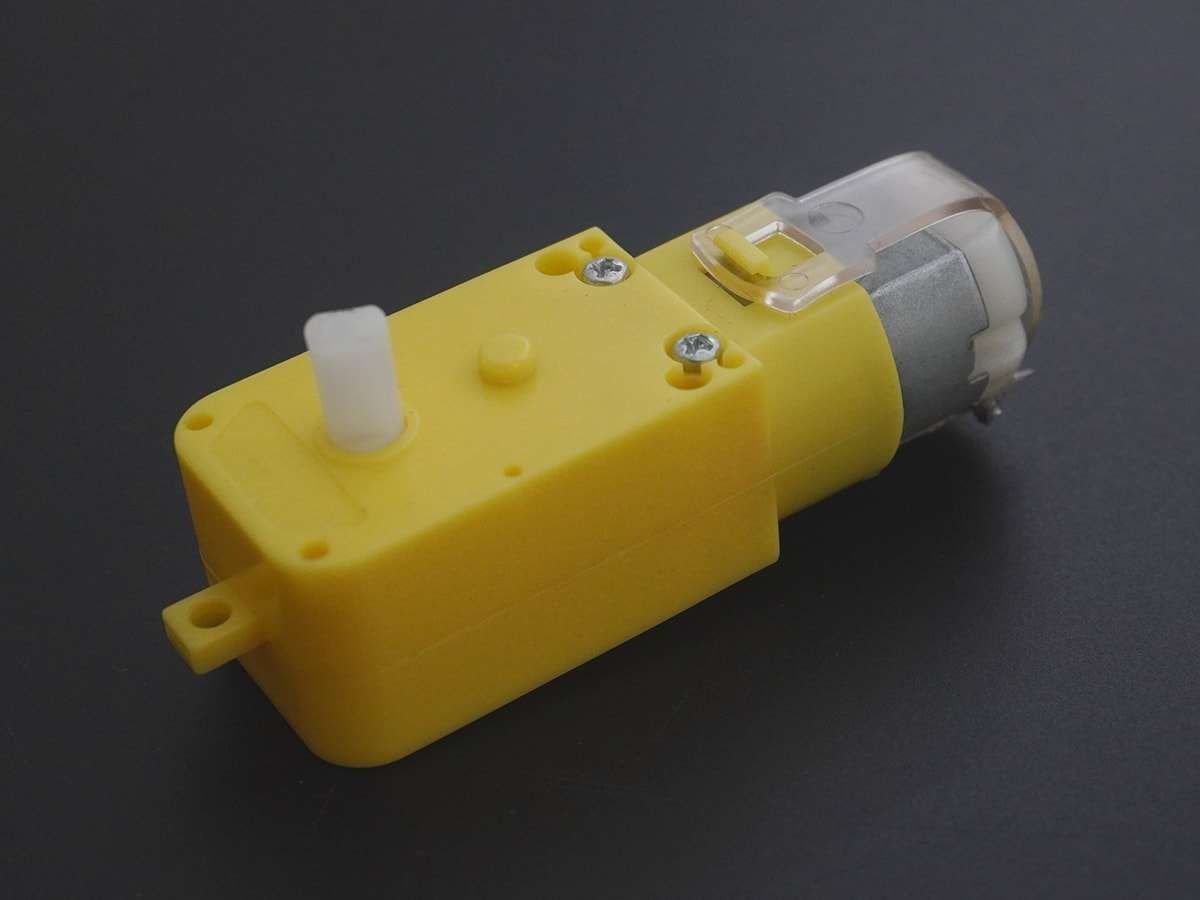
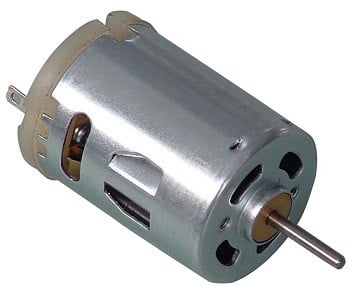
DC motor converts electrical energy in the form of Direct Current into mechanical energy in the form of rotational motion of the motor shaft.
The DC motor speed can be controlled by applying varying DC voltage; whereas the direction of rotation of the motor can be changed by reversing the direction of current through it.
For applying varying voltage, we can make use of the PWM technique. For reversing the current, we can make use of H-Bridge circuit or motor driver ICs that employ the H-Bridge technique.
For more information about DC motors and how to use them, H-Bridge circuit configurations, and PWM technique, refer to the topic DC Motors in the sensors and modules section.
NodeMCU based ESP8266 can be used to control the speed and rotational direction of DC Motor. NodeMCU has a PWM feature on its GPIO pins using which we can control the DC motor.
To know about NodeMCU PWM refer to NodeMCU PWM with Arduino IDE or NodeMCU PWM with ESPlorer IDE.
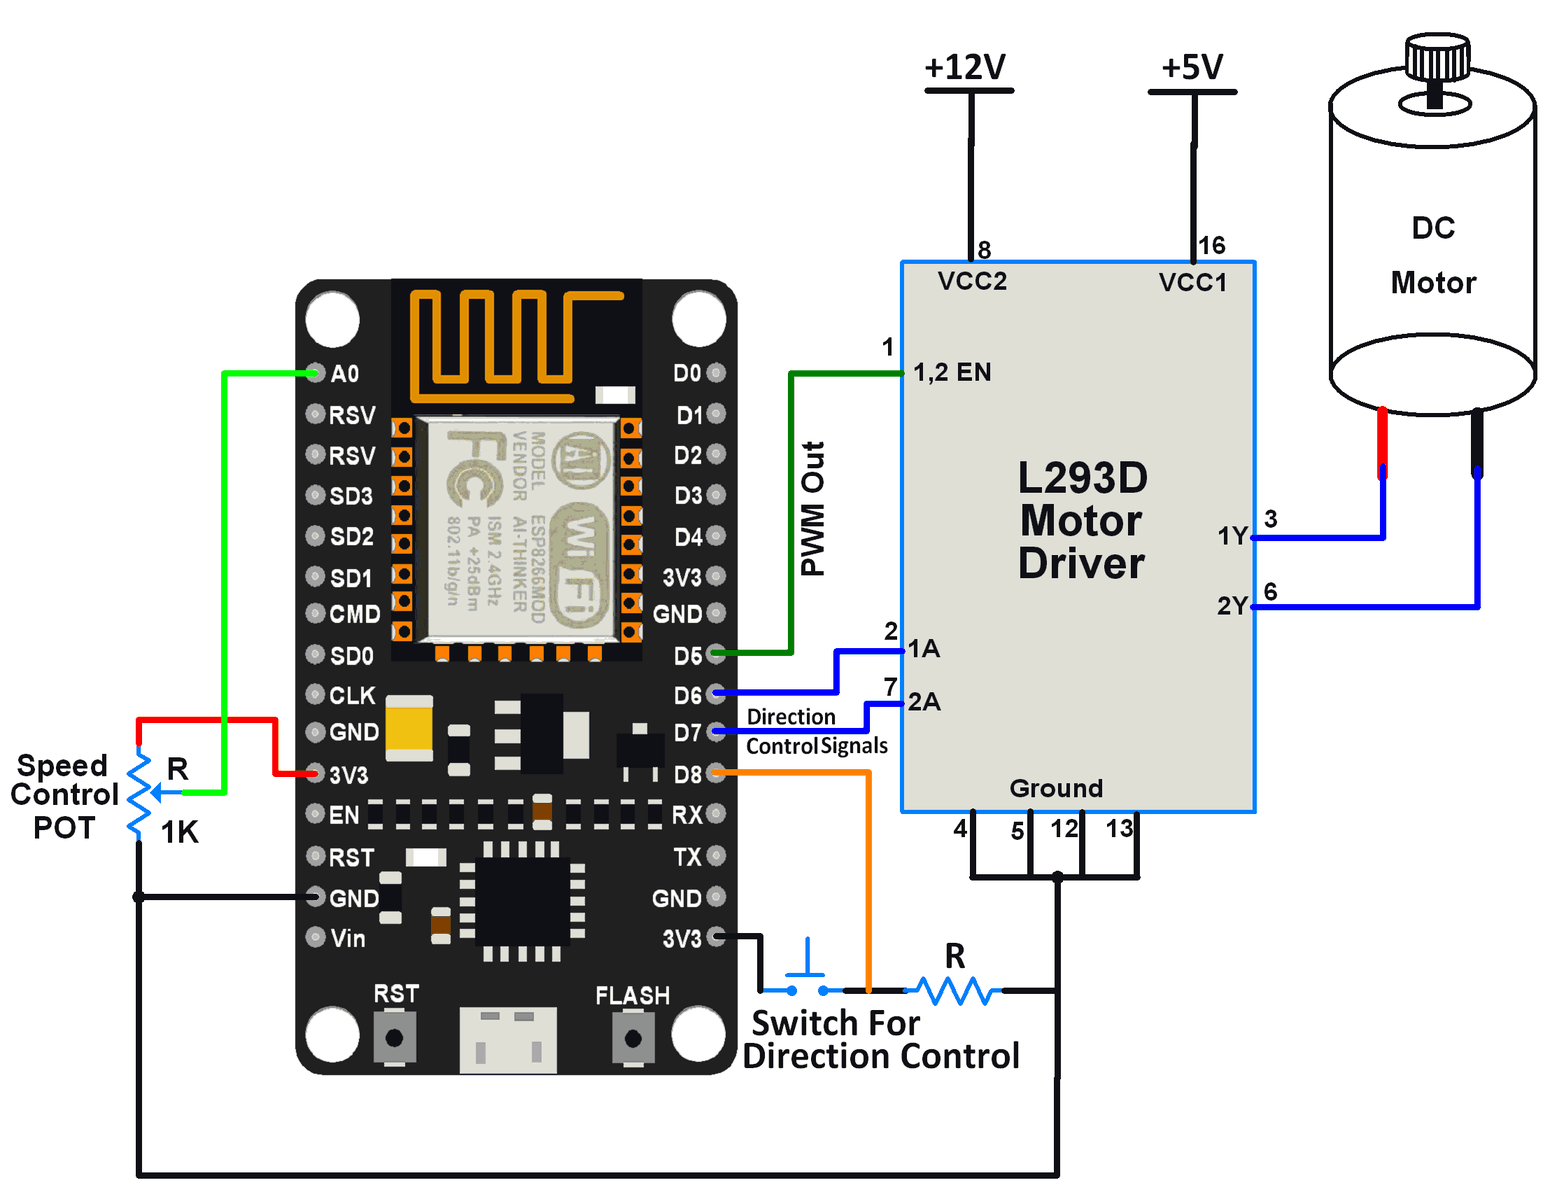
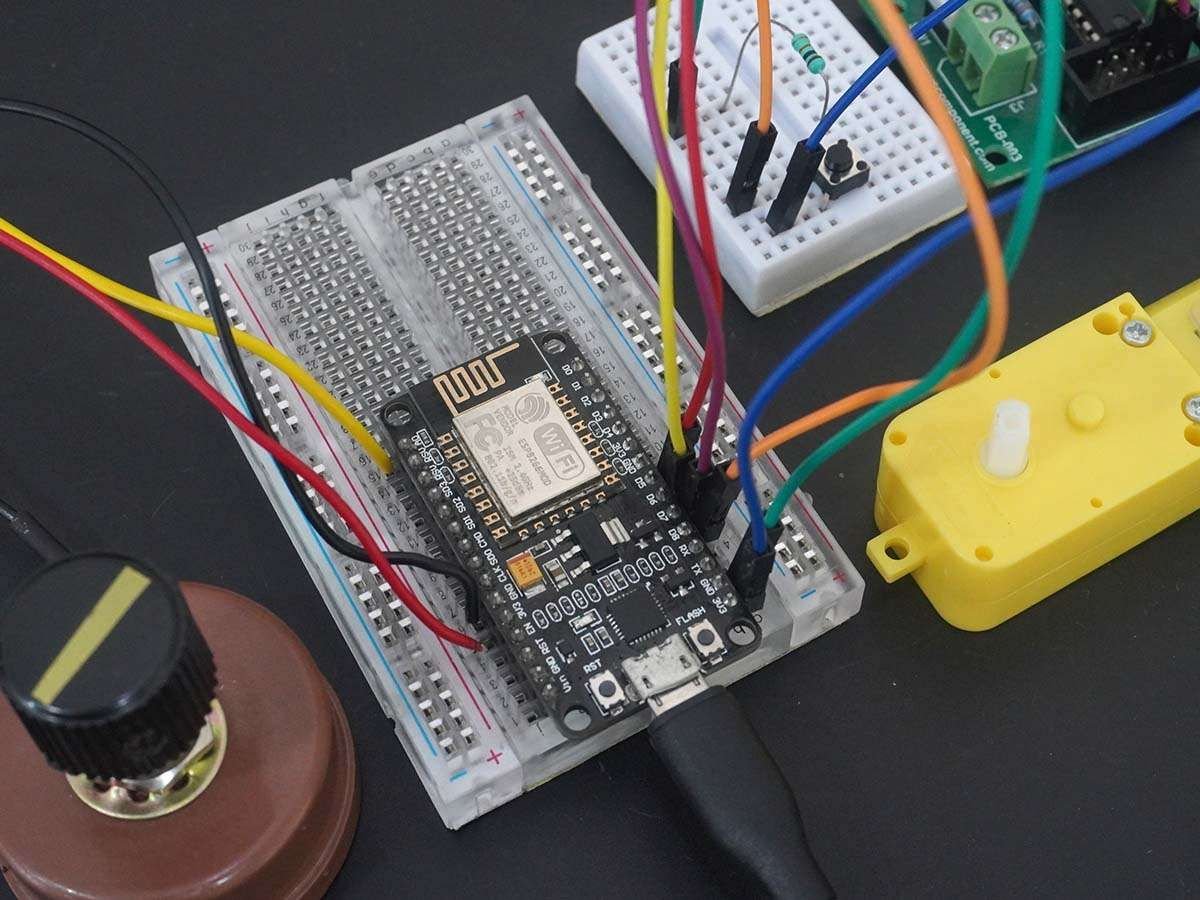
Connection Diagram of DC Motor With NodeMCU
Control DC Motor using NodemCU
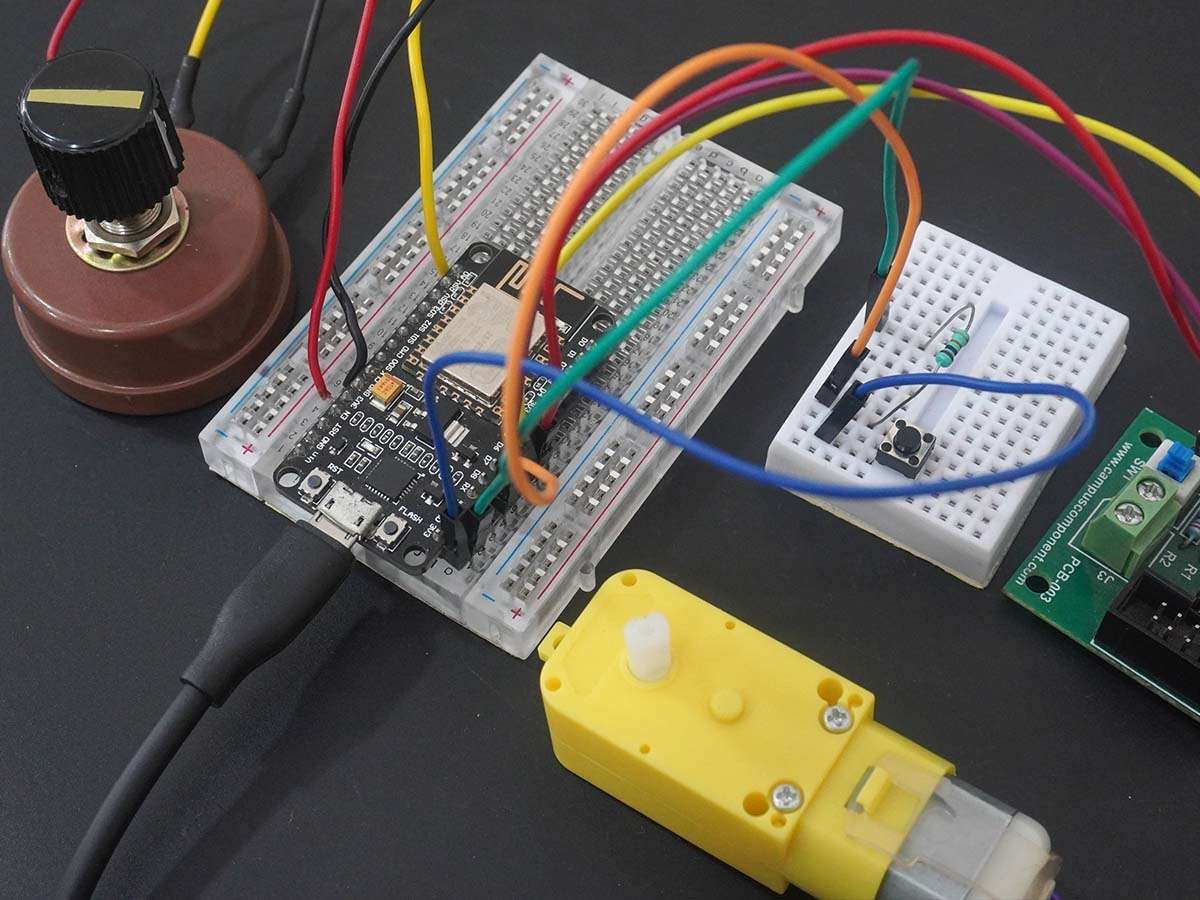
Let's control the speed and rotational direction of the DC motor using the NodeMCU Kit.
Here, the potentiometer is used as a means for speed control, and input from the tactile switch is used to change the direction of the motor.
We can make use of the ADC feature of NodeMCU to read the potentiometer. And we can make use of the GPIO interrupt feature of NodeMCU to read the switch state.
To know about NodeMCU ADC refer to NodeMCU ADC with Arduino IDE or NodeMCU ADC with ESPlorer IDE.
And to know about NodeMCU GPIO interrupt refer to NodeMCU GPIO interrupt with Arduino IDE or NodeMCU GPIO interrupt with ESPlorer IDE.
L293D motor driver IC is used for controlling the direction of the motor. PWM wave generated on the NodeMCUis used to provide variable voltage to the motor through L293D.
We can write a program to NodeMCU using ESPlorer IDE (with Lua script) as well as using Arduino IDE (with Arduino sketch)
To know more about how to start using NodeMCU with ESPlorer IDE refer to Getting started with NodeMCU using ESPlorer IDE. And for more about how to start using NodeMCU with Arduino IDE refer to Getting started with NodeMCU using Arduino IDE.
Lua Script for DC Motor
PWM_Pin = 5        --set pins for control
DirectionPin1 = 6
DirectionPin2 = 7
DirectionControlPin = 8

timer_id = 1
delay_ms = 200

PWMfrequency = 1000 -- Set PWM frequency
PWMDutyCycle = 512  -- Set PWM duty cycle in between 0-1023

pwm.setup(PWM_Pin, PWMfrequency, PWMDutyCycle)-- Setup PWM
pwm.start(PWM_Pin)   -- Start PWM on PWM pin

gpio.mode(DirectionPin1,gpio.OUTPUT)--set direction control pins as output pins
gpio.mode(DirectionPin2,gpio.OUTPUT)
gpio.mode(DirectionControlPin,gpio.INT,gpio.PULLUP)-- Set GPIO interrupt mode for pin

DirectionPinValue1 = gpio.LOW   -- write direction control pin initial states
DirectionPinValue2 = gpio.HIGH
gpio.write(DirectionPin1,DirectionPinValue1)
gpio.write(DirectionPin2,DirectionPinValue2)

function interrupt(level, stamp)-- callback function while interrupt
    gpio.trig(DirectionControlPin) -- disable interrupt for that pin

    if (DirectionPinValue1 == gpio.HIGH) then
        DirectionPinValue1 = gpio.LOW
        gpio.write(DirectionPin1,DirectionPinValue1)
    else
        DirectionPinValue1 = gpio.HIGH
        gpio.write(DirectionPin1,DirectionPinValue1)
    end
    if (DirectionPinValue2 == gpio.HIGH) then
        DirectionPinValue2 = gpio.LOW
        gpio.write(DirectionPin2,DirectionPinValue2)
    else
        DirectionPinValue2 = gpio.HIGH
        gpio.write(DirectionPin2,DirectionPinValue2)
    end

    tmr.delay(700000)    -- wait 700 ms
    print('Rotational Direction changed..!')--print direction change msg

    gpio.trig(DirectionControlPin,"high",interrupt)--re-enable interrupt on pin while exit
end

gpio.trig(DirectionControlPin,"high",interrupt)-- set interrupt type high i.e. High level

function POT_Control()
    POT_read = adc.read(0) -- Read pot using ADC
    if POT_read> 1023 then-- Limit PWM to max of duty cycle
    POT_read = 1023
    end
    pwm.setduty(PWM_Pin, POT_read)-- set PWM duty cycle to DC motor
    print('Speed (%):',math.floor(100*POT_read/1023))-- print speed of DC motor
end

tmr.alarm(timer_id,delay_ms,tmr.ALARM_AUTO,function() POT_Control() end)--start alarm function to PWM duty cycle control
DC Motor Code for NodeMCU using Arduino IDE
bool d1 = HIGH;
bool d2 = LOW;

void motor_direction(){
 d1 = !d1;
 d2 = !d2;
 for(inti = 0; i<10000; i++)
  for(int j =0; j<10000; j++);
}

void setup() {
 Serial.begin(9600);
 pinMode(D5, OUTPUT);  			/* PWM pin for Speed Control */
 pinMode(D6, OUTPUT);  			/* Motor control pin 1 */
 pinMode(D7, OUTPUT);  			/* Motor control pin 2 */
 pinMode(D8, INPUT_PULLUP);  	/* Interrupt pin for direction control */
 attachInterrupt(D8, motor_direction, HIGH);
 /* call motor direction function on HIGH level at pin 8 */
}

void loop() {
 intpwm_adc;
 pwm_adc = analogRead(A0); 		/* Input from Potentiometer for speed control */
 digitalWrite(D6,d1);
 digitalWrite(D7,d2);
 analogWrite(D5,pwm_adc);
 delay(100);
}
Components Used |
||
|---|---|---|
| L293D Driver L293D Driver |
X 1 | |
| NodeMCU NodeMCUNodeMCU |
X 1 | |
| ESP12F ESP12E |
X 1 | |
Downloads |
||
|---|---|---|
|
|
NodeMCU DC Motor Source codes | Download |