Overview of Servo Motor
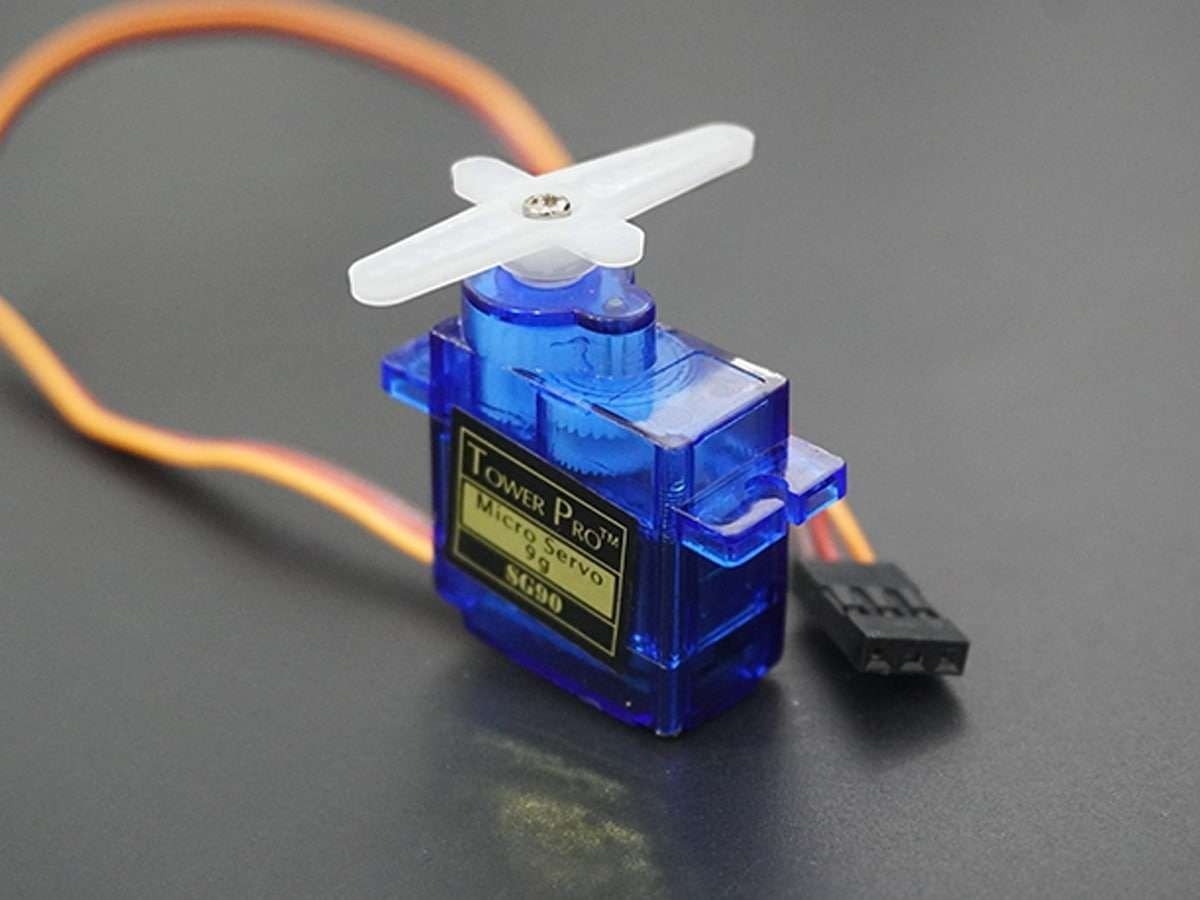
A servo motor is an electric device used for precise control of angular rotation. It is used in applications that demand precise control over motion, like in the case of control of the robotic arm.
The rotation angle of the servo motor is controlled by applying a PWM signal to it.
By varying the width of the PWM signal, we can change the rotation angle and direction of the motor. Mostly 50Hz PWM is used to control the shaft position of the servo motor.
For more information about Servo Motor and how to use it, refer to the topic Servo Motor in the sensors and modules section.
NodeMCU based ESP8266 can be used to control the servo motor. NodeMCU has a PWM feature on its GPIO, using which we can control the servo motor.
To know about NodeMCU PWM refer to NodeMCU PWM with Arduino IDE or NodeMCU PWM with ESPlorer IDE.
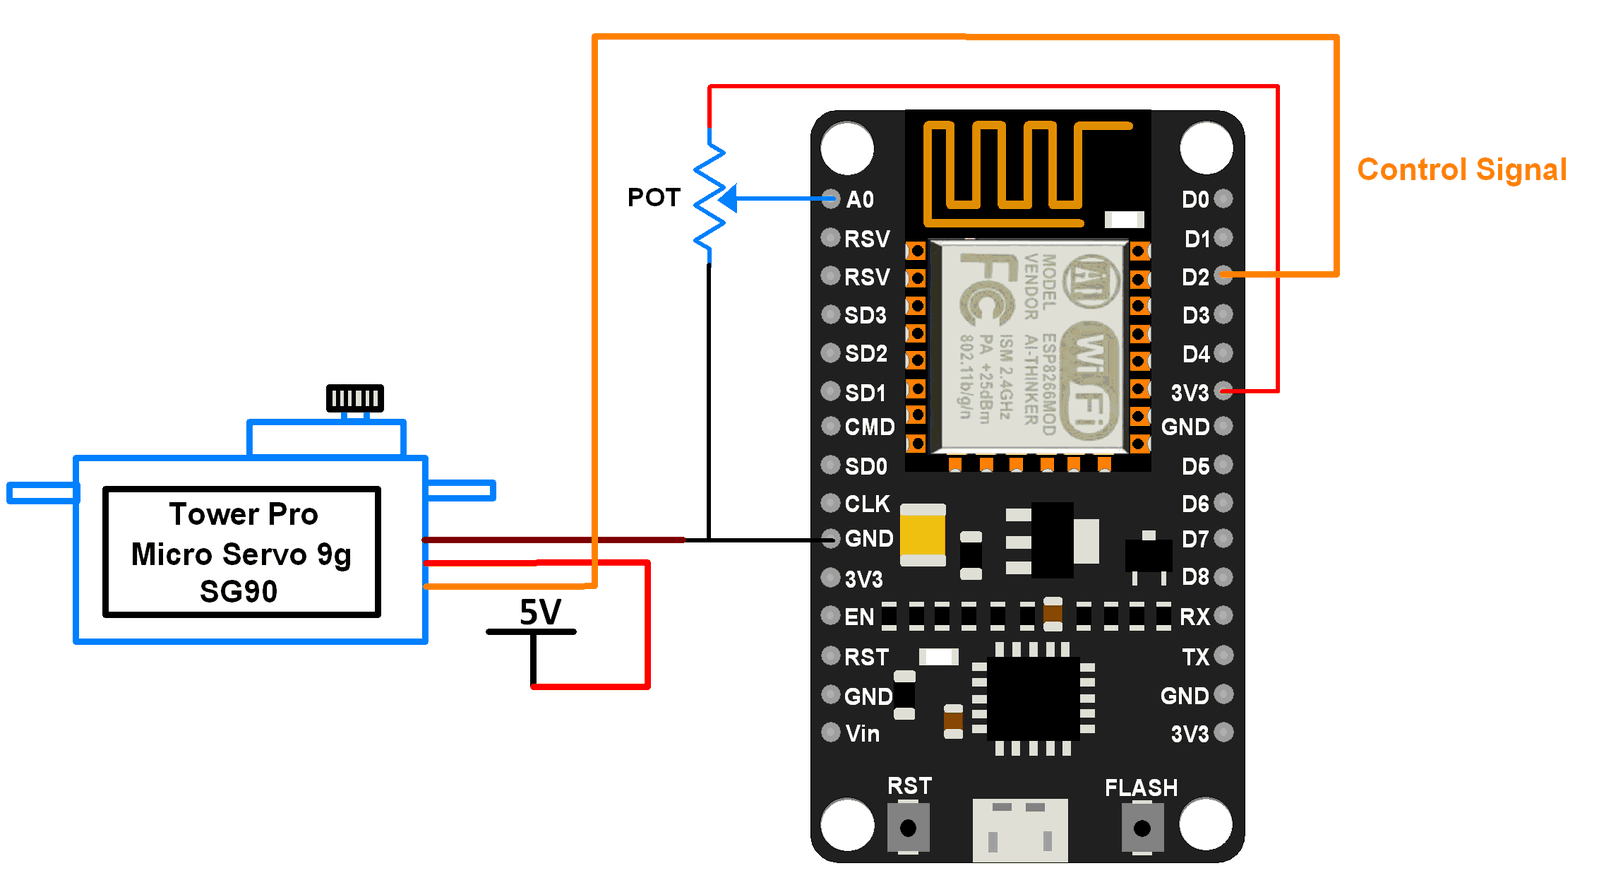
Connection Diagram of Servo Motor With NodeMCU
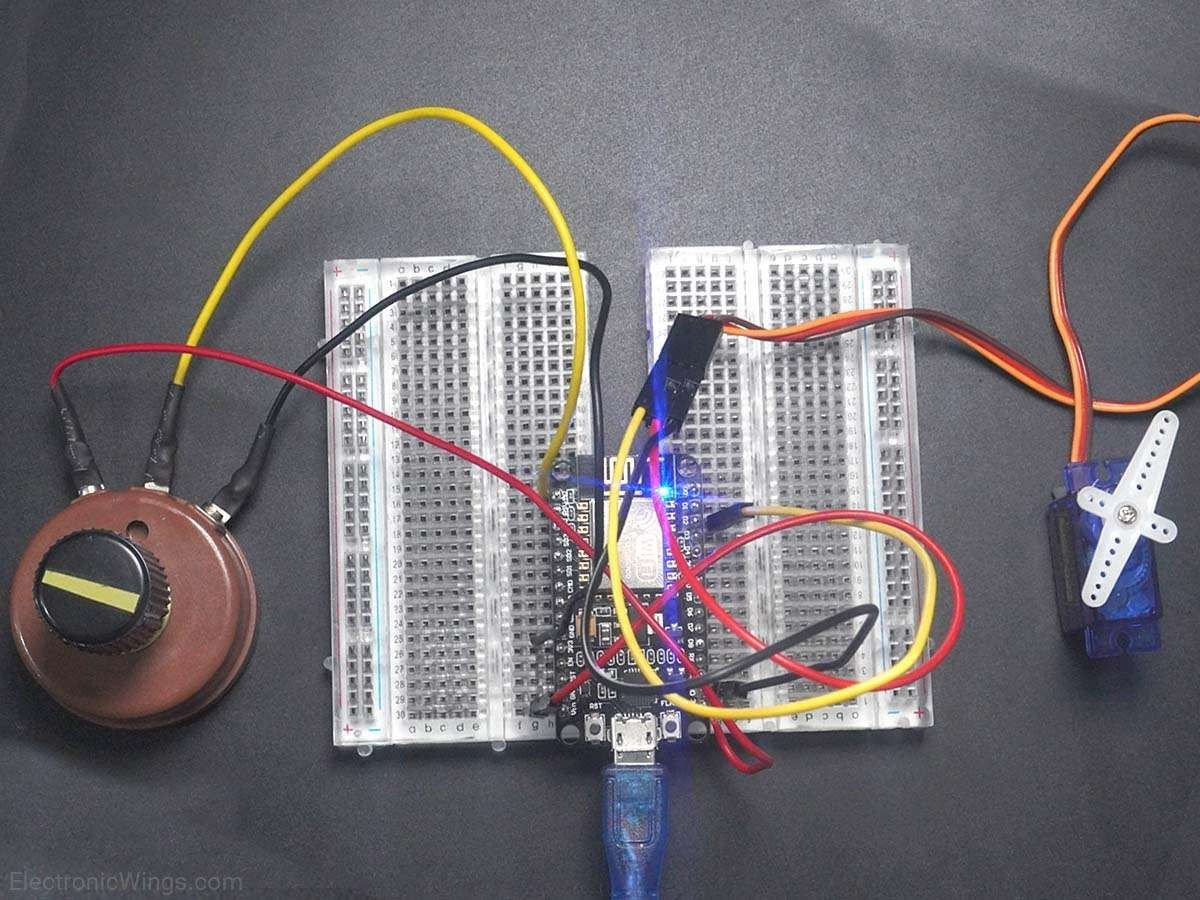
Control Servo Motor Using NodeMCU
Controlling the position of a servo motor using a potentiometer.
Here, the potentiometer is used as a means for shaft position control of the servo motor. We can make use of the ADC feature of NodeMCU to read the potentiometer.
To know about NodeMCU ADC refer to NodeMCU ADC with Arduino IDE or NodeMCU ADC with ESPlorer IDE.
For the servo motor, we are creating a 50Hz PWM signal on the D2 pin of NodeMCU. To control the servo motor shaft position within 180 degrees it is required to control its PWM duty cycle within 5% to 10%. We got some practical values of the PWM duty cycle which vary from 2.5% to 10.75% duty cycle to control the servo motor shaft position within 180 degrees.
We can write codes for NodeMCU DevKit in either Lua Script or C/C++ language. We are using ESPlorer IDE for writing code in Lua scripts and Arduino IDE for writing code in C/C++. To know more refer to Getting started with NodeMCU using ESPlorer IDE (which uses Lua scripting for NodeMCU) and Getting started with NodeMCU using Arduino IDE (which uses C/C++ language based Arduino sketches for NodeMCU).
Servo Motor code for NodeMCU using Arduino IDE
uint8_t ServoMotorpin = D2;

void setup(){
 	analogWrite(ServoMotorpin, 512);
 	analogWriteFreq(50);  					/* Set PWM frequency to 50Hz */
}
void loop(){
 	uint16_t dutycycle=  analogRead(A0); 	/* Read potentiometer to control servo motor */
 	if(dutycycle> 1023) dutycycle = 1023;
 	dutycycle = 25+((85*dutycycle/1023)); 	/* make it in range 20 to 110 */
 	analogWrite(ServoMotorpin, dutycycle);	/* Write duty cycle to pin */
 	delay(100);
}
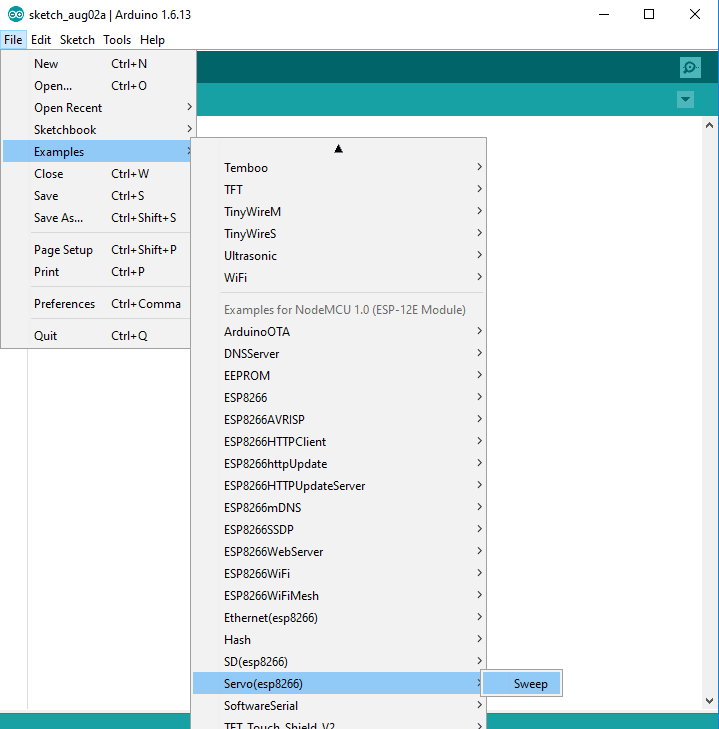
Also, the Servo motor library comes along with the Arduino IDE with the ESP8266 package. To open the Servo example, go to File -> Examples -> Servo(esp8266) -> Sweep as shown below image.
Change the servo pin as per the application in the example sketch.
Lua Script for servo motor
ServoControlPin = 2
PWMfrequency = 50 -- Set PWM frequency
PWMDutyCycle = 512  -- Set PWM duty cycle in between 0-1023

pwm.setup(ServoControlPin, PWMfrequency, PWMDutyCycle)-- Setup PWM
pwm.start(ServoControlPin)   -- Start PWM on control pin

while true do
POT_read = adc.read(0) -- Read pot using ADC
    if POT_read> 1023 then-- Limit PWM to max of duty cycle
POT_read = 1023
    end
POT_read = 25+((85*POT_read/1023))--make it in range 20 to 110
    --we got practical range in 0.5% to 2.15% of 50Hz PWM
pwm.setduty(ServoControlPin, POT_read)-- set PWM duty cycle
tmr.delay(10000)
end
Components Used |
||
|---|---|---|
| Servo Motor MG995 Servo Motor MG995 |
X 1 | |
| NodeMCU NodeMCUNodeMCU |
X 1 | |
| ESP12F ESP12E |
X 1 | |
Downloads |
||
|---|---|---|
|
|
NodeMCU Servo Motor source code file | Download |