Overview of Magnetometer
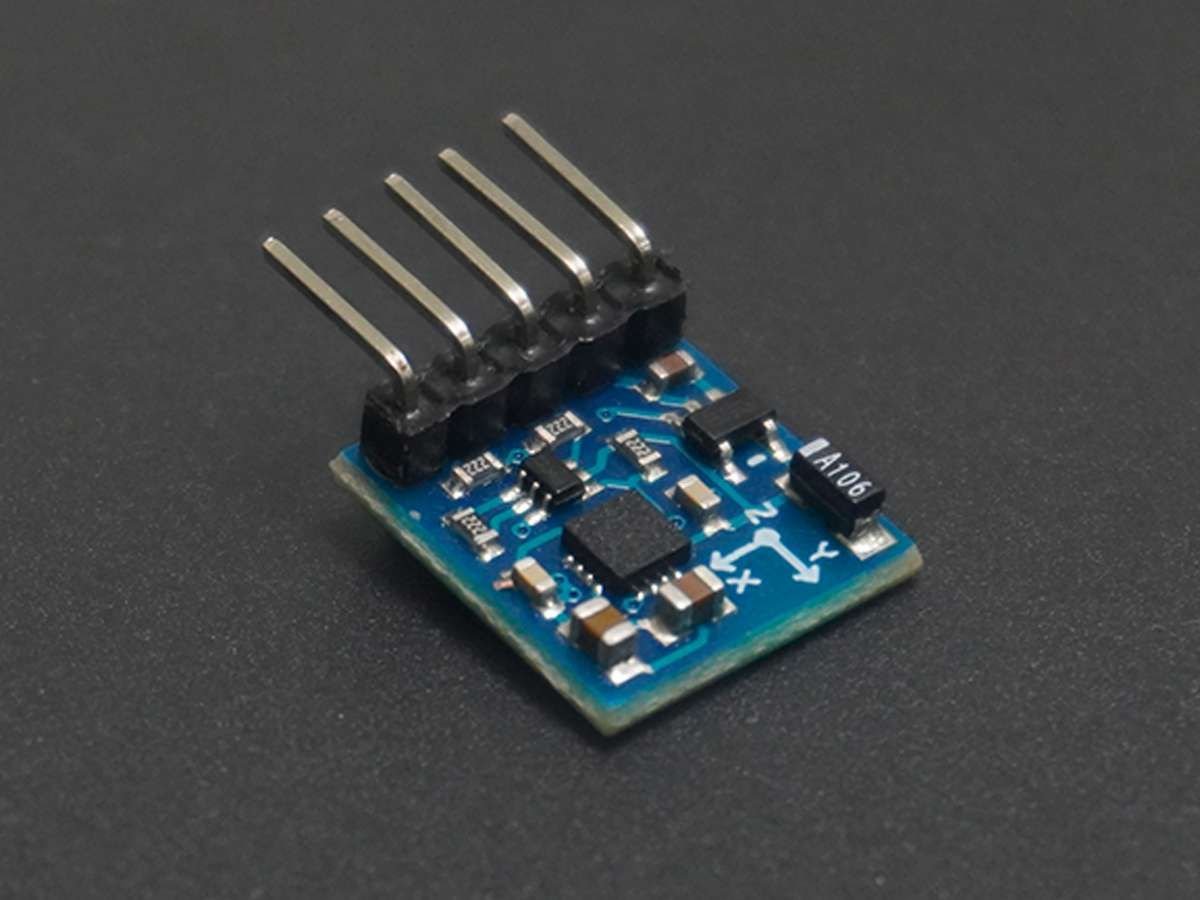
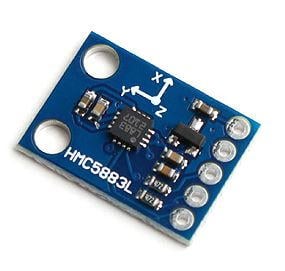
HMC5883L is a 3-axis magnetometer which is used for measuring the direction and magnitude of the Earth’s magnetic field. It is used for low cost compassing and magnetometry.
It measures the Earth’s magnetic field value along the X, Y, and Z axes from milli-gauss to 8 gauss.
It can be used to find the direction of the heading of the device.
It uses the I2C protocol for communication with the microcontroller.
For more information about Magnetometer HMC5883L and how to use it, refer to the topic HMC5883L Magnetometer Module in the sensors and modules section.
A NodeMCU can communicate with this module using the I2C communication protocol. To know more about I2C functions in NodeMCU refer to NodeMCU I2C with ESPlorer IDE or NodeMCU I2C with Arduino IDE
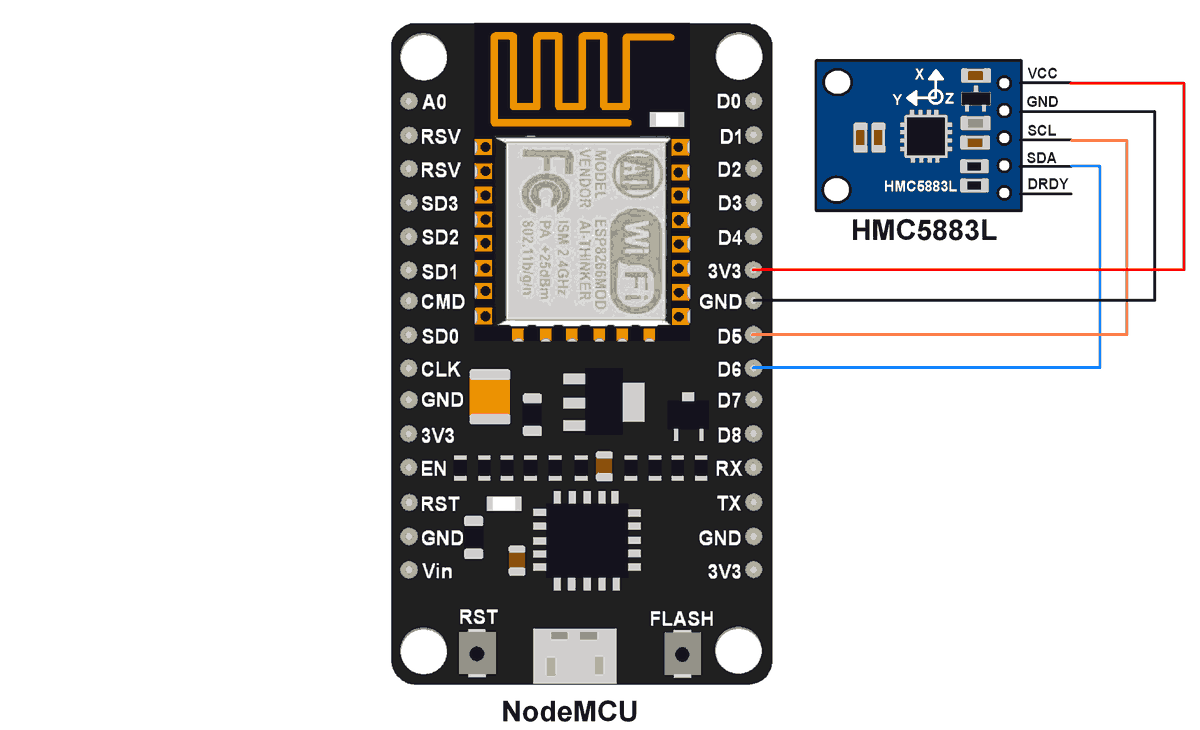
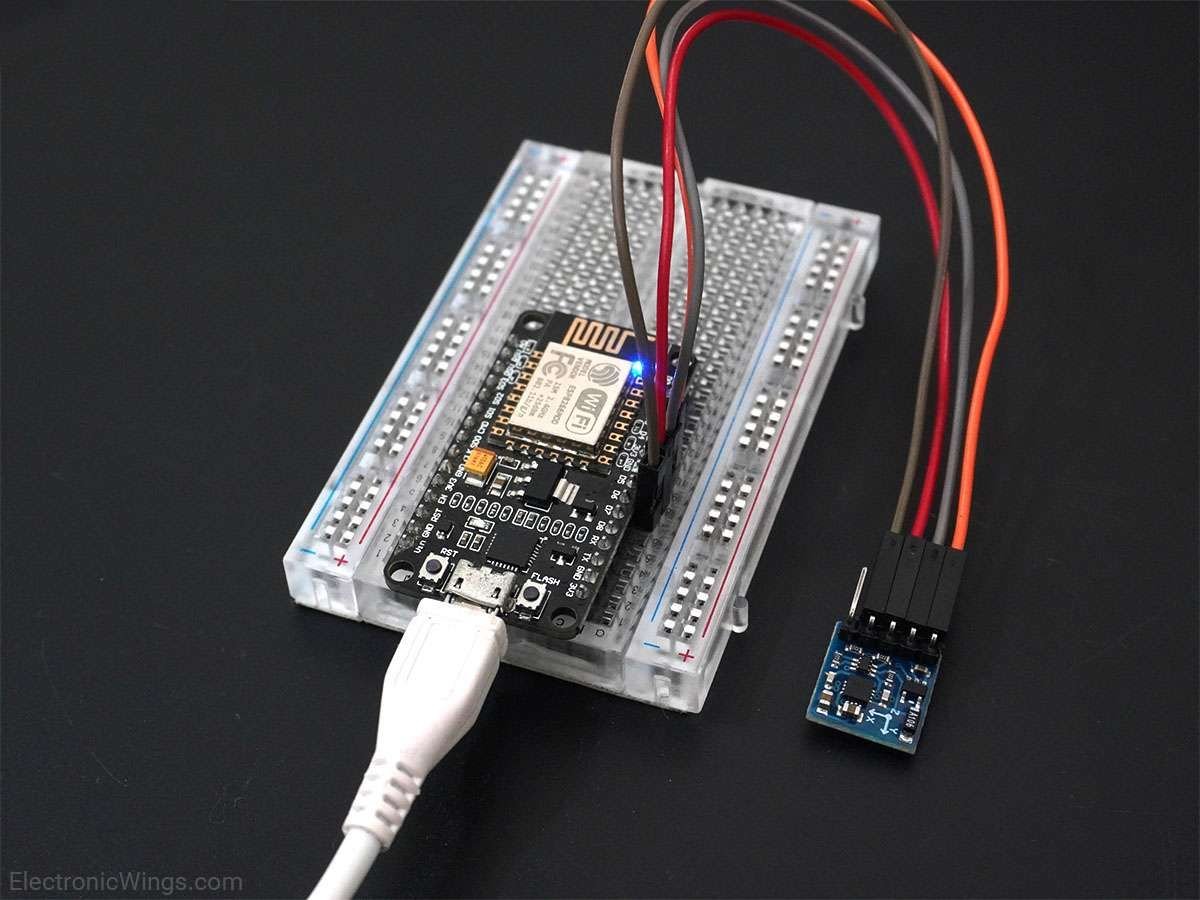
Connection Diagram of HMC5883L with NodeMCU
Example of HMC5883L using NodeMCU
Reading the x, y, and z-axis from the HMC5883L magnetometer module, calculate the heading angle from these three axes and displaying the heading angle on the Serial Monitor.
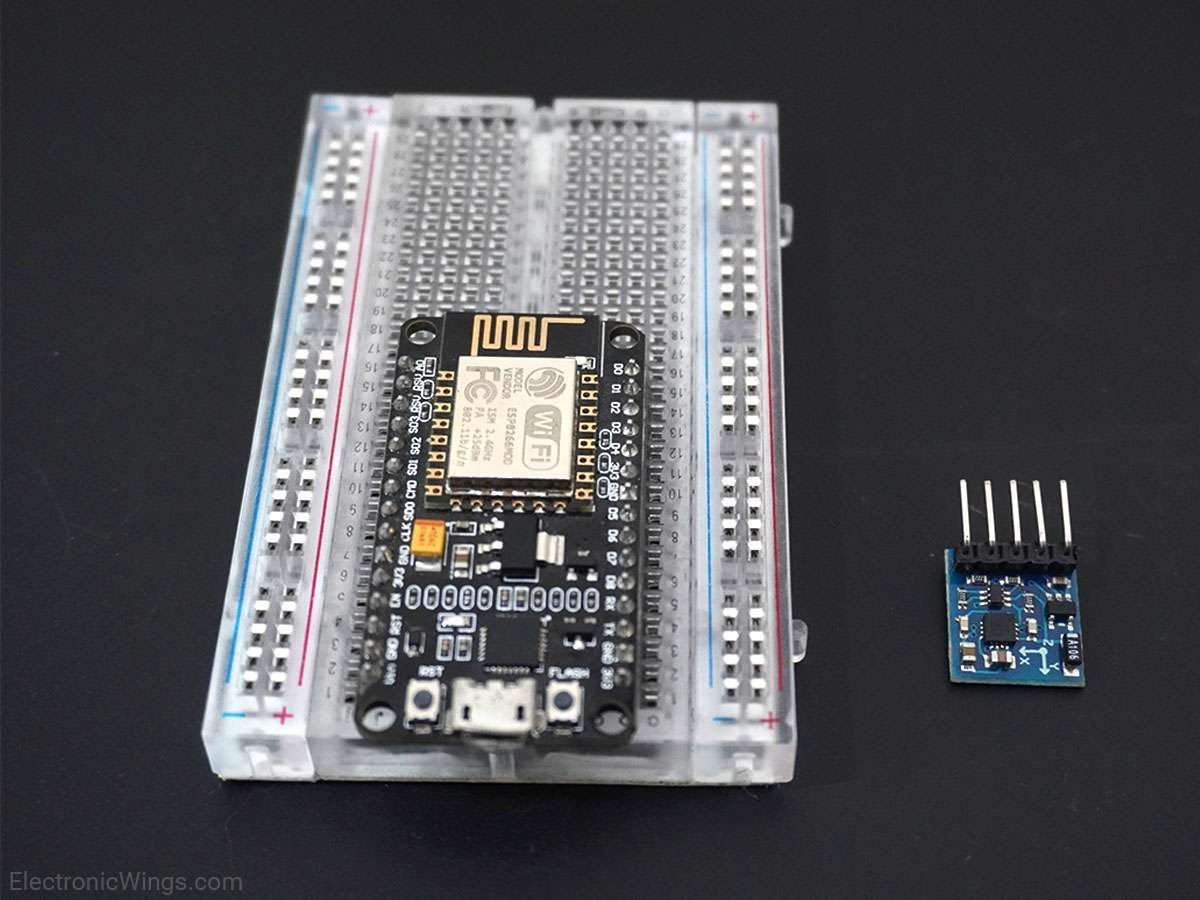
First, do the connections as shown in the above interfacing diagram.
Now let’s write the program NodeMCU for reading values from the HMC5883L magnetometer.
We can write codes for NodeMCU DevKit in either Lua Script or C/C++ language. We are using ESPlorer IDE for writing code in Lua scripts and Arduino IDE for writing code in C/C++. To know more refer to Getting started with NodeMCU using ESPlorer IDE (which uses Lua scripting for NodeMCU) and Getting started with NodeMCU using Arduino IDE (which uses C/C++ language based Arduino sketches for NodeMCU).
NodeMCU functions for HMC5883L
Below are functions that are used for the HMC5883L module in NodeMCU firmware. We need to add this module while building NodeMCU firmware to avail of its function for use.
hmc5883l.init()
This function Initializes the HMC5883L module and sets the pin configuration.
Note: as per NodeMCU doc says that “
hmc5883l.init()the function is deprecated and will be removed in upcoming releases. Usehmc5883l.setup()instead”. But while testinghmc5883l.init()is working andhmc5883l.setup()not. So be sure about which function to initialize.
Syntax:
hmc5883l.init(sda, scl)Parameters:
sda: serial data pin of the i2c interface.
scl: serial clock pin of i2c interface.
Returns: Nil
hmc5883l.setup()
This function initializes the module.
Syntax:
hmc5883l.setup()Parameters: None
Returns: nil
Example:
local sda, scl = 1, 2
i2c.setup(0, sda, scl, i2c.SLOW) -- call i2c.setup() only once
hmc5883l.setup()
hmc5883l.read()
This function samples the sensor and returns X, Y, and Z-axis data.
Syntax:
hmc5883l.read()Returns: x,y,z measurements (integers) temperature multiplied with 10 (integer)
Example:
local sda, scl = 1, 2
hmc5883l.init(sda, scl)
local x, z ,y = hmc5883l.read()
print(string.format("x = %d, y = %d, z = %d", x, y, z))
let’s write Lua script to read x, y, z from HMC5883l and calculate the heading angle from it
Lua Script for NodeMCU
id  = 0 -- always 0
scl = 5 -- set pin 6 as scl
sda = 6 -- set pin 7 as sda


--Define declination of location from where measurement going to be done.
--e.g. here we have added declination from location Pune city, India.
--we can get it from http://www.magnetic-declination.com
pi = 3.14159265358979323846
Declination = -0.00669


function arcsin(value)
    local val = value
    local sum = value
    if(value == nil) then
        return 0
    end
-- as per equation it needs infinite iterations to reach upto 100% accuracy
-- but due to technical limitations we are using
-- only 10000 iterations to acquire reliable accuracy
    for i = 1, 10000, 2 do
        val = (val*(value*value)*(i*i)) / ((i+1)*(i+2))
        sum = sum + val;
    end
    return sum
end

function arctan(value)
    if(value == nil) then
        return 0
    end
    local _value = value/math.sqrt((value*value)+1)
    return arcsin(_value)
end

function atan2(y, x)
    if(x == nil or y == nil) then
        return 0
    end

    if(x > 0) then
        return arctan(y/x)
    end
    if(x < 0 and 0 <= y) then
        return arctan(y/x) + pi
    end
    if(x < 0 and y < 0) then
        return arctan(y/x) - pi
    end
    if(x == 0 and y > 0) then
        return pi/2
    end
    if(x == 0 and y < 0) then
        return -pi/2
    end
    if(x == 0 and y == 0) then
        return 0
    end
    return 0
end

hmc5883l.init(sda, scl)       --initialize hmc5883l
while true do   --read and print accelero, gyro and temperature value
    local x,z,y = hmc5883l.read()
    Heading = atan2(y, x) + Declination

    if (Heading>2*pi) then    --Due to declination check for >360 degree
        Heading = Heading - 2*pi
    end
    if (Heading<0) then       --Check for sign
        Heading = Heading + 2*pi
    end

    Heading = Heading*180/pi  --convert radian to angle
    print(string.format("Heading angle : %d", Heading))
    tmr.delay(10000)   -- 10ms timer delay
end
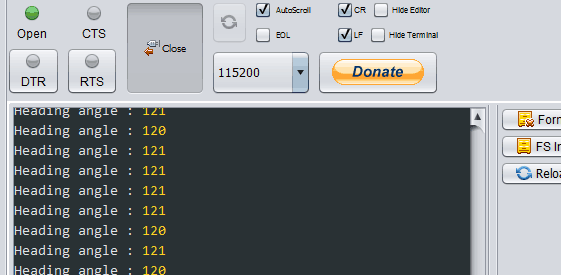
ESPlorer Serial Output Window
The output window of the ESPlorer IDE serial window for the above Lua script is shown below
Now let’s write the same example in Arduino ide for NodeMCU
Magnetometer HMC5883L Code for NodeMCU using Arduino IDE
#include <Wire.h>

/* Define declination of location from where measurement going to be done.
e.g. here we have added declination from location Pune city, India.
we can get it from http://www.magnetic-declination.com */
#define Declination       -0.00669
#define hmc5883l_address  0x1E


void setup() {
  Serial.begin(9600); /* begin serial for debug */
  Wire.begin(D6, D5); /* join i2c bus with SDA=D6 and SCL=D5 of NodeMCU */
  hmc5883l_init();
}

void loop() {
  Serial.print("Heading Angle : ");
  Serial.println(hmc5883l_GetHeading());
  delay(150);
}

void hmc5883l_init(){   /* Magneto initialize function */
  Wire.beginTransmission(hmc5883l_address);
  Wire.write(0x00);
  Wire.write(0x70); //8 samples per measurement, 15Hz data output rate, Normal measurement
  Wire.write(0xA0); //
  Wire.write(0x00); //Continuous measurement mode
  Wire.endTransmission();
  delay(500);
}

int hmc5883l_GetHeading(){
  int16_t x, y, z;
  double Heading;
  Wire.beginTransmission(hmc5883l_address);
  Wire.write(0x03);
  Wire.endTransmission();
  /* Read 16 bit x,y,z value (2's complement form) */
  Wire.requestFrom(hmc5883l_address, 6);
  x = (((int16_t)Wire.read()<<8) | (int16_t)Wire.read());
  z = (((int16_t)Wire.read()<<8) | (int16_t)Wire.read());
  y = (((int16_t)Wire.read()<<8) | (int16_t)Wire.read());

  Heading = atan2((double)y, (double)x) + Declination;
  if (Heading>2*PI) /* Due to declination check for >360 degree */
   Heading = Heading - 2*PI;
  if (Heading<0)    /* Check for sign */
   Heading = Heading + 2*PI;
  return (Heading* 180 / PI);/* Convert into angle and return */
}

/* Uncomment below function for reading status register */
//uint8_t readStatus(){
//  Wire.beginTransmission(hmc5883l_address);
//  Wire.write(0x09);
//  Wire.endTransmission();
//  Wire.requestFrom(hmc5883l_address, 1);
//  return (uint8_t) Wire.read();
//}
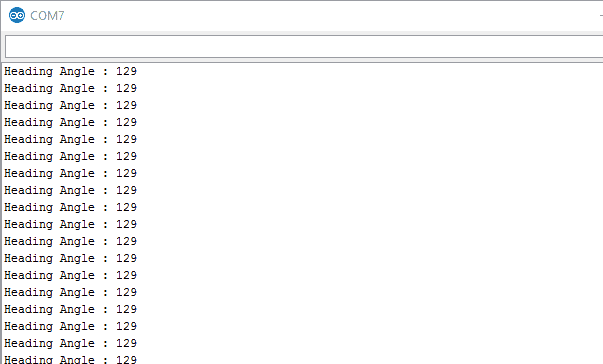
Arduino Serial Output Window
The output window of the Arduino IDE serial window for the above Arduino sketch is shown below
Note: that heading also gets affected by device tilt and nearby magnetic devices effect. There are compensating methods provided in the attached document.
Components Used |
||
|---|---|---|
| HMC5883L Magnetometer Module Magnetometer HMC5883L is developed by Honeywell. It gives the heading direction. |
X 1 | |
| NodeMCU NodeMCUNodeMCU |
X 1 | |
| ESP12F ESP12E |
X 1 | |