Introduction
ESPlorer is a Lua based IDE used to develop applications for NodeMCU. Lua scripts are generally used to program the NodeMCU. Lua is an open-source, lightweight, embeddable scripting language built on top of C programming language i.e. it has a base of C programming language.
- To start with the Lua script for NodeMCU, we can use ESPlorer IDE. The ESPlorer is an IDE for ESP developers.
- ESPlorer IDE allows you to establish serial communication with your ESP8266, send commands, upload code, and much more.
Download and Extract ESPlorer from
http://esp8266.ru/esplorer-latest/?f=ESPlorer.zip
You need to have JAVA installed on your computer. If you don’t have,
go to this website: http://java.com/download
Download and install the latest version. It requires JAVA (SE version 7 and above) to be installed.
Example
Let’s see how to write a simple Lua script of serial print using ESPlorer IDE for NodeMCU.
First, connect NodeMCU Development Kit with PC as shown in the below figure.
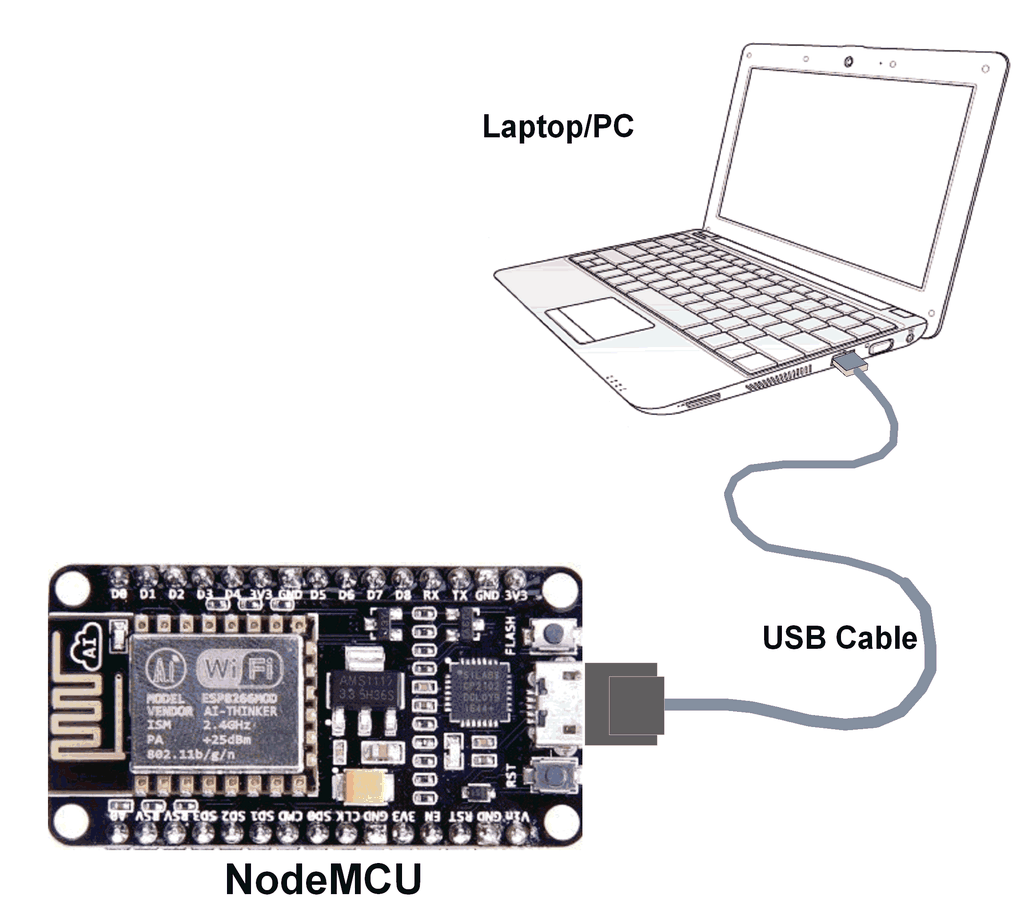
NodeMCU connection with PC
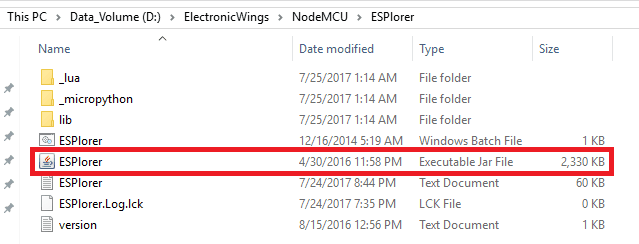
Then go to the downloaded & extracted ESPlorer folder
- Double Click on ESPlorer.jar executable file as shown in the below figure.
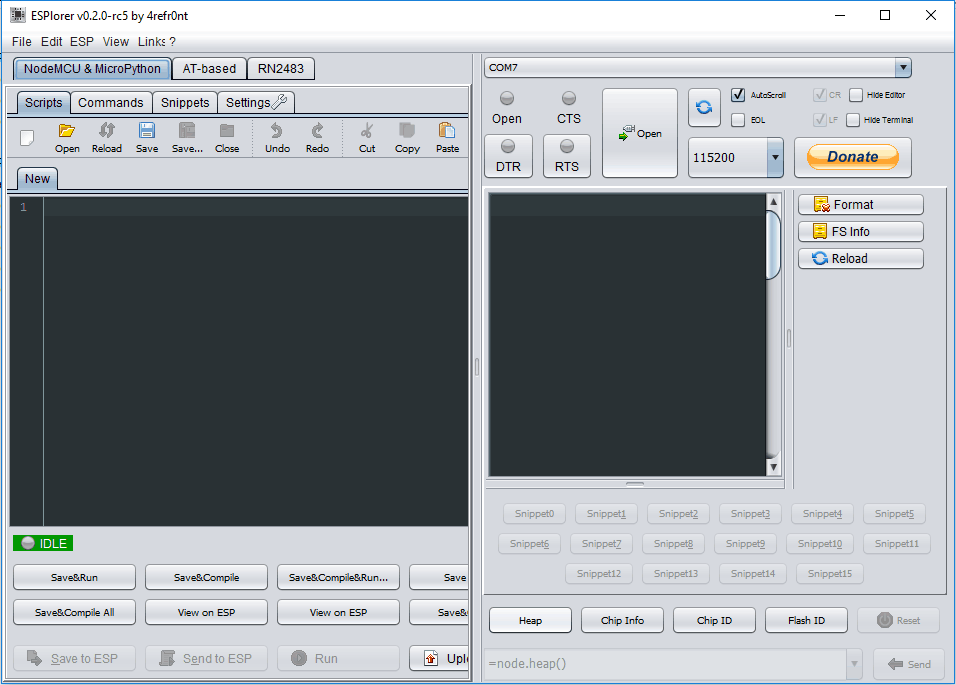
- You will see the ESPlorer IDE start page as shown in the below image.
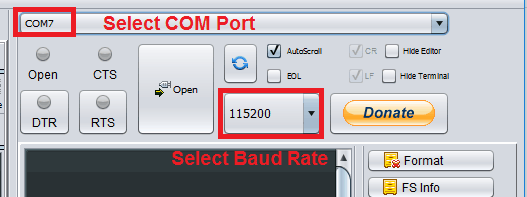
- Select COM Port and Baud Rate
- Now Click Open and press reset on the NodeMCU board.
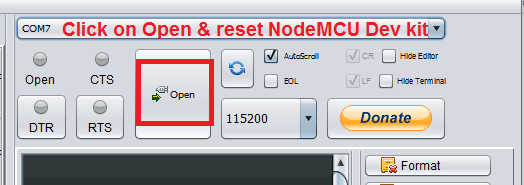
Here we need to reset the NodeMCU kit while ESPlorerIDE is communicating with it. Also, we need to keep the baud rate at 115200 (default baud rate).
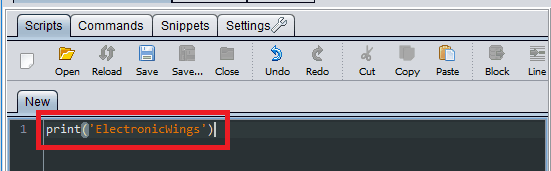
- Now write a simple serial print program e.g. type print(‘ElectronicWings’)
- Now Click on Send to ESP
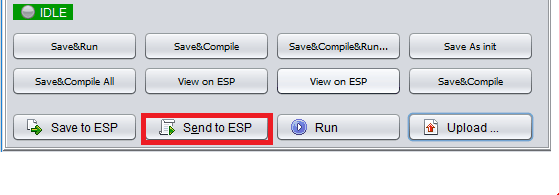
- And see the output in the console window as shown in the below figure.

- Congratulations! You have successfully taken your first step to master Node-MCU board
Components Used |
||
|---|---|---|
| NodeMCU NodeMCUNodeMCU |
X 1 | |
| ESP12F ESP12E |
X 1 | |