Overview of Servo Motor
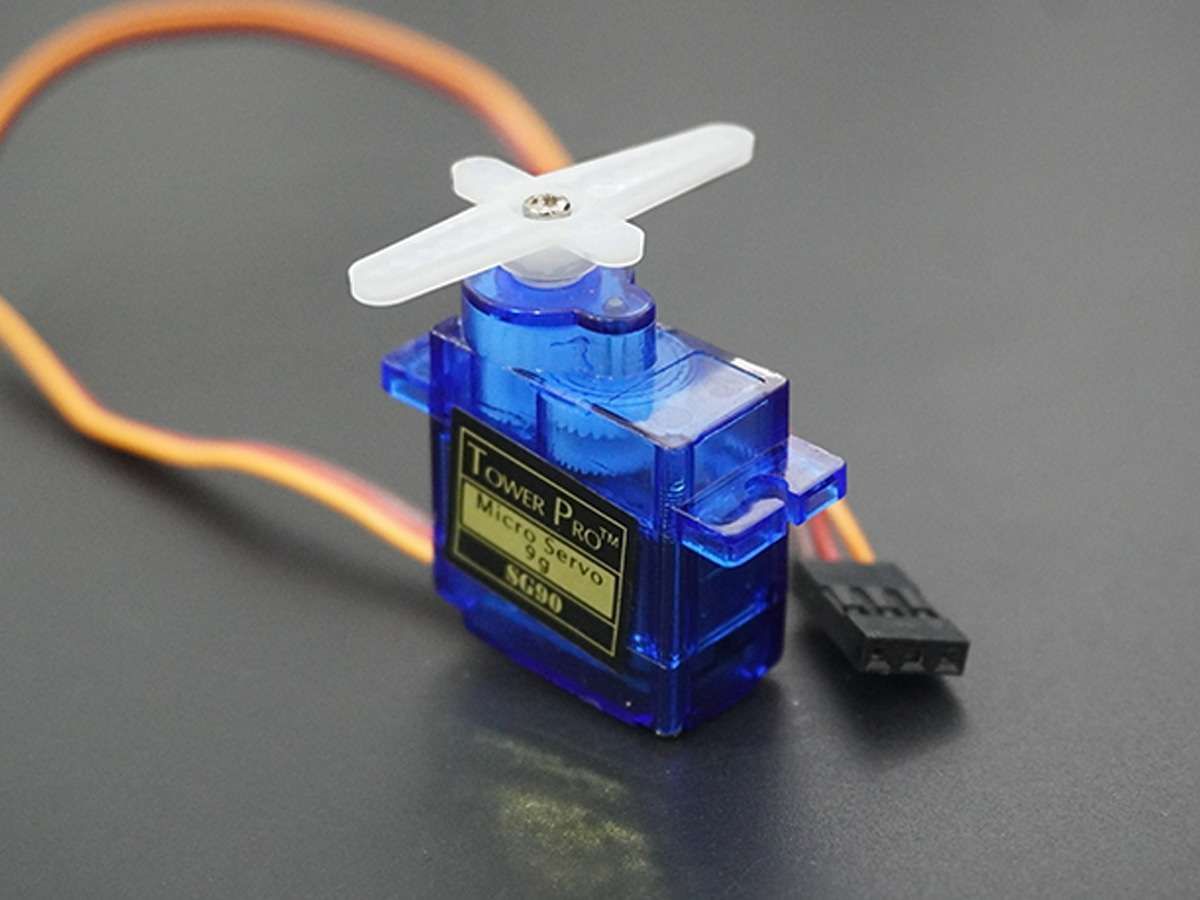
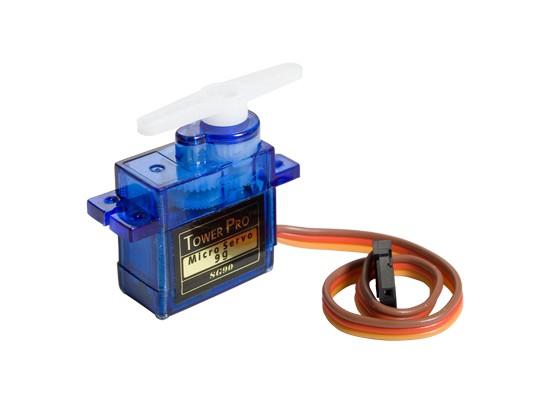
A servo motor is an electric device used for precise control of angular rotation. It is used in applications that demand precise control over motion, like in case of control of a robotic arm.
The rotation angle of the servo motor is controlled by applying a PWM signal to it.
By varying the width of the PWM signal, we can change the rotation angle and direction of the motor.
For more information about Servo Motor and how to use it, refer the topic Servo Motor in the sensors and modules section.
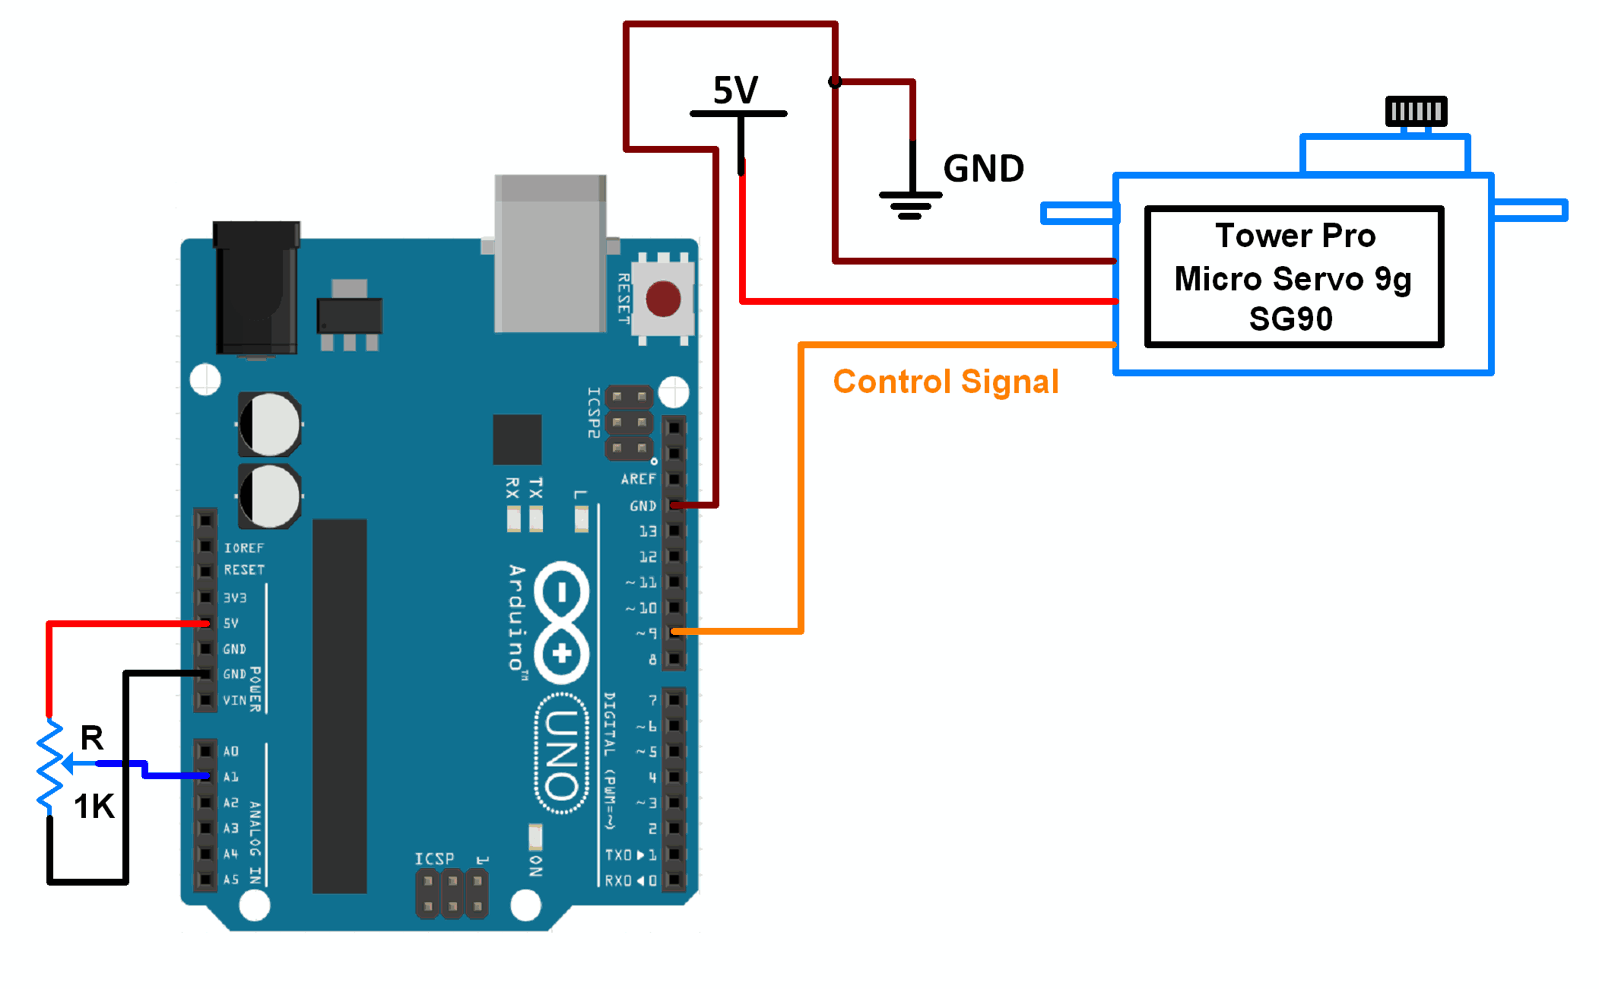
Connection Diagram of Servo Motor with Arduino
Servo Motor Example using Arduino
Controlling position of servo motor using a potentiometer.
Here, we will be using the Servo library that comes along with the Arduino IDE.
There are two examples in this library. We will be using those two examples.
To open the Knob example, go to File > Examples > Servo* > Knob
To open the Sweep example, go to File > Examples > Servo* > Sweep
* You will find the Servo examples in the Example for any board that is below the Built-In Examples. You will have to navigate down and find it.
You can find information about the Servo library here.
Code For Servo Position Control Using Potentiometer and Arduino
/*
 Controlling a servo position using a potentiometer (variable resistor)
 by Michal Rinott <http://people.interaction-ivrea.it/m.rinott>

 modified on 8 Nov 2013
 by Scott Fitzgerald
 http://www.arduino.cc/en/Tutorial/Knob
*/

#include <Servo.h>

Servo myservo;  /* create servo object to control a servo */

int potpin = 1;  /* analog pin used to connect the potentiometer */
int val;    /*  variable to read the value from the analog pin */

void setup() {
  Serial.begin(9600);
  myservo.attach(9);  /* attaches the servo on pin 9 to the servo object */
}

void loop() {
  val = analogRead(potpin);            /* reads the value of the potentiometer (value between 0 and 1023) */
  Serial.print("Analog Value : ");
  Serial.print(val);
  Serial.print("\n");
  val = map(val, 0, 1023, 0, 180);     /* scale it to use it with the servo (value between 0 and 180) */
  Serial.print("Mapped Value : ");
  Serial.print(val);
  Serial.print("\n\n");
  myservo.write(val);                  /* sets the servo position according to the scaled value */
  delay(1000);                         /* waits for the servo to get there */
}
Video of Servo Motor Control using Potentiometer and Arduino
Functions Used
Servo myservo- This creates an object named
myservoof the class Servo.
myservo.attach(pin)- This function attaches the servo variable to a pin.
Pinis the pin number to which the servo is attached.
myservo.write(angle)- This function writes a value to the servo, thus controlling the position of the shaft.
anglecan take values between 0 to 180.
map(value, fromLow, fromHigh, toLow, toHigh)- This function is used to map a number from one range to another range.
- This means that “
value” having a value between “fromLow” to “fromHigh” gets converted to equivalent values in the range of “toLow” to “toHigh”. “fromLow” gets mapped to “toLow” and so on.
Code For Sweeping The Shaft Of Servo Back And Forth
/* Sweep
 by BARRAGAN <http://barraganstudio.com>
 This example code is in the public domain.

 modified 8 Nov 2013
 by Scott Fitzgerald
 http://www.arduino.cc/en/Tutorial/Sweep
*/

#include <Servo.h>

Servo myservo;  /* create servo object to control a servo */
/* twelve servo objects can be created on most boards */

int pos = 0;    /* variable to store the servo position */

void setup() {
  myservo.attach(9);  /* attaches the servo on pin 9 to the servo object */
}

void loop() {
  for (pos = 0; pos <= 180; pos += 1) { /* goes from 0 degrees to 180 degrees in steps of 1 degree */
    myservo.write(pos);              /* tell servo to go to position in variable 'pos' */
    delay(15);                       /* waits 15ms for the servo to reach the position */
  }
  for (pos = 180; pos >= 0; pos -= 1) { /* goes from 180 degrees to 0 degrees */
    myservo.write(pos);              /* tell servo to go to position in variable 'pos' */
    delay(15);                       /* waits 15ms for the servo to reach the position */
  }
}
Video of Servo Motor Control using Arduino
Components Used |
||
|---|---|---|
| Arduino UNO Arduino UNO |
X 1 | |
| Arduino Nano Arduino Nano |
X 1 | |
| Servo Motor MG995 Servo Motor MG995 |
X 1 | |