
Introduction and Step-by-Step Build of the RFID-Based Attendance System
Introduction
RFID (Radio Frequency Identification) technology has revolutionized various sectors by enabling efficient and automatic identification and tracking of objects, animals, and people. RFID systems consist of tags and readers: the RFID tag has a microchip that stores unique data and an antenna for transmitting this information, while the reader emits radio frequency signals to capture the tag’s data. Unlike traditional barcodes, RFID tags do not require direct line-of-sight and can be read from a distance, making them ideal for applications needing rapid, accurate, and contactless data collection.
The need for RFID technology is evident in its widespread adoption for applications like inventory management, asset tracking, and attendance systems. In this project, I developed an RFID-based attendance system that automates the recording and managing of attendance data, addressing common challenges such as time consumption, human error, and difficulty in data management. This system is built using an RFID module (RC522), an RFID tag, an ESP8266 microcontroller, and Google Sheets integrated with Google Apps Script. Additionally, I created a secure website to access the attendance records.
Here’s a detailed description of how I built this system:
Step 1: Hardware Setup
The first step involves connecting the RFID module (RC522) to the ESP8266 (NodeMCU). The wiring configuration is as follows:
- **SDA** pin of the RC522 to **D2 (GPIO4)** on the ESP8266.
- **SCK** pin of the RC522 to **D5 (GPIO14)** on the ESP8266.
- **MOSI** pin of the RC522 to **D7 (GPIO13)** on the ESP8266.
- **MISO** pin of the RC522 to **D6 (GPIO12)** on the ESP8266.
- **IRQ** pin of the RC522 is not connected.
- **GND** pin of the RC522 to **GND** on the ESP8266.
- **RST** pin of the RC522 to **D1 (GPIO5)** on the ESP8266.
- **3.3V** pin of the RC522 to **3.3V** on the ESP8266.
Sample Diagram :-
.webp)
Step 2: Writing the Arduino Code
The next step involves programming the ESP8266 using the Arduino IDE. The program initializes the RFID reader, reads the RFID tag data, and sends this data to Google Sheets via a web request. For this, I used the **MFRC522** library for the RFID reader and the **ESP8266WiFi** library for the ESP8266.
Below is the code for the ESP8266:
```cpp
#include <Arduino.h>
#include <ESP8266WiFi.h>
#include <SPI.h>
#include <MFRC522.h>
#include <HTTPSRedirect.h>
#include <Wire.h>
#include <LiquidCrystal_I2C.h>
LiquidCrystal_I2C lcd(0x27, 16, 2);
const char *GScriptId = "YOUR_GOOGLE_SCRIPT_ID";
String gate_number = "Gate1";
const char* ssid = "YOUR_SSID";
const char* password = "YOUR_PASSWORD";
String payload_base = "{\"command\": \"insert_row\", \"sheet_name\": \"Sheet1\", \"values\": ";
String payload = "";
const char* host = "script.google.com";
const int httpsPort = 443;
HTTPSRedirect* client = nullptr;
String student_id;
int blocks[] = {4, 5, 6, 8, 9};
#define total_blocks (sizeof(blocks) / sizeof(blocks[0]))
#define RST_PIN  0  //D3
#define SS_PIN   2  //D4
#define BUZZER   15 //D8
MFRC522 mfrc522(SS_PIN, RST_PIN);
MFRC522::MIFARE_Key key;
MFRC522::StatusCode status;
int blockNum = 2;
byte bufferLen = 18;
byte readBlockData[18];
void setup() {
 Serial.begin(9600);
 delay(10);
 Serial.println('\n');

 SPI.begin();

 lcd.init();
 lcd.backlight();
 lcd.clear();
 lcd.setCursor(0, 0);
 lcd.print("Connecting to");
 lcd.setCursor(0, 1);
 lcd.print("WiFi...");

 WiFi.begin(ssid, password);
 Serial.print("Connecting to ");
 Serial.print(ssid); Serial.println(" ...");

 while (WiFi.status() != WL_CONNECTED) {
   delay(1000);
   Serial.print(".");
 }

 Serial.println('\n');
 Serial.println("WiFi Connected!");
 Serial.println(WiFi.localIP());

 client = new HTTPSRedirect(httpsPort);
 client->setInsecure();
 client->setPrintResponseBody(true);
 client->setContentTypeHeader("application/json");

 lcd.clear();
 lcd.setCursor(0, 0);
 lcd.print("Connecting to");
 lcd.setCursor(0, 1);
 lcd.print("Google ");
 delay(5000);

 Serial.print("Connecting to ");
 Serial.println(host);

 bool flag = false;
 for (int i = 0; i < 5; i++) {
   int retval = client->connect(host, httpsPort);
   if (retval == 1) {
     flag = true;
     String msg = "Connected. OK";
     Serial.println(msg);
     lcd.clear();
     lcd.setCursor(0, 0);
     lcd.print(msg);
     delay(2000);
     break;
   } else {
     Serial.println("Connection failed. Retrying...");
   }
 }

 if (!flag) {
   lcd.clear();
   lcd.setCursor(0, 0);
   lcd.print("Connection fail");
   Serial.print("Could not connect to server: ");
   Serial.println(host);
   delay(5000);
   return;
 }

 delete client;
 client = nullptr;

 pinMode(BUZZER, OUTPUT);
}
void loop() {
 static bool flag = false;
 if (!flag) {
   client = new HTTPSRedirect(httpsPort);
   client->setInsecure();
   flag = true;
   client->setPrintResponseBody(true);
   client->setContentTypeHeader("application/json");
 }

 if (client != nullptr) {
   if (!client->connected()) {
     int retval = client->connect(host, httpsPort);
     if (retval != 1) {
       Serial.println("Disconnected. Retrying...");
       lcd.clear();
       lcd.setCursor(0, 0);
       lcd.print("Disconnected.");
       lcd.setCursor(0, 1);
       lcd.print("Retrying...");
       return;
     }
   }
 } else {
   Serial.println("Error creating client object!");
 }

 lcd.clear();
 lcd.setCursor(0, 0);
 lcd.print("Scan your Tag");
 mfrc522.PCD_Init();

 if (!mfrc522.PICC_IsNewCardPresent()) {
   return;
 }

 if (!mfrc522.PICC_ReadCardSerial()) {
   return;
 }

 Serial.println();
 Serial.println(F("Reading last data from RFID..."));
 digitalWrite(BUZZER, HIGH);
 delay(200);
 digitalWrite(BUZZER, LOW);
 delay(200);


 String values = "", data;
 for (byte i = 0; i < total_blocks; i++) {
   ReadDataFromBlock(blocks[i], readBlockData);

   if (i == 0) {
     data = String((char*)readBlockData);
     data.trim();
     student_id = data;
     values = "\"" + data + ",";
   } else {
     data = String((char*)readBlockData);
     data.trim();
     values += data + ",";
   }
 }

 values += gate_number + "\"}";
 payload = payload_base + values;

 lcd.clear();
 lcd.setCursor(0, 0);
 lcd.print("Publishing Data");
 lcd.setCursor(0, 1);
 lcd.print("Please Wait...");

 Serial.println("Publishing data...");
 Serial.println(payload);

 if (client->POST(url, host, payload)) {
   Serial.println("[OK] Data published.");
   lcd.clear();
   lcd.setCursor(0, 0);
   lcd.print("Student ID: " + student_id);
   lcd.setCursor(0, 1);
   lcd.print("Thanks");
 } else {
   Serial.println("Error while connecting");
   lcd.clear();
   lcd.setCursor(0, 0);
   lcd.print("Failed.");
   lcd.setCursor(0, 1);
   lcd.print("Try Again");
 }

 delay(5000);
}
void ReadDataFromBlock(int blockNum, byte readBlockData[]) {
 for (byte i = 0; i < 6; i++) {
   key.keyByte[i] = 0xFF;
 }
 status = mfrc522.PCD_Authenticate(MFRC522::PICC_CMD_MF_AUTH_KEY_A, blockNum, &key, &(mfrc522.uid));

 if (status != MFRC522::STATUS_OK) {
   Serial.print("Authentication failed for Read: ");
   Serial.println(mfrc522.GetStatusCodeName(status));
   return;
 } else {
   Serial.println("Authentication success");
 }

 status = mfrc522.MIFARE_Read(blockNum, readBlockData, &bufferLen);
 if (status != MFRC
522::STATUS_OK) {
   Serial.print("Reading failed: ");
   Serial.println(mfrc522.GetStatusCodeName(status));
   return;
 } else {
   Serial.println("Block was read successfully");
 }
}
Step 3: Google Apps Script
The Google Apps Script is used to handle data received from the ESP8266 and update the Google Sheet accordingly. Here is the script:
```javascript
var SS = SpreadsheetApp.openById('YOUR_SPREADSHEET_ID');
var timezone = "asia/Kolkata";
var hours = +5.30;
var str = "";
function doPost(e) {
var parsedData;
var result = {};
try {
parsedData = JSON.parse(e.postData.contents);
}
catch(f){
return ContentService.createTextOutput("Error in parsing request body: " + f.message);
}
if (parsedData !== undefined){
var flag = parsedData.format;
if (flag === undefined){
flag = 0;
}
var sheet = SS.getSheetByName(parsedData.sheet_name); // sheet name to publish data to is specified in Arduino code
var dataArr = parsedData.values.split(","); // creates an array of the values to publish
var Curr_Date = Utilities.formatDate(new Date(), timezone, "MM/dd/yyyy"); // gets the current date
var Curr_Time = Utilities.formatDate(new Date(), timezone, "hh:mm:ss a"); // gets the current time
var value0 = dataArr[0]; // Student ID
var value1 = dataArr[1]; // First Name
var value2 = dataArr[2]; // Last Name
var value3 = dataArr[3]; // Phone Number
var value4 = dataArr[4]; // Address
var value5 = dataArr[5]; // Gate Number
var data = sheet.getDataRange().getValues();
var row_number = 0;
var time_out = "";
for(var i = 0; i < data.length; i++){
if(data[i][0] == value0){ // data[i][0] i.e. [0]=Column A, Student_id
row_number = i + 1;
time_out = data[i][2];
console.log("row number: " + row_number);
console.log("time out: " + time_out);
break;
}
}
if(row_number > 0){
if(time_out === ""){
sheet.getRange("C" + row_number).setValue(Curr_Time);
str = "Success"; // string to return back to Arduino serial console
return ContentService.createTextOutput(str);
}
}
switch (parsedData.command) {
case "insert_row":
sheet.insertRows(2); // insert full row directly below header text
sheet.getRange('A2').setValue(value0);
sheet.getRange('B2').setValue(Curr_Time);
sheet.getRange('D2').setValue(value5);
sheet.getRange('E2').setValue(Curr_Date);
sheet.getRange('F2').setValue(value1);
sheet.getRange('G2').setValue(value2);
sheet.getRange('H2').setValue(value3);
sheet.getRange('I2').setValue(value4);
str = "Success";
SpreadsheetApp.flush();
break;
case "append_row":
var publish_array = new Array();
publish_array[0] = value0;
publish_array[1] = Curr_Time;
publish_array[3] = Curr_Date;
publish_array[4] = value1;
publish_array[5] = value2;
sheet.appendRow(publish_array);
str = "Success";
SpreadsheetApp.flush();
break;
}
return ContentService.createTextOutput(str);
} else {
return ContentService.createTextOutput("Error! Request body empty or in incorrect format.");
}
}
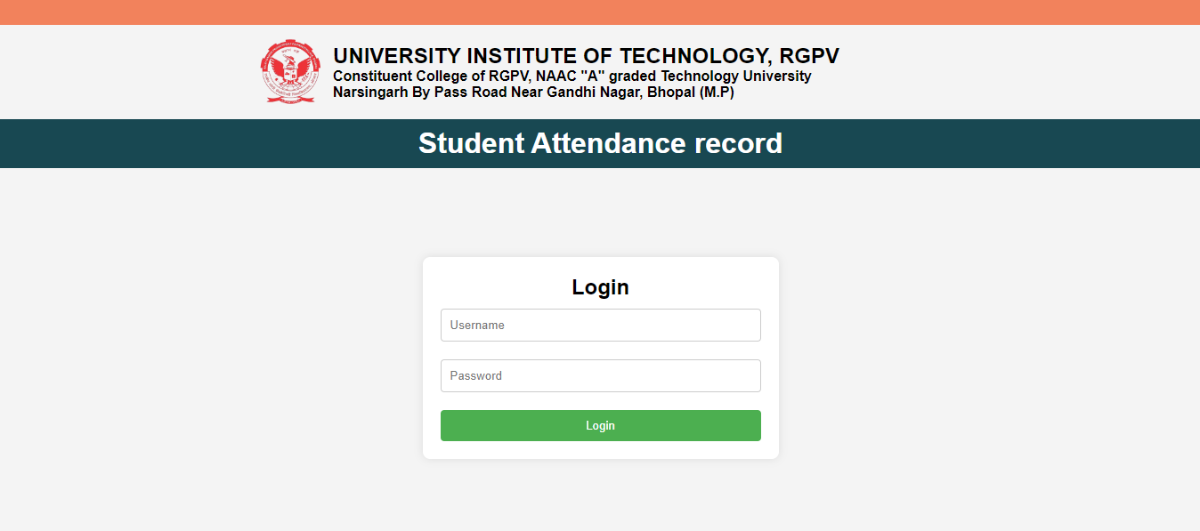
```Website
link:- https://rfid-system-six.vercel.app/
Conclusion
This project demonstrates the use of RFID technology and Google Sheets for an automated attendance system. The system reads RFID tags, sends the data to a Google Sheets document, and updates the attendance records. This process eliminates manual errors, speeds up data entry, and ensures accurate record-keeping. With the detailed steps and provided code, you can replicate this project and customize it to your specific needs.