Video
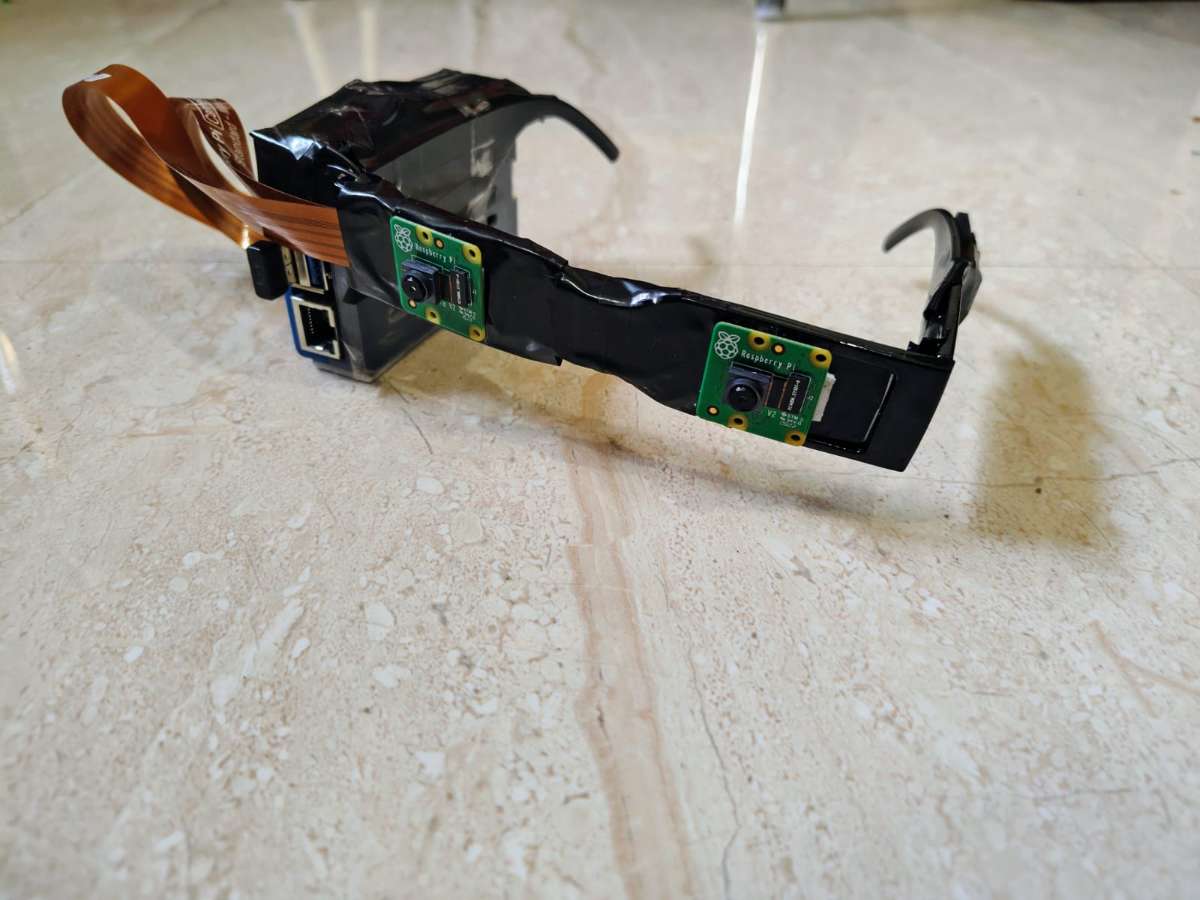
Step 1: Hardware Setup
.jpg)
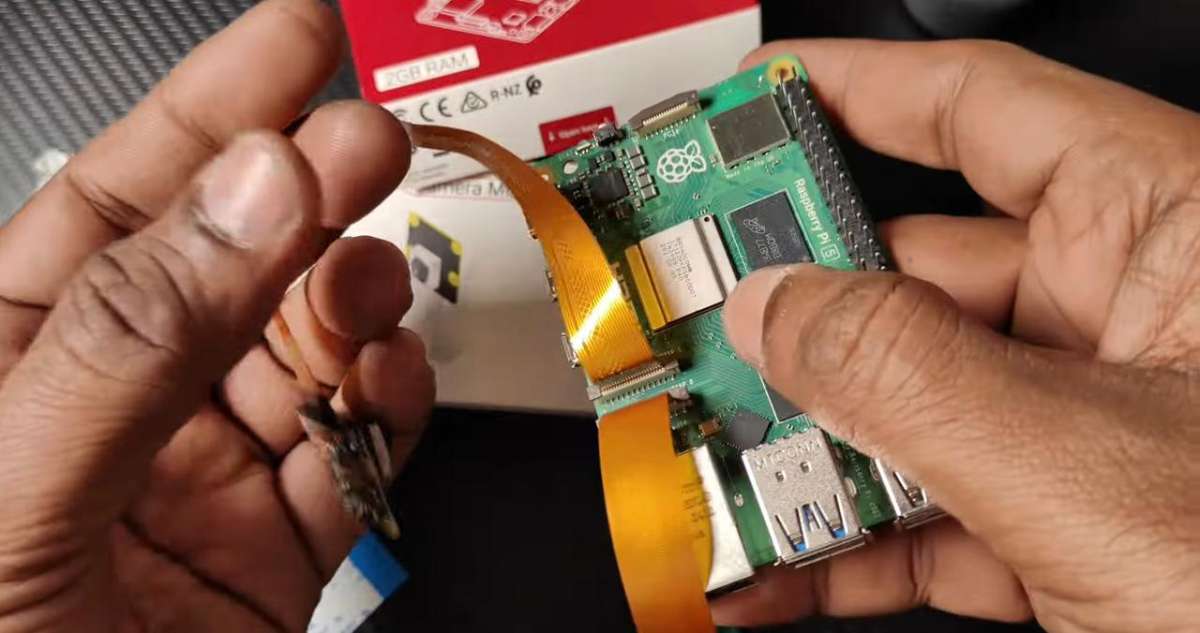
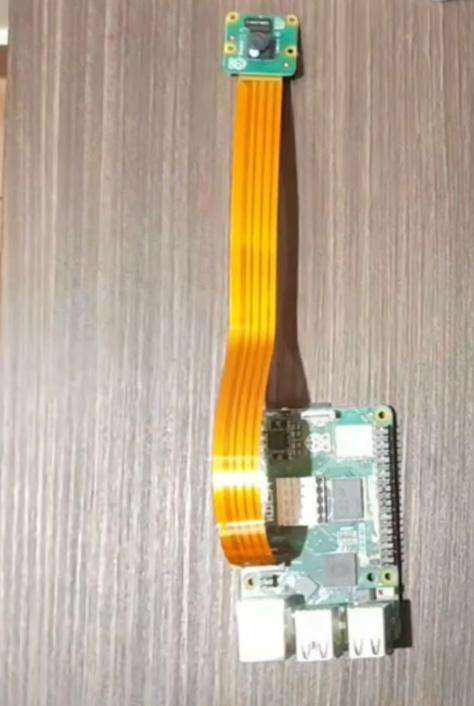
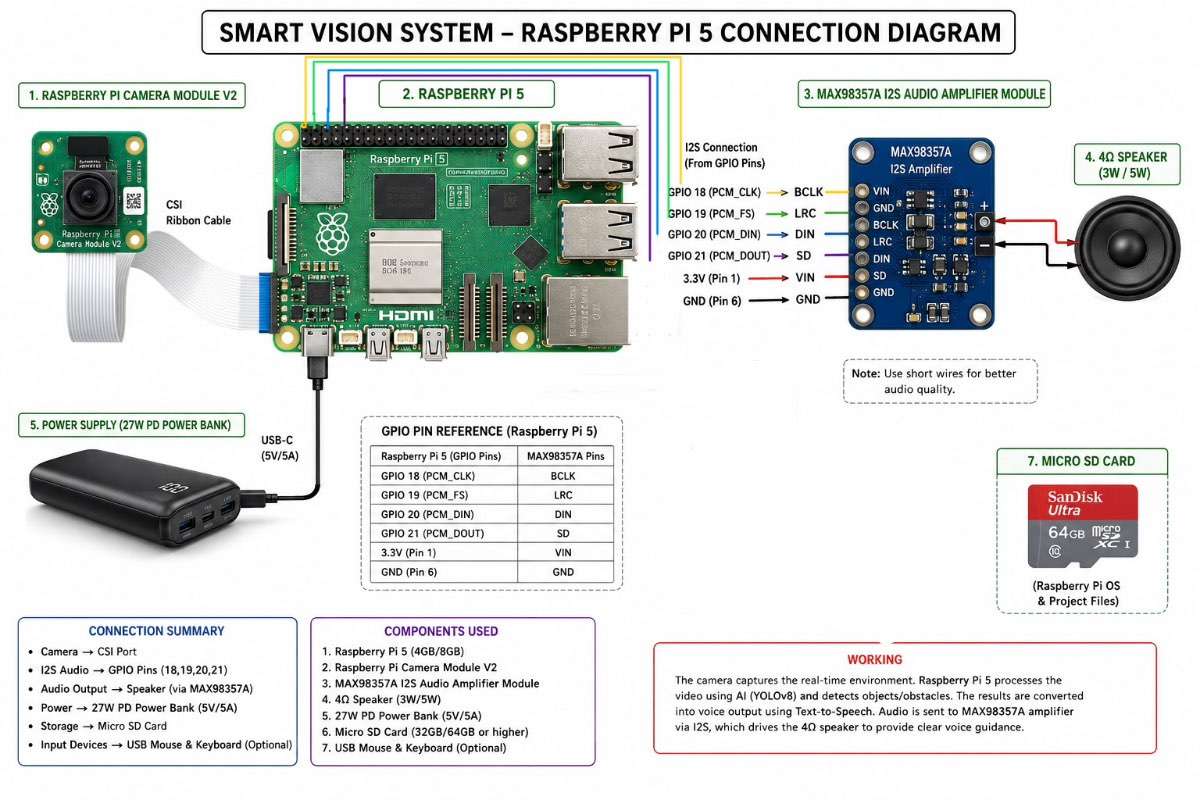
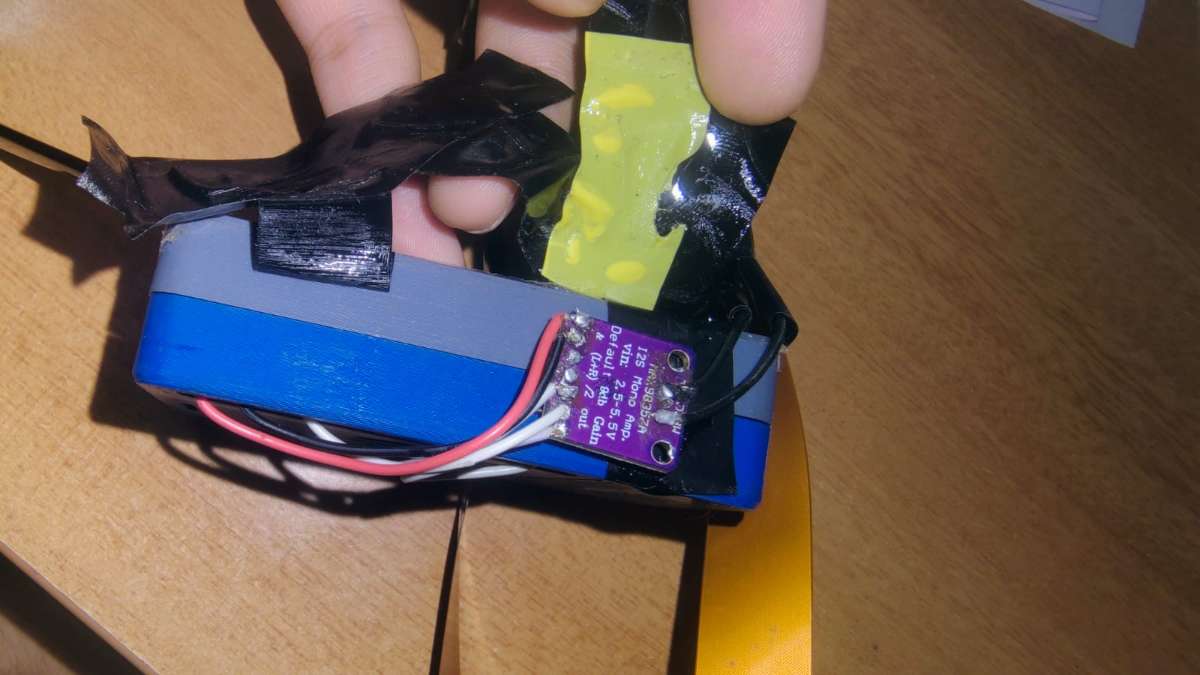
- First, all hardware components are connected together.
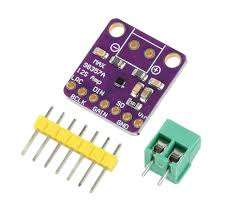
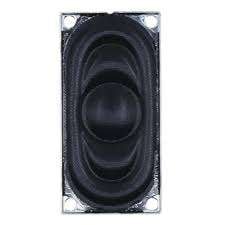
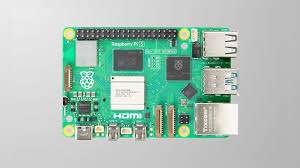
The Raspberry Pi 5 acts as the main processing unit. The Pi Camera Module V2 is connected through the CSI ribbon cable to capture real-time video. The MAX98357A I2S audio amplifier module is connected to the GPIO pins of the Raspberry Pi, and the 4Ω speaker is connected to the amplifier for audio output. A power bank supplies portable power to the system.
Main Connections
- Raspberry Pi 5 ↔ Pi Camera Module V2
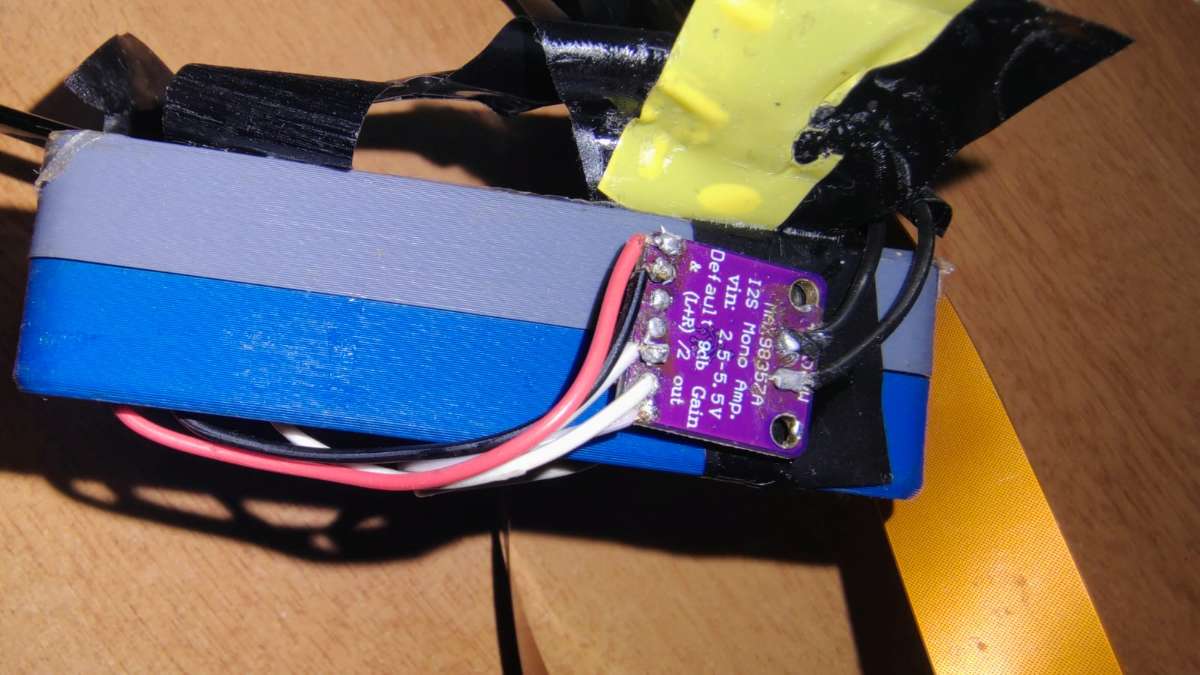
- Raspberry Pi 5 GPIO ↔ MAX98357A Amplifier
- MAX98357A ↔ 4Ω Speaker
- Power Bank ↔ Raspberry Pi
Step 2: Operating System Installation

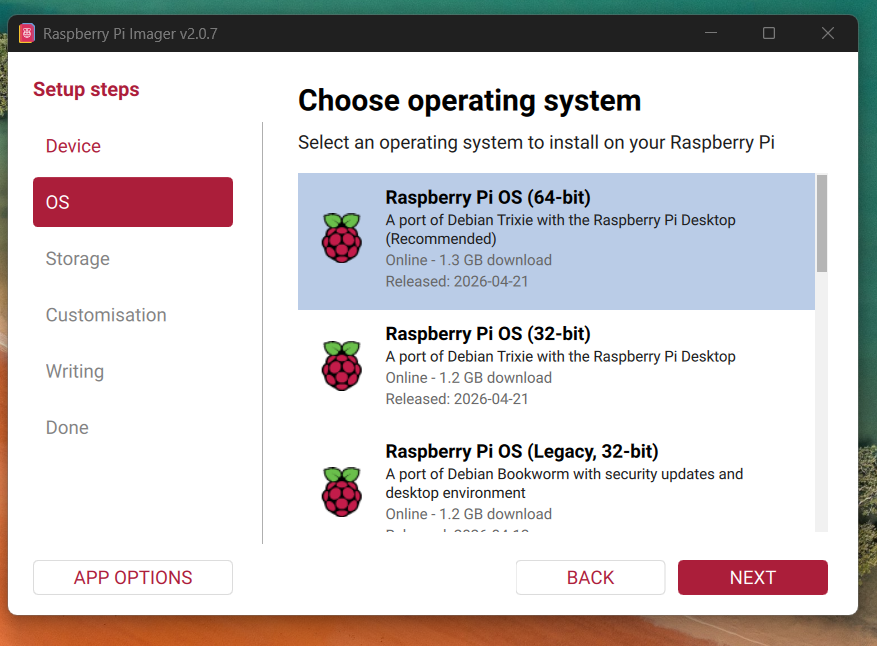


Raspberry Pi OS is installed on the microSD card using Raspberry Pi Imager. After booting the Raspberry Pi, Python libraries such as OpenCV, Ultralytics YOLOv8, NumPy, and pyttsx3 are installed for AI processing and voice feedback.
Software Used
- Raspberry Pi OS
- Python 3
- OpenCV
- YOLOv8
- NumPy
- pyttsx3
Step 3: Camera Captures Real-Time Environment
The Pi Camera continuously captures live video frames from the surrounding environment. These frames are sent to the AI model running on the Raspberry Pi for processing.
Step 4: AI-Based Object Detection

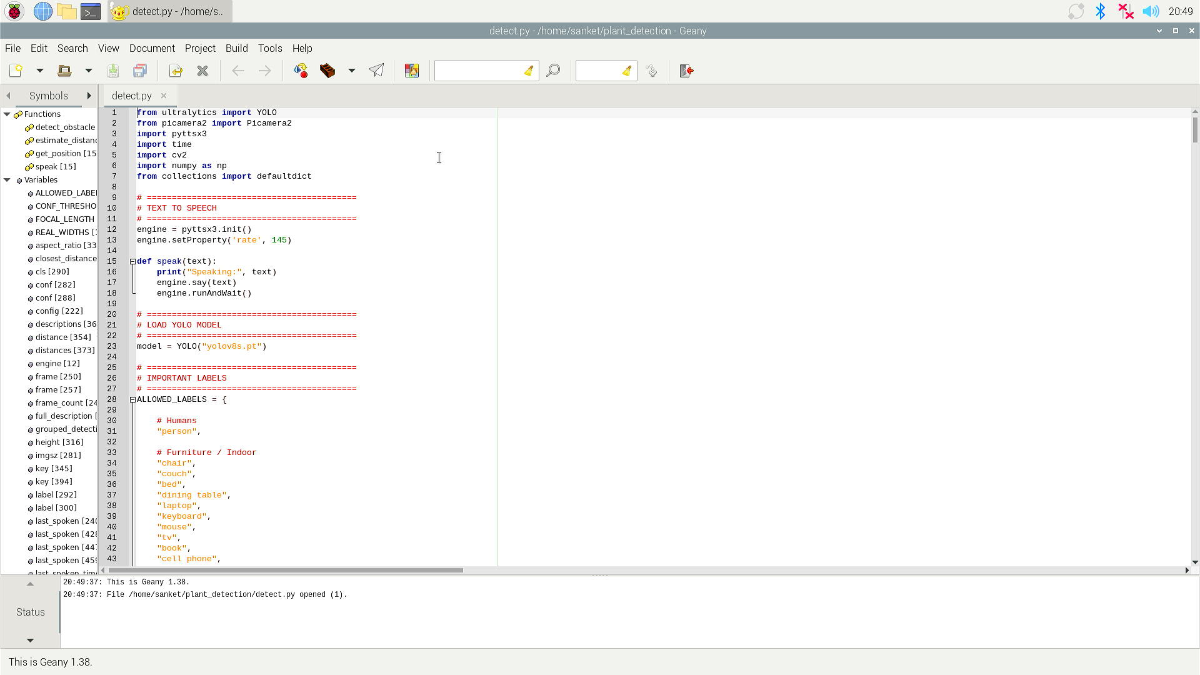
The YOLOv8 AI model processes each video frame and detects important objects such as:
- People
- Vehicles
- Chairs
- Poles
- Trees
- Potholes
- Obstacles
- Animals
- Classroom objects
The system also estimates the approximate distance of nearby obstacles for safer navigation.
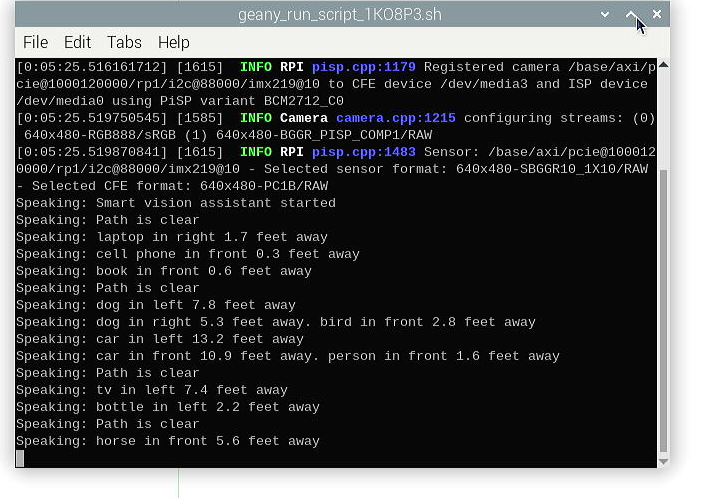
Step 5: Audio Guidance System
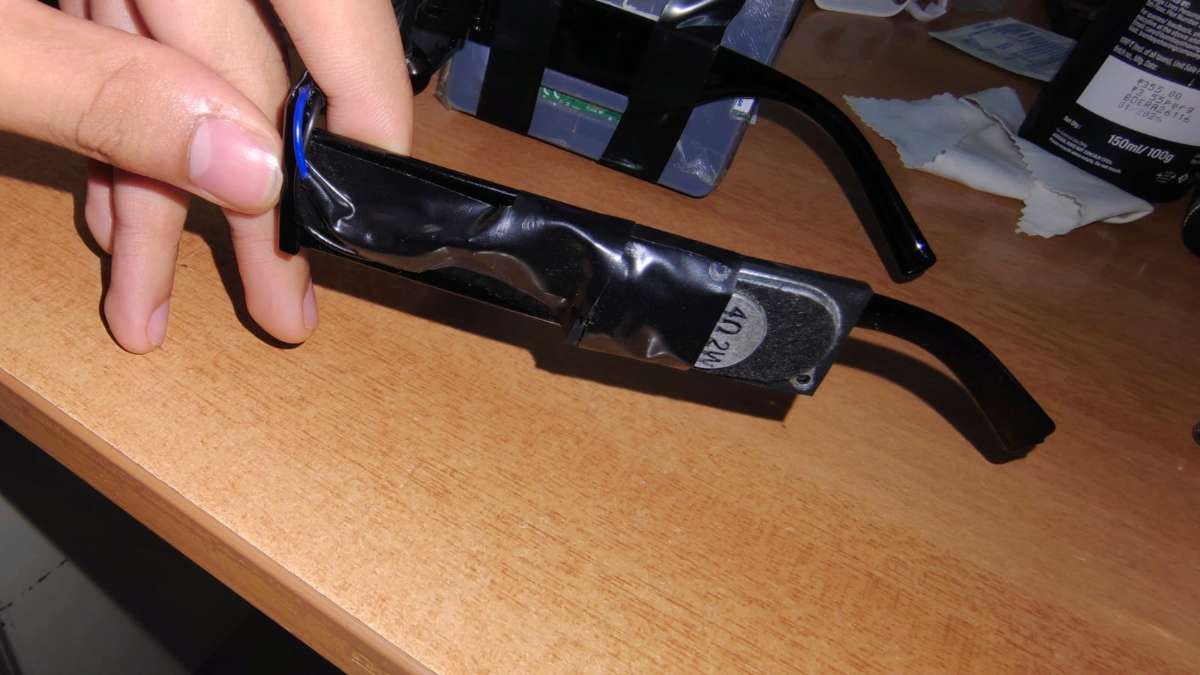
After detecting objects, the system converts the detection results into voice messages. The audio signal is sent through the MAX98357A amplifier module to the 4Ω speaker, providing clear voice guidance to the user.
Example Voice Outputs
- “Person detected ahead”
- “Obstacle on the left”
- “Vehicle approaching”
- “Path is clear”
Step 6: Wearable Smart Assistance
The complete system can be mounted on wearable glasses or a head strap. This allows visually impaired users to receive real-time environmental information while walking independently.