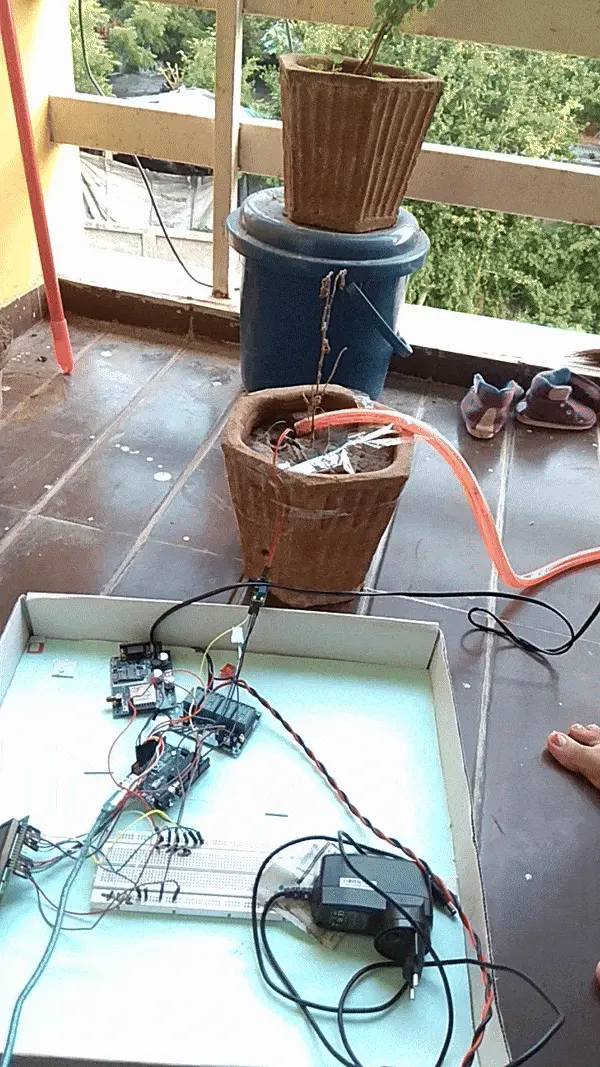
Build an automated irrigation system using a soil moisture sensor, a DC submersible pump, an Arduino Nano, and a relay module. This system waters your plants automatically when the soil is dry.
Components Needed:
- Arduino Nano
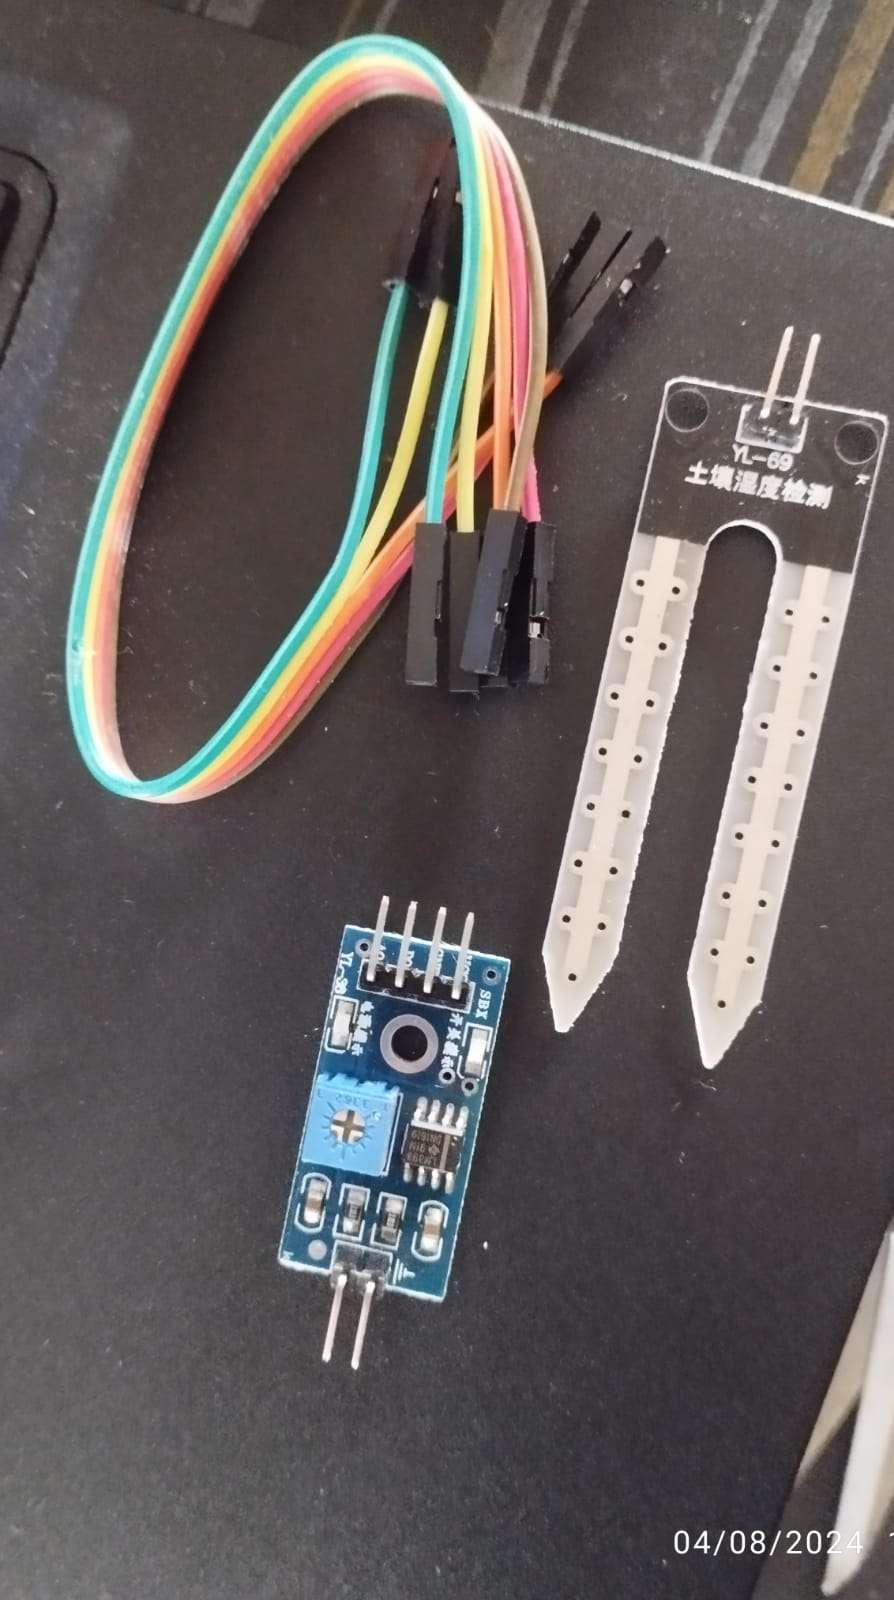
- Soil moisture sensor
- DC submersible pump
- Relay module
- Jumper wires
- Power supply
Connect the Soil Moisture Sensor:
Connect the VCC pin of the soil moisture sensor to the 5V pin on the Arduino Nano.
Connect the GND pin of the sensor to the GND pin on the Arduino.
Connect the analog output (AO) pin of the sensor to the A0 pin on the Arduino.
Connect the Relay Module:
Connect the VCC pin of the relay module to the 5V pin on the Arduino Nano.
Connect the GND pin of the relay module to the GND pin on the Arduino.
Connect the IN pin of the relay module to digital pin D2 on the Arduino.
Connect the DC Submersible Pump:
Connect the pump’s positive wire to the normally open (NO) terminal of the relay.
Connect the common (COM) terminal of the relay to the positive terminal of the power supply.
Connect the pump’s negative wire to the negative terminal of the power supply.
Power the Arduino:
Connect the Arduino Nano to a suitable power source (USB or external 5V supply).
Code
int sensorPin = A0; // Soil moisture sensor pin
int relayPin = 2;  // Relay module pin
int sensorValue = 0;
int threshold = 500; // Adjust this value based on your soil moisture sensor readings

void setup() {
  pinMode(sensorPin, INPUT);
  pinMode(relayPin, OUTPUT);
  digitalWrite(relayPin, LOW); // Ensure the relay is off at startup
  Serial.begin(9600);
}

void loop() {
  sensorValue = analogRead(sensorPin);
  Serial.print("Soil Moisture: ");
  Serial.println(sensorValue);

  if (sensorValue < threshold) {
    digitalWrite(relayPin, HIGH); // Turn on the pump
    Serial.println("Pump ON");
  } else {
    digitalWrite(relayPin, LOW); // Turn off the pump
    Serial.println("Pump OFF");
  }

  delay(2000); // Wait for 2 seconds before taking another reading
}
Testing
- Upload the code to the Arduino Nano using the Arduino IDE.
- Place the soil moisture sensor in the soil near your plants.
- Power up the system and observe the pump turning on when the soil is dry and turning off when the soil is wet.