
A. Working with Google Drive
Before starting with the hardware modules, first we will create the Google Drive to image processing. Below are the steps to create and configure the Google Drive :
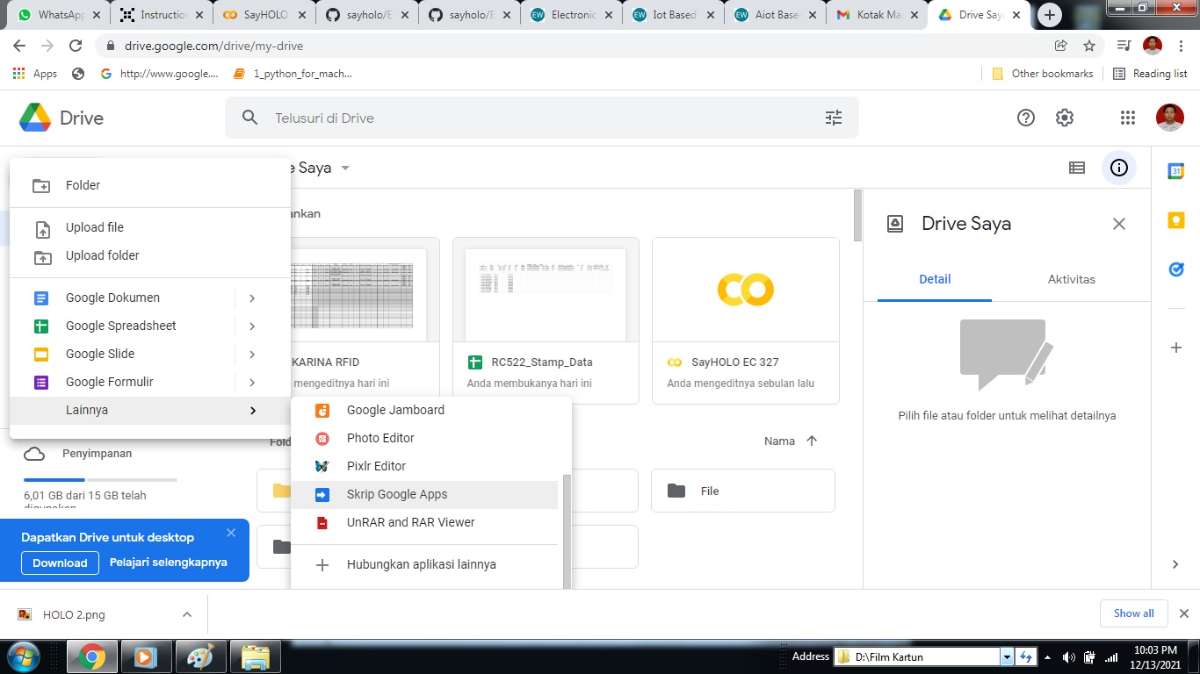
Step 1: Creating a new folder:
First login to Gmail with your Google account credentials and then select for Google Drive there and opt to “Skrip Google Apps”.
Step 2:
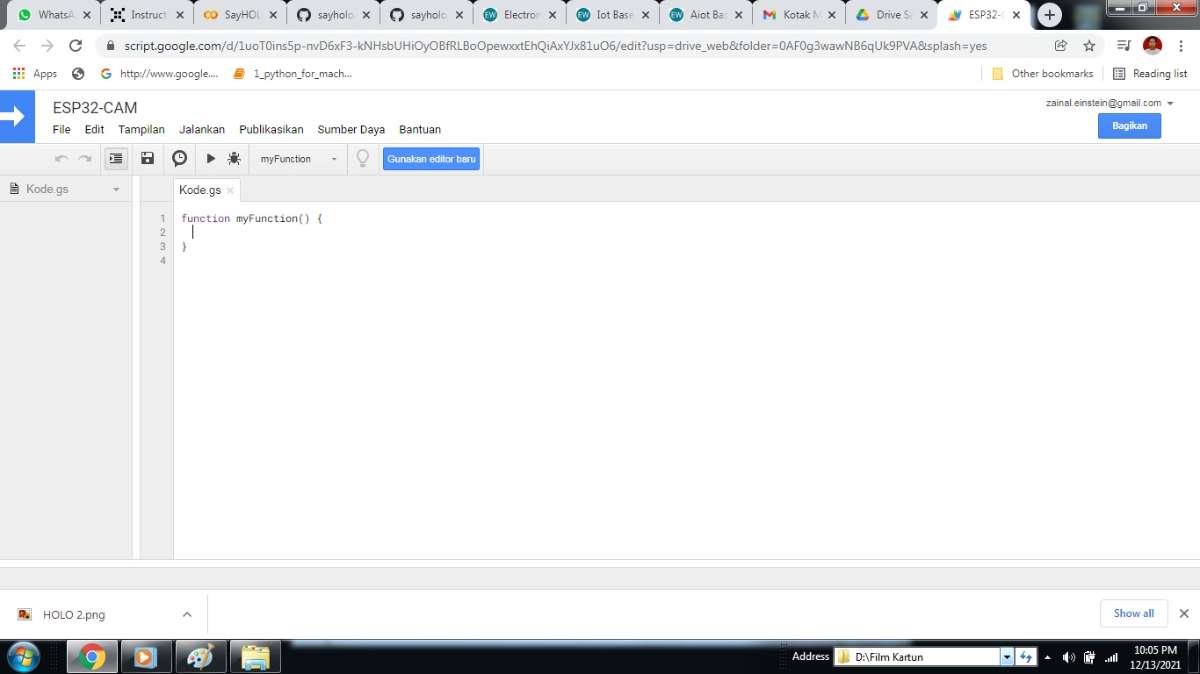
The new Google Script is created with default name “Untitled project”. You can rename this Google Script File to any name of your choice. In my Case, I have renamed it to “ESP32-CAM”.
Step 3:
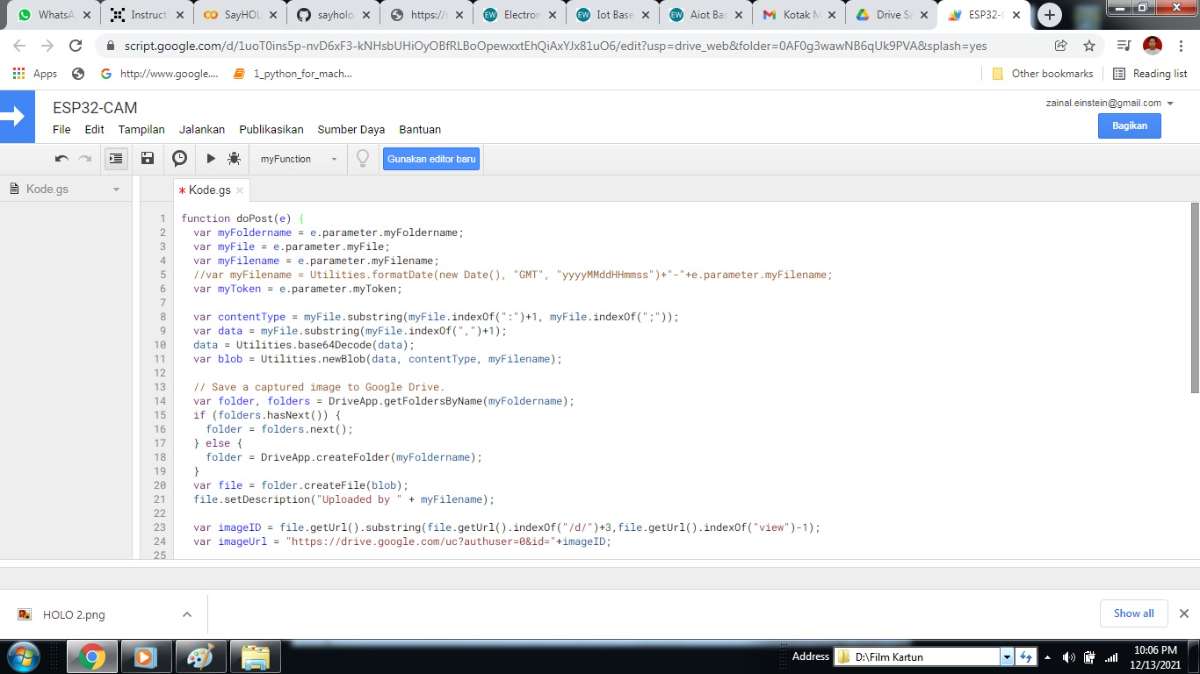
Now download and paste the Google script code given below and replace the String myScript in place of the variable script in the code.
B. Getting Google Script ID
1. Go to Publikasikan and select “Terapkan sebagai aplikasi web”.
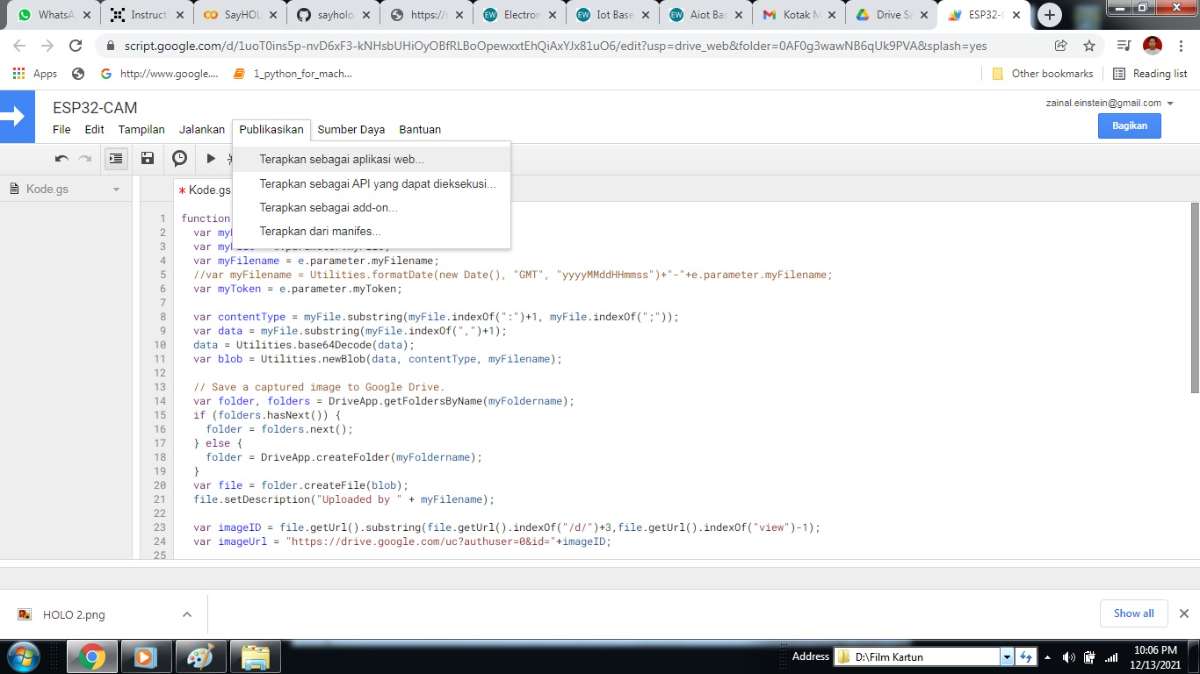
2. Select the “Project version” as “New”. Select “email id” in the “Execute the app as” field. Choose “Anyone, even anonymous” in the “Who has access to the app” field. And then Click on “Deploy”.
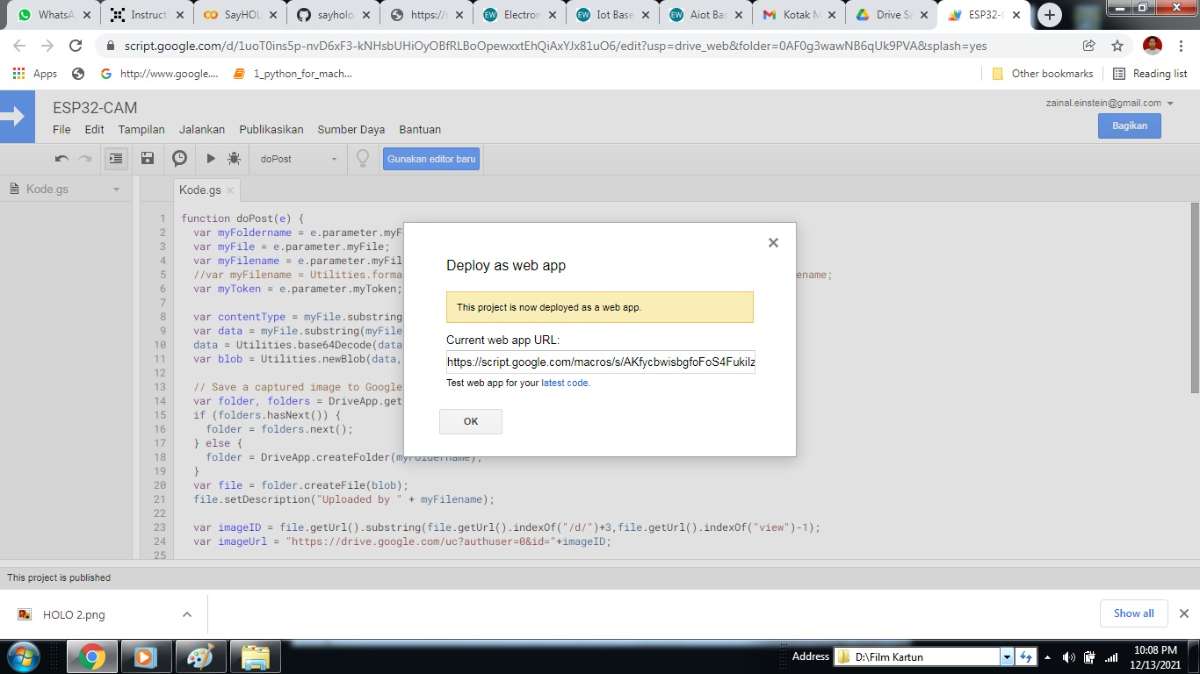
3. In the next step, provide all the required permissions. Now you can see a new screen with a given link and named as “Current web app URL”. This URL contains Google Script ID. Just copy the URL and save it in notepad for future use.
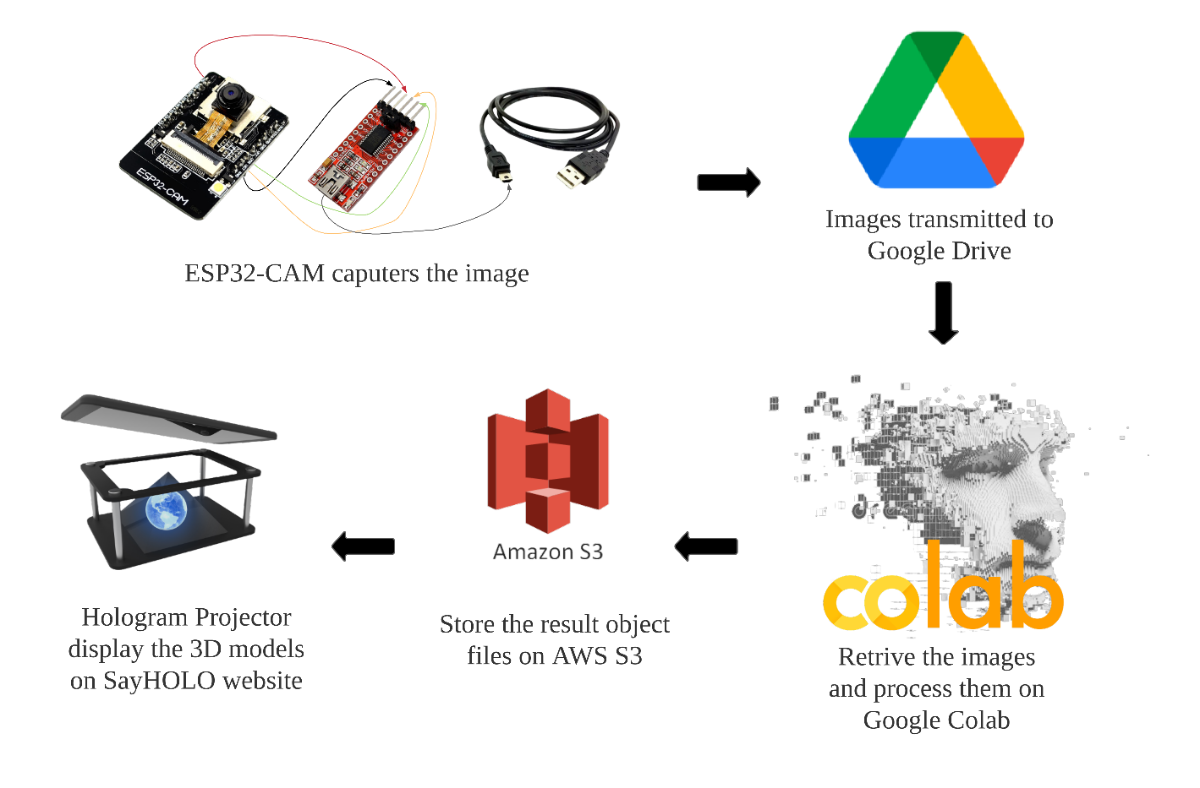
C. IoT based ESP32-CAM for Generate 3D Human Model
Schematic for Generate 3D Human Model over IoT is given below:
D. Programming ESP32-CAM
Use Arudino IDE to program your ESP32-CAM
The code can be found here on SayHOLO Github >>> IMG_To_Google_Drive
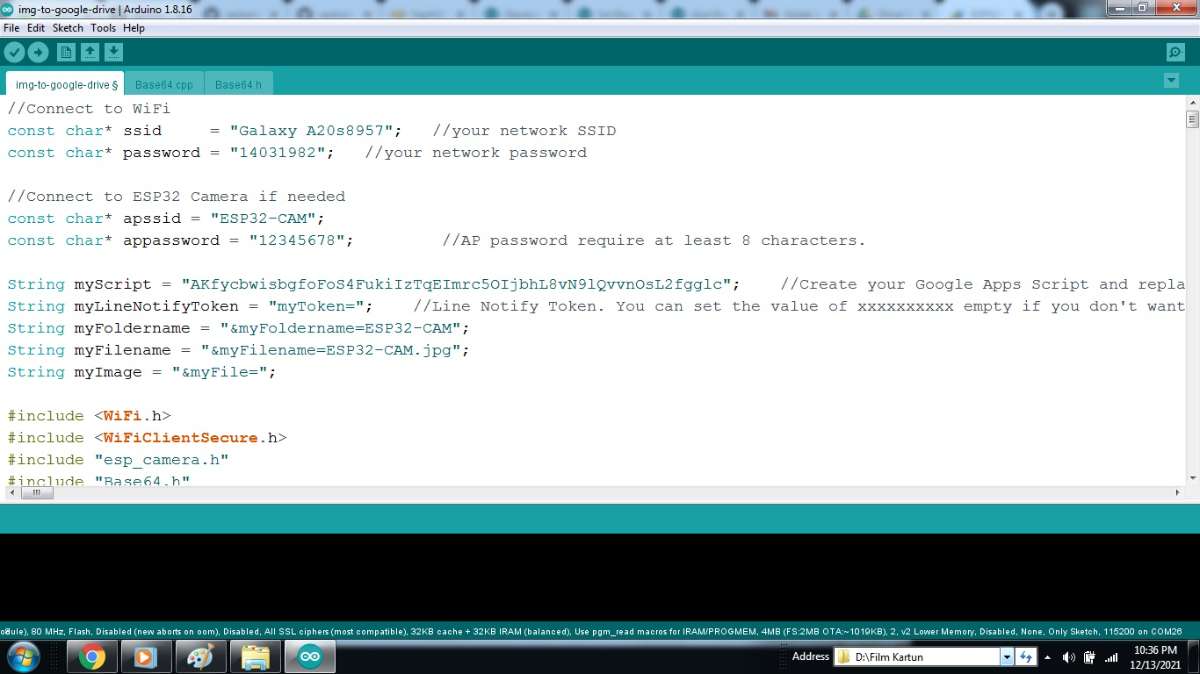
* To program your ESP32-CAM, make your to use jumper or wires to connect IO0 & GND. Remove it when you finish compiling.
Make sure you update the following feature and replace with your own:
const char* ssid     = "xxxx";   //your network SSID
const char* password = "xxxx";   //your network password

String myScript = "/macros/s/xxxx/exec";  //Create your Google Apps Script and replace the "myScript" path.
For "myScript", open Google APP Script and create a new project

Place your code with "Google_APP_Script.gs" found on Github and deploy your script to obtain the token ID.

*Please remember to make the script public such that your ESP32-CAM can transmit to Google Drive properly.

Once everything has been setup, you should be able to see your images taken by ESP32-CAM in your Google Drive.
For "myScript", open Google APP Script and create a new project
Place your code with "Google_APP_Script.gs" found on Github and deploy your script to obtain the token ID.
*Please remember to make the script public such that your ESP32-CAM can transmit to Google Drive properly.
Once everything has been setup, you should be able to see your images taken by ESP32-CAM in your Google Drive.
E. Generate 3D Human Model
Here comes to the exciting parts - 3D image formation
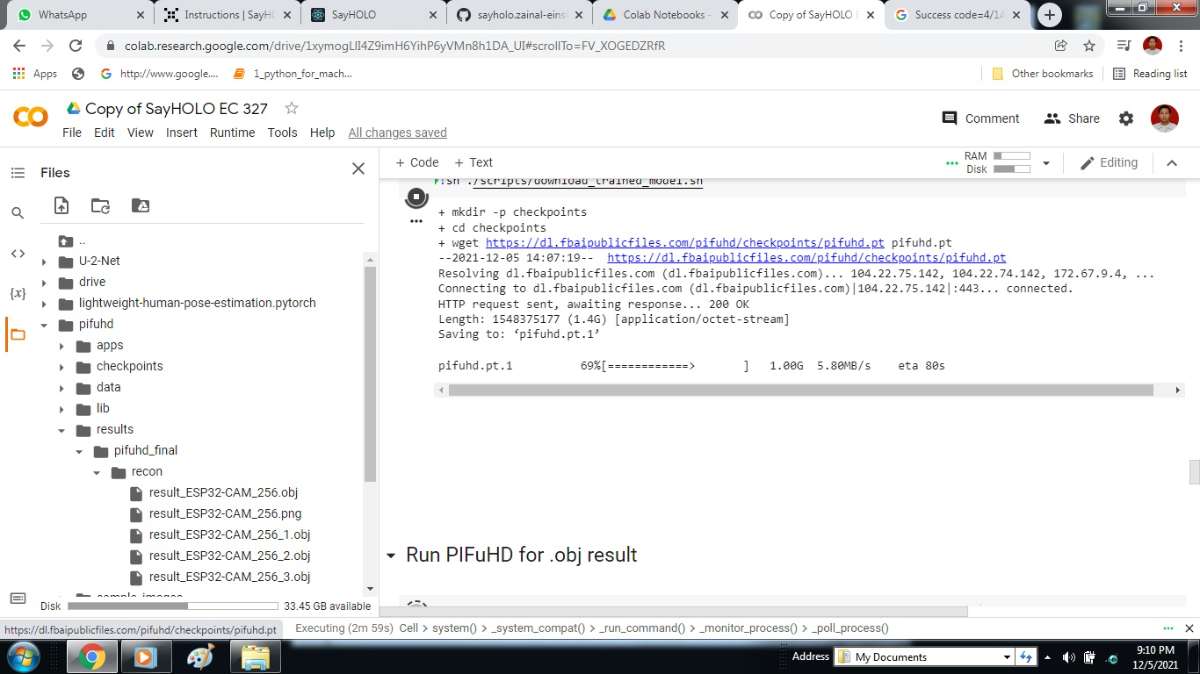
* Since I am using MacBook Pro to run the algorithm, it does not support certain library that require NVIDIA GPU. For alternative choose, Google Colaboratory can solve the issue.
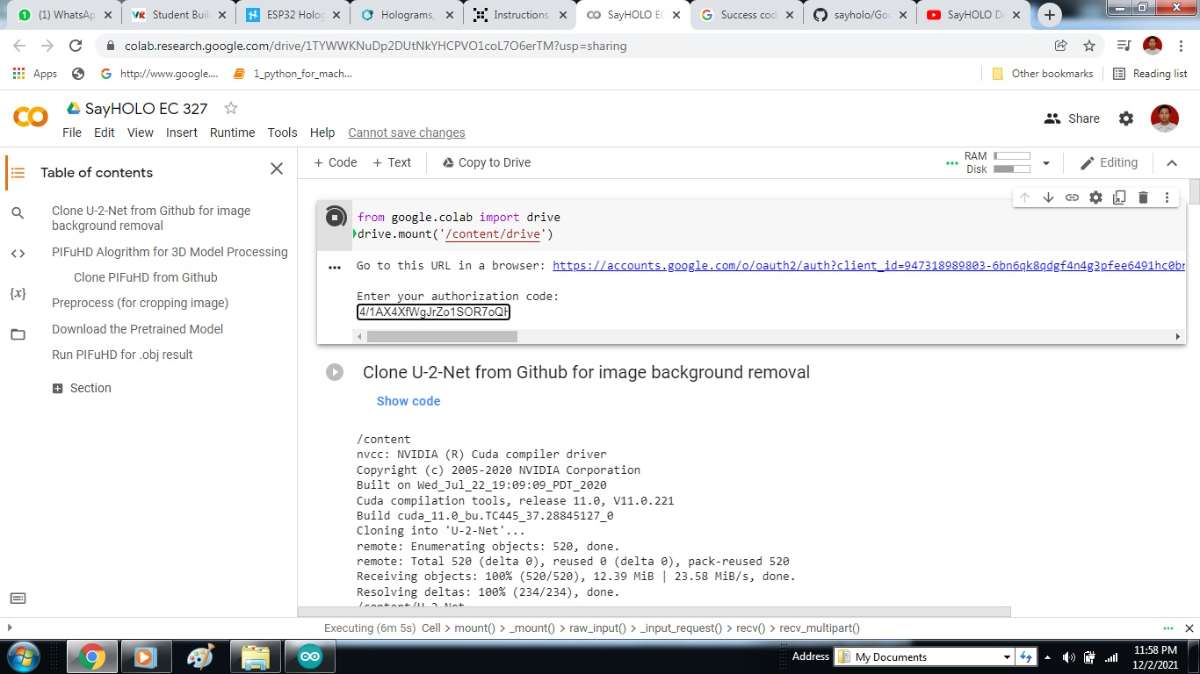
Open SayHOLO Google Colab ( SayHOLO ) & save it to our own google account.

First of all, run first line to connect Google Colab with your Google account.
Then run the rest of the program to generate 3D human model. Lets see whats going on with the Python script:
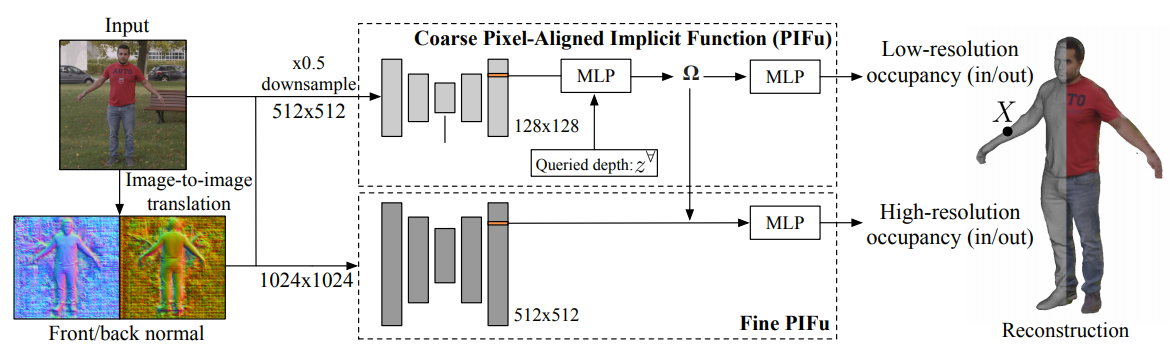
- The first algorithm the image run through is called U-2-Net. Basically, it removes the background and leaving the image of the person only. This step is helpful for generating more accurate 3D model.
- The second algorithm is call PIFuHD developed by people at University of Southern California, Facebook Reality Labs, and Facebook AI Research. After the 2D image has run through PIFuHD, it will generate 3D object file.
- After the object file has successfully generated, it will be modified and transmitted to AWS S3. For simplicity, I have created my own cloud storage on AWS S3 but feel free to change it to your if you prefer.
Tips: The background removal algorithm deal with clear background. If your background is too complicated, the algorithm might not be able to generate clear images. PIFuHD generate better 3D model if the image contains the whole body picture; half of your body's picture usually leads to disastrous results.