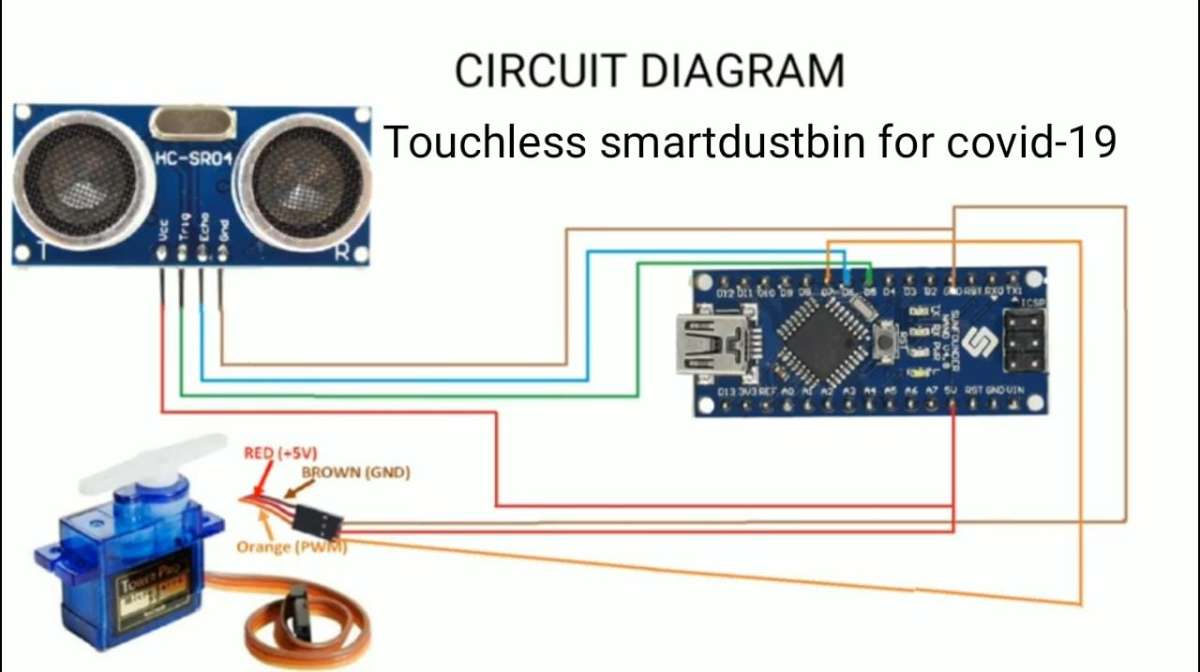
Circuit Diagram
Video
Code
#include <Servo.h>   //servo library
Servo servo;
int trigPin = 5;
int echoPin = 6;
int servoPin = 7;

long duration, dist, average;
long aver[3];   //array for average


void setup() {
    servo.attach(servoPin);
    pinMode(trigPin, OUTPUT);
    pinMode(echoPin, INPUT);
    servo.write(0);
    delay(1000);
    servo.detach();
}

void measure() {
digitalWrite(trigPin, LOW);
delayMicroseconds(5);
digitalWrite(trigPin, HIGH);
delayMicroseconds(15);
digitalWrite(trigPin, LOW);
pinMode(echoPin, INPUT);
duration = pulseIn(echoPin, HIGH);
dist = (duration/2) / 29.1;
}
void loop() {
  for (int i=0;i<=2;i++) {
    measure();
   aver[i]=dist;
    delay(50);
  }
 dist=(aver[0]+aver[1]+aver[2])/3;
if ( dist<50 ) {
 servo.attach(servoPin);
  delay(1);
 servo.write(90);
 delay(5000);
 servo.write(0);
 delay(1000);
 servo.detach();
}
}
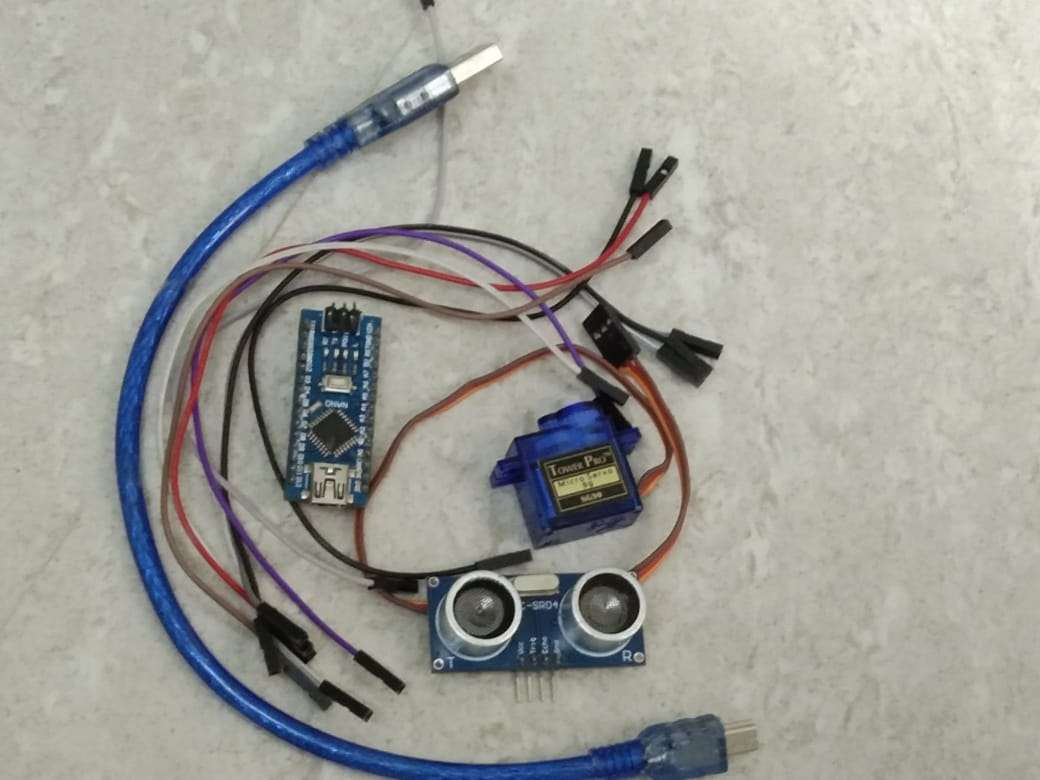
1.Compile and Upload the code to the Arduino-Nano board using arduino software.
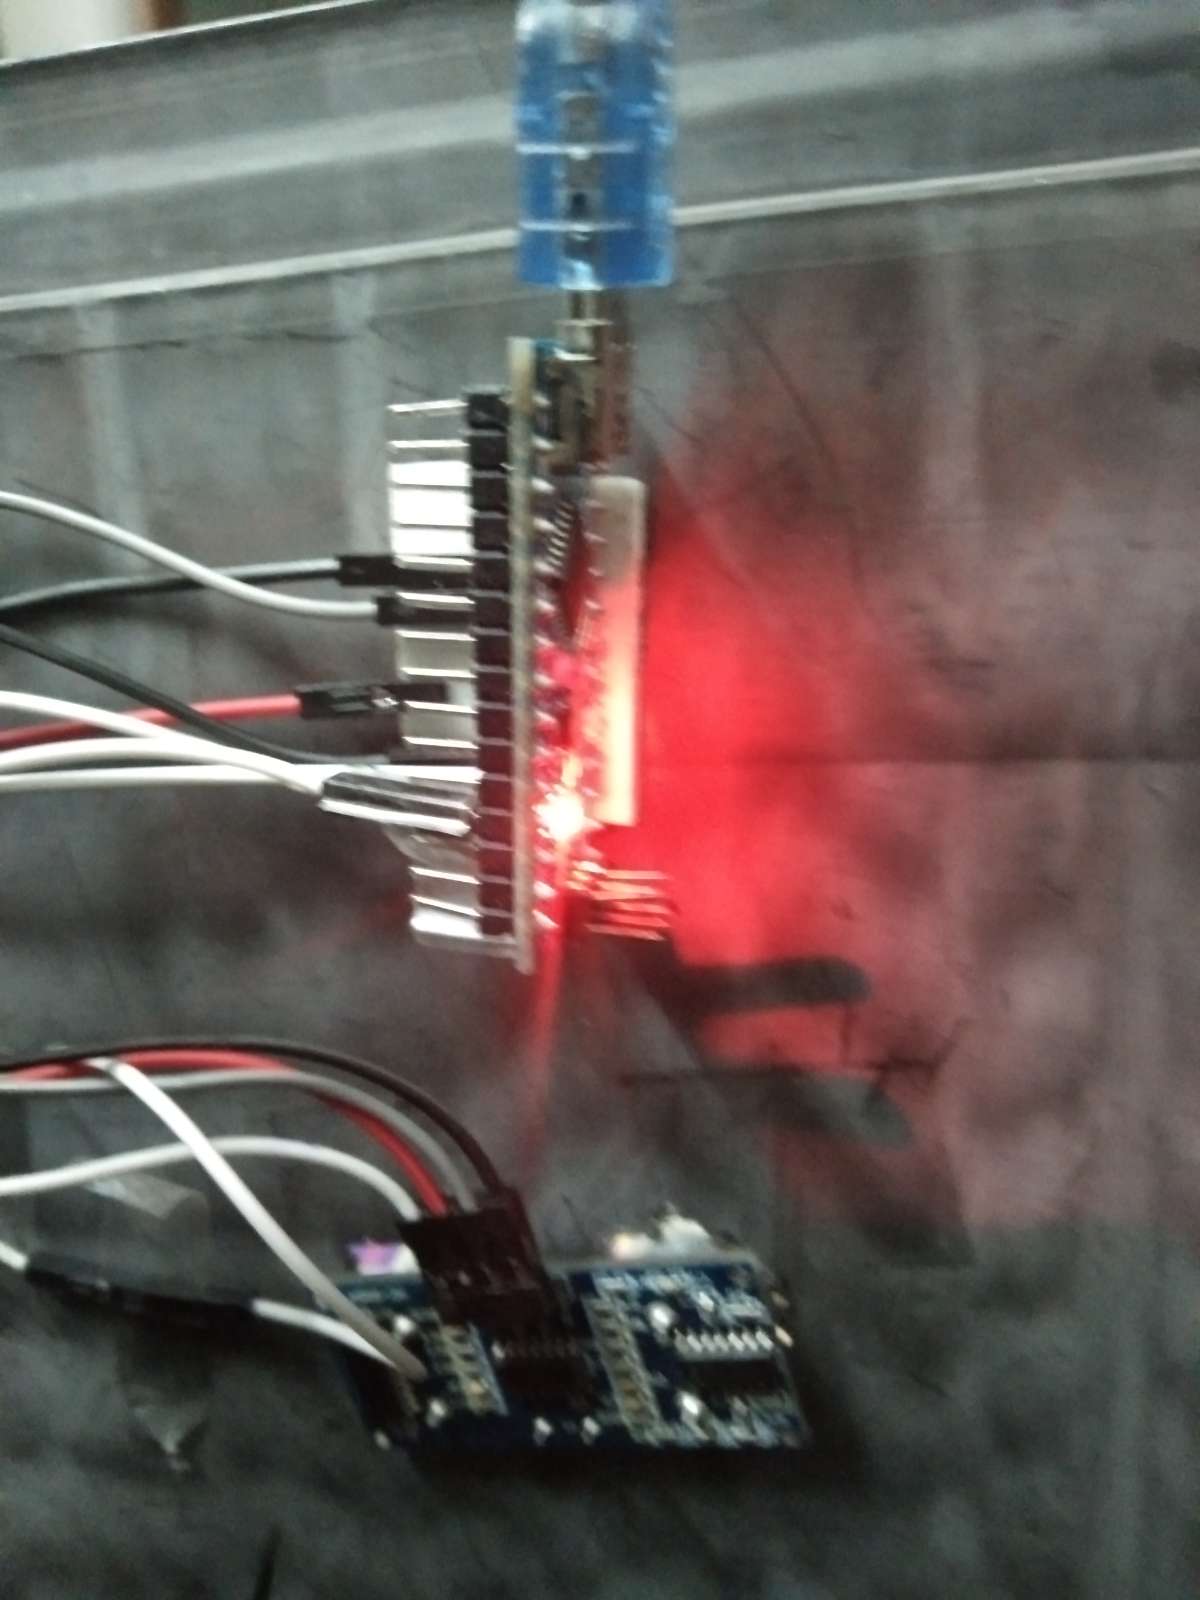
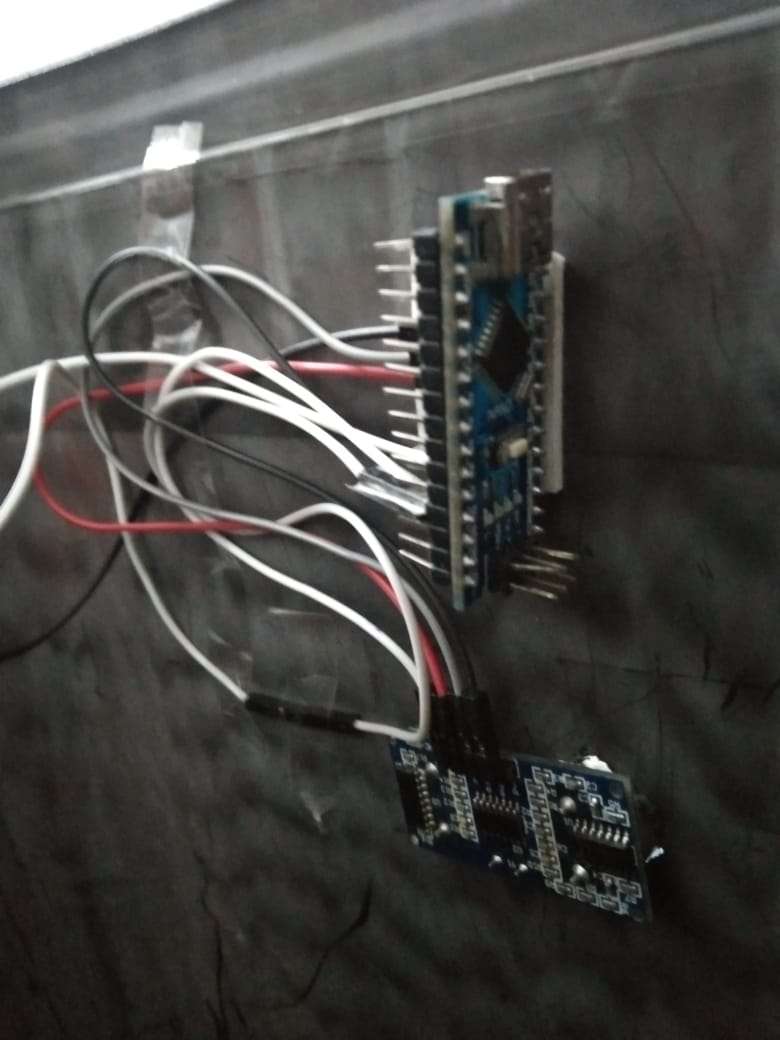
2.In a ultrasonic sensor connect the jumper wire to trig,echo,vcc,gnd.
3.In a Servomotor connect the jumper wire to 5V,GND,PWM.
4. Arduino and ultrasonic sensor connection:
- Trig-D5
- echo-D6
- GND-GND
- Vcc-5V
5. Arduino and Servomotor Connections:
- PWM-D7
- GND-GND
- +5V-5V
6.Connect the powerbank to the Arduino board for the supply.