
Let's build this robot
step 1 : Gather all the components:-
Look at the components above and gather it.Make sure you have all the components to make this robot.
Step 2 : make the body parts:-
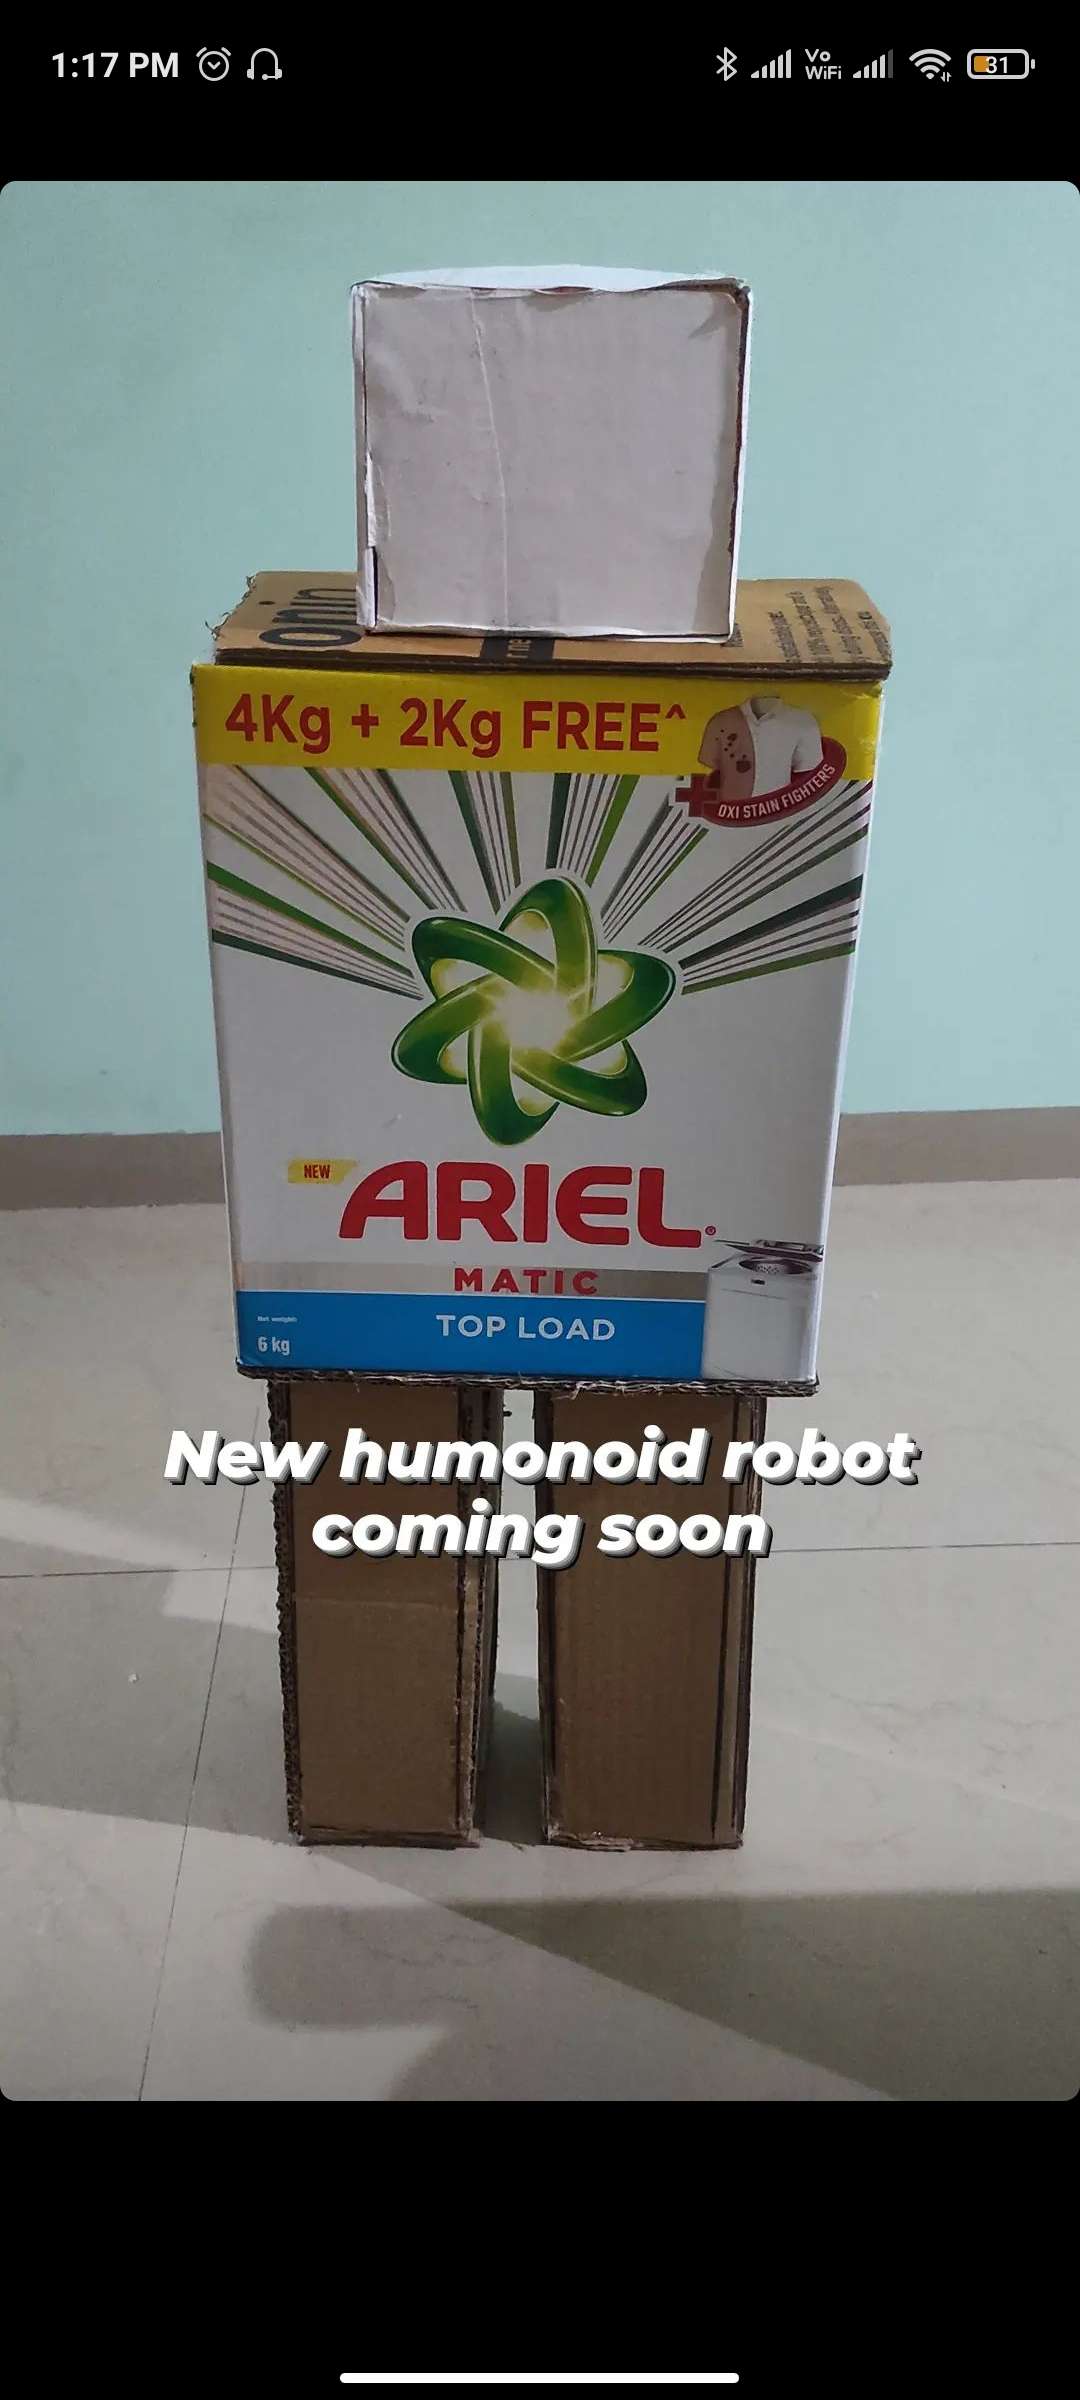
These are the boxes i am going to use in my project.
It contains of head,stomach,legs.
Step 3 : Stick the legs:-
Now stick the cardboard pieces together as shown in the above image.Use hot glue gun to stick the legs and make a hole in one of the leg on both the sides for passing the wires of the motor driver.
Step 4 : Attach servo motors:-
Now attach the servo motors on the stomach.Attach it on both the sides as shown in the image.
.jpg)
Use the help of screws to tight it and fit it perfectly.
Step 5 : making the base:-
I have used MDF board for the wheels.
Cut it in the proper dimension as the size of your robot.
Step 6 : attaching Bo motors :-
attach all the Bo motors on the MDF board.Use hot glue gun to stick it and then tight it further using zip ties.
Step 7 : attach wheels :-
Attach wheels on the Bo motors.
Step 8 : stick the legs:-
Take the appropriate measurements of the MDF board and stick the legs on the middle of the MDF.
Step 9 : Stick the body :-
Then stick the body on top of the leg, use hot glue gun 🔫 to stick it.
Step 10 : make space for the electronics :-
Now after sticking these parts cut square with a door mechanism in the box.
Step 11 : make circuit for movement :-
Now we need to make the circuit.So for this one we need the motor driver.In this you need to simply connect the motors to the motor driver.Also don't forget to remove some jumper pin from the motor driver and extend it till the body so we can connect it to the Arduino board.
Step 12 : fix the Arduino:-
Now fix the Arduino board in the space we made for electronics,stick it properly.Also attach Bluetooth module on it and connect it with jumper cables.you can follow the circuit diagram to make the connections.
Step 13 : connect the servo motors :-
Now connect the servo cable to the Arduino with the help of the circuit diagram given.Before connecting it check your servo motor with a servo tester ,otherwise it will happen that you have made all the connections and fixed it permanently and then you will know that this particular servo motor is not working.You will have a lot of problems then.
Step 14 : connect the motor driver with Arduino :-
Now the jumper wires which we had connected to the motor driver now pass it through the legs or any way you want because you just need to hide it.Then connect it to Arduino according to the circuit diagram.
Step 15 : upload the code :-
Now upload the given code and then download the apk file for the app to drive this robot.After doing this test the robot and check whether all the parts are working or not.if not then try trouble shooting it.
Step 16 : finishing :-
Now our robot is completed.so now we need to cover our robot with colour papers.
You can choose and colour paper you want and can design however you like.
Here's the designing of my robot:-
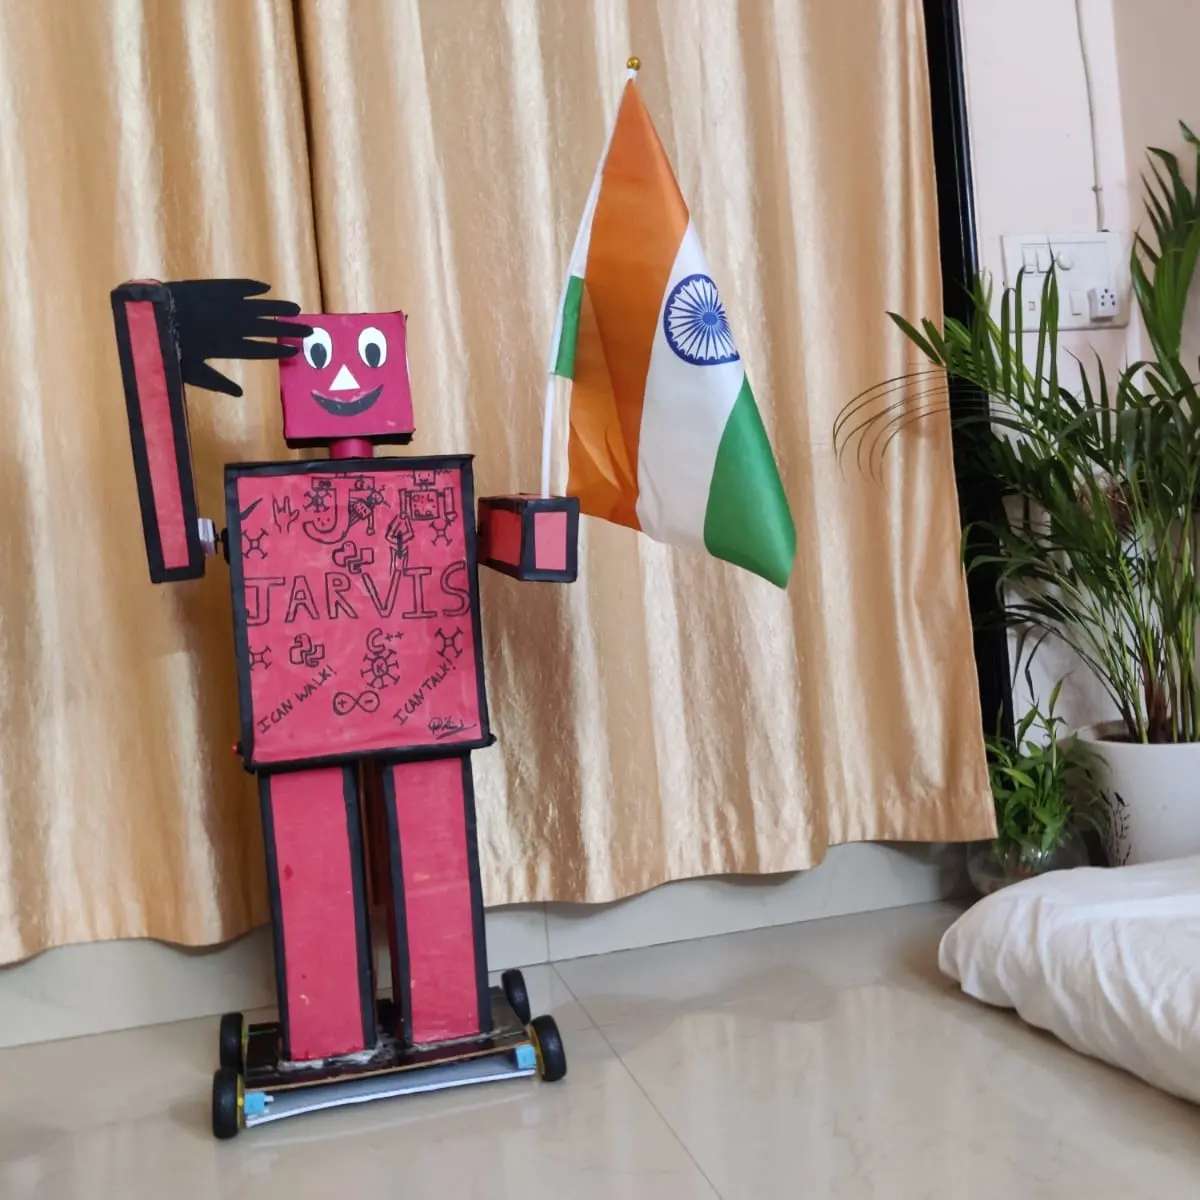
Independence day:-
I have add some more features in this robot for the independence day which you can see.He can salute as well as wave our nation's flag.
Now here's a short video of independence day as well as the demonstration this robot.
Thank you for your support.I hope you liked my project.
Bye 👋👋.