Introduction
Wire sequence checking is important in an wire harness making industry. So, this is a version of wire sequence checker with a continuity checker.
The working of the project is simple, first a sample wire has to be inserted into the detection box, which has a webcam on top. now the wire will show up on the screen, it will detect the number of wires and its colours. Once sample wire is inserted, press 'C' on keyboard to calibrate the program according to the sample wire. Now we can insert any wire that has to be tested, and it will show 'Correct Sequence' or 'Incorrect Sequence'.
When the program is calibrated using the sample wire, the continuity tester, which is based on Arduino Nano also adjusts itself to the number of wires in the sample.
See the project in action below:
Prerequisites
The program is made in python, the libraries used are opencv, numpy and pyserial. Ardunio is also used, If you have all of the previous mentioned softwares and libraries installed, you can skip this section. The libraries have to be installed first. Follow along for the installation of libraries.
- Open Command Line
- Type "pip install numpy"
- Type "pip install opencv-python"
- Type "pip install pyserial"
Now the required libraries are installed.
Next we require Arduino, install it from the official website.
Step 1: Building the Detection Box.
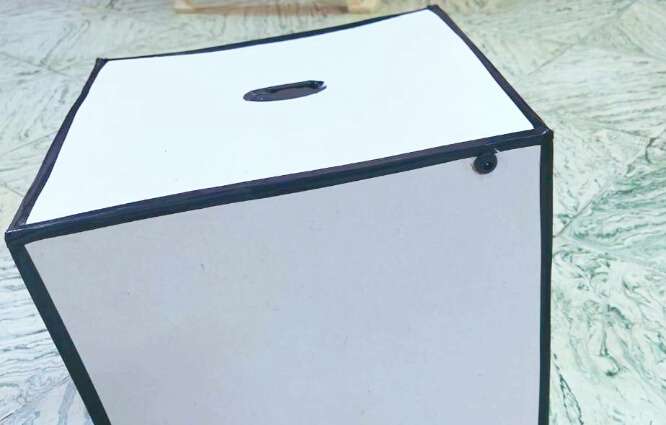
This is an easy part. First we have to build a cardboard cube as shown below.
The sides should be of one feet and the front side should be half open. Preferably use a white coloured cardboard, or use white paper to make the inside reflective. Make a hole on the top for the lens of the camera. Attach few LED strips around the hole for the lens, and cover it with some white paper to diffuse the light. Use the image below for reference.
.jpg)
Now make a small hole on the back of the for the power adaptor socket as shown below.
Place a webcam over the hole for the lens.
Now we are done with the detection box.
Step 2: Making the Continuity Tester.
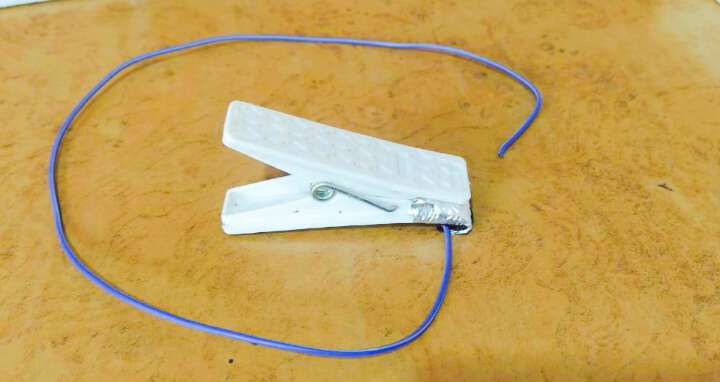
Now we have to build some clips to hold the wire. Alligator clips can be used or a clothes peg can also be used. If clothes peg is used, wrap some aluminum foil around the front of the peg. Stick a wire to it using insulation tape. Use the photo below for reference.
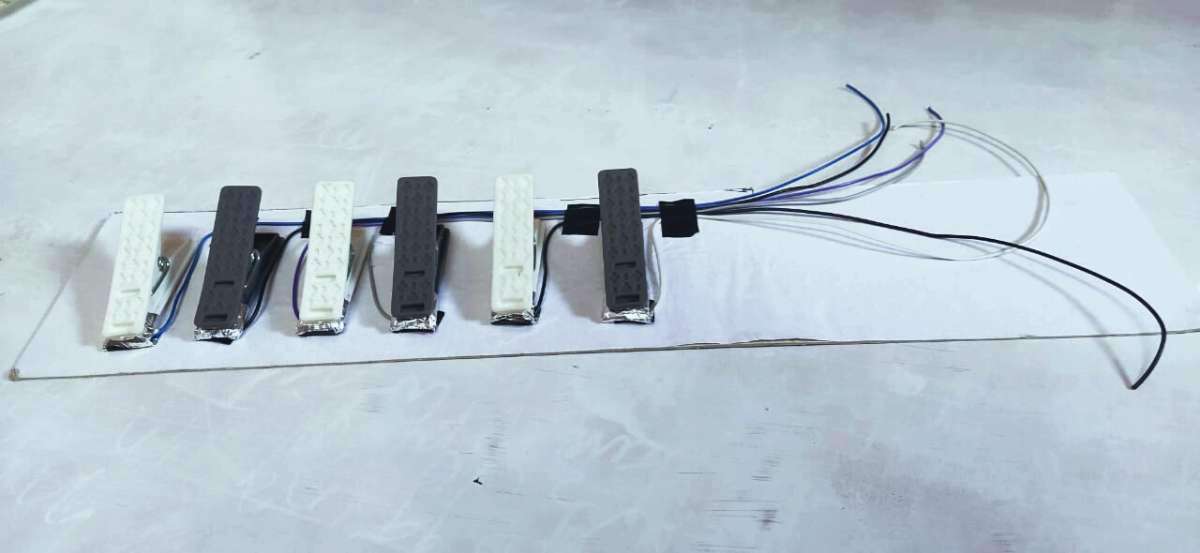
Create multiple of this setup. Since we are making one which will test up to 6 wires, we will be making 6 of these, use the reference show below.
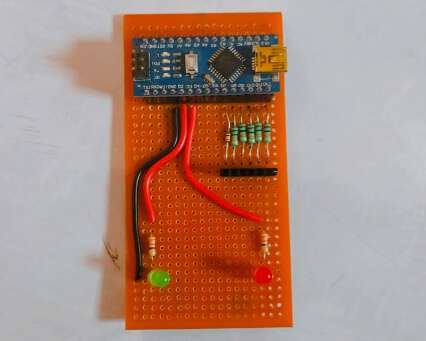
Now create the PCB, solder the components according to the circuit diagram shown below.
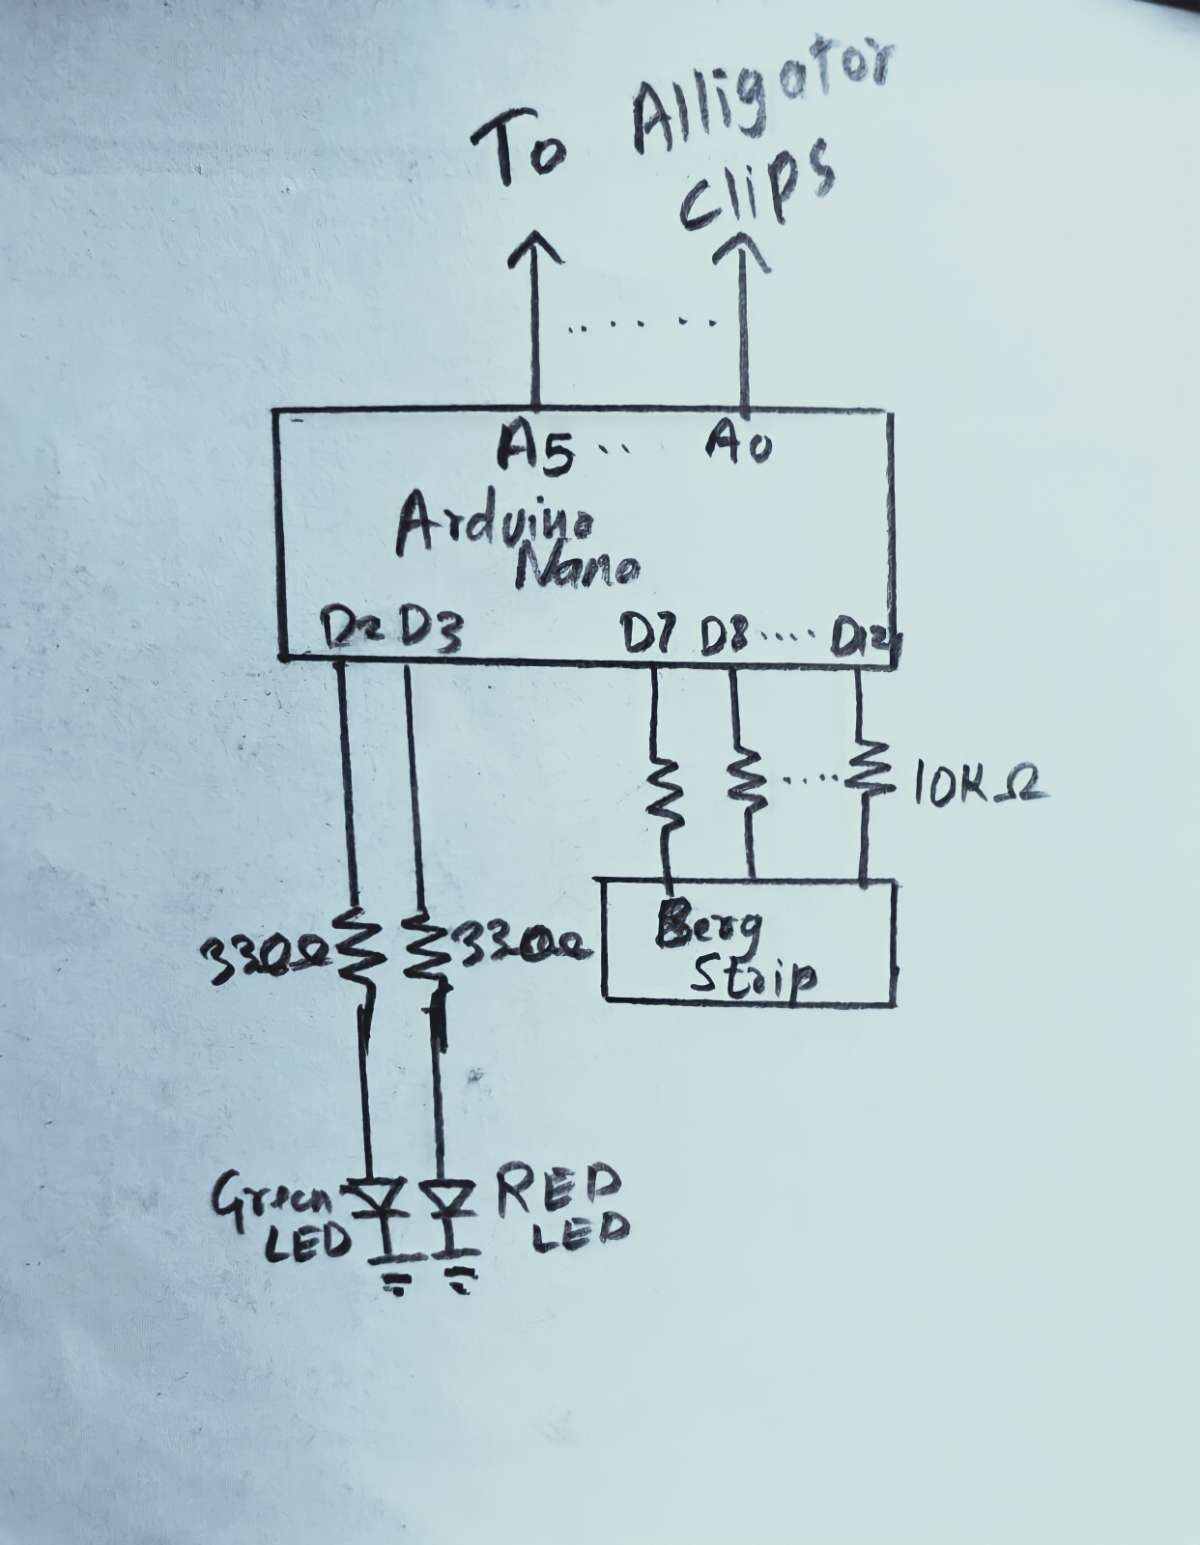
The final PCB should look like the photo shown below.
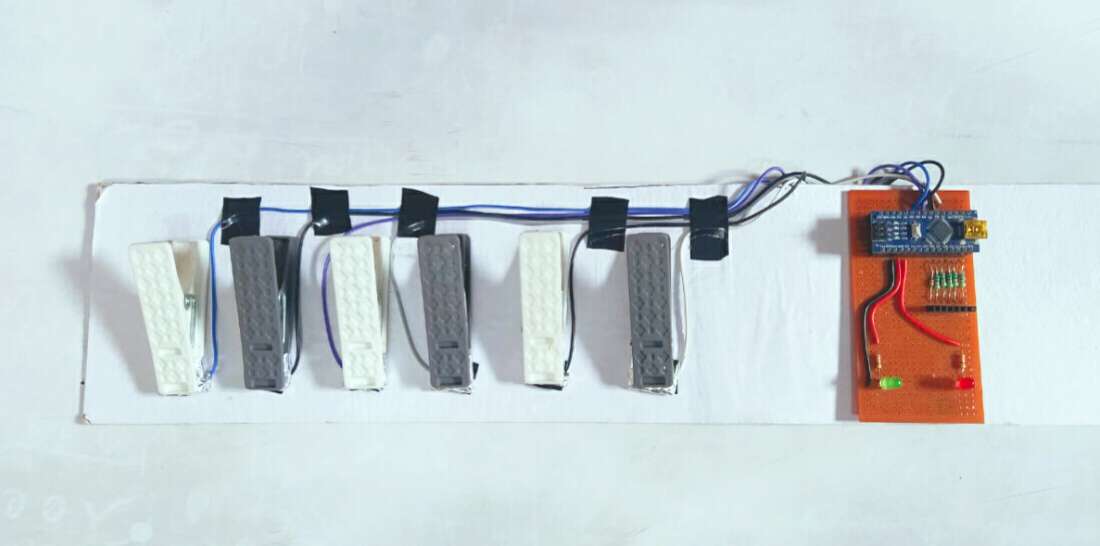
Now solder the wires of the clothes peg to the PCB and upload the Arduino Code from the attached zip file. The whole assembly of continuity checker should look like the following photo.
Step 3: Setting up PC
Now download the attached zip file, extract and open the 'program.py' file. Set the Video Camera index, the camera index should be 0 if you are using a PC, or 1 if you are using a laptop (as 0 will be for the inbuilt webcam of laptop).
Now open the 'cont_mon.py' and mention the Serial port there.
Now run the 'program.py' file, and the project is completed successfully!