
In this blog, we'll learn how to monitor live Tesla Stock on RoundyFi,
RoundyFi Introduction
RoundyFi Is an ESP-12E MCU capable of running at 80 or 160MHz with built-in support for 802.11b/g/n Wi-Fi. The ESP-12E is particularly praised for its efficiency and ease of use.
Let's get started:
- Download and install Arduino IDE
- Open Arduino IDE
- Now install the Esp8266 board, for this go to file -> preferences

* Paste two URLs in 'additional board manager urls'
http://arduino.esp8266.com/stable/package_esp8266com_index.json

https://dl.espressif.com/dl/package_esp32_index.json
It should look like this 
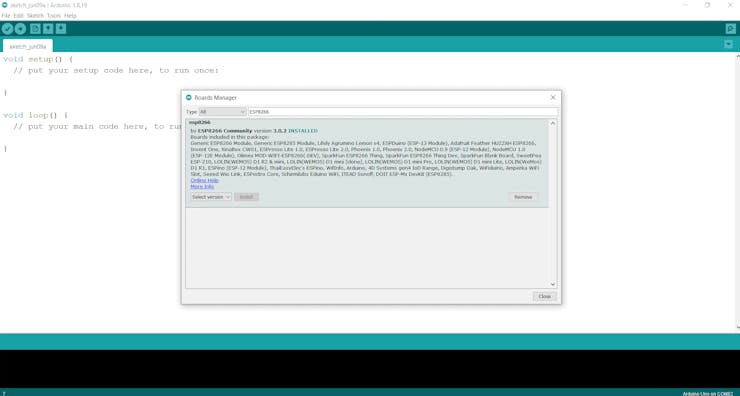
* Now install ESP8266 board, go tools -> boards -> board manager
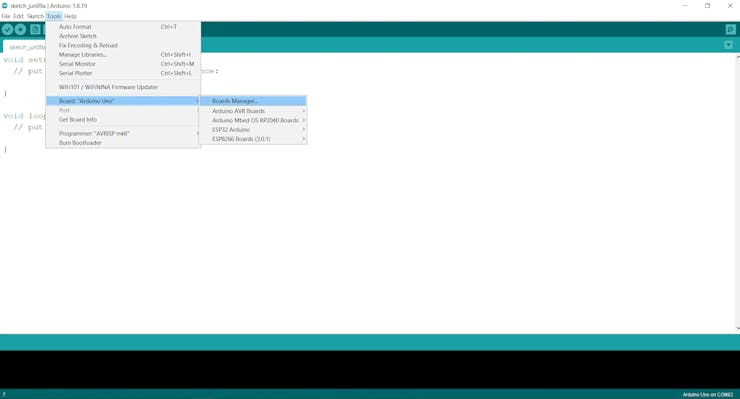
* Write ESP8266 in the search bar
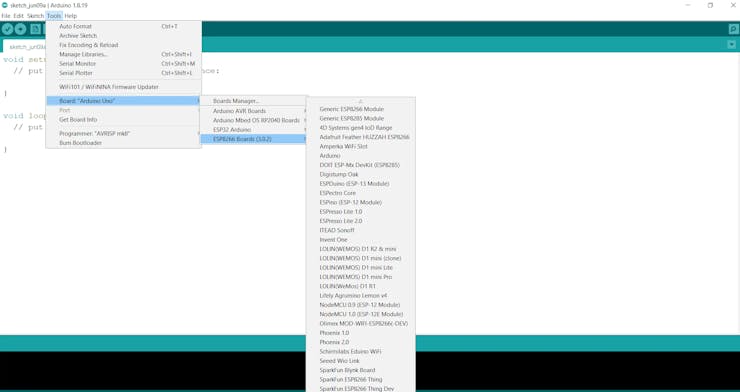
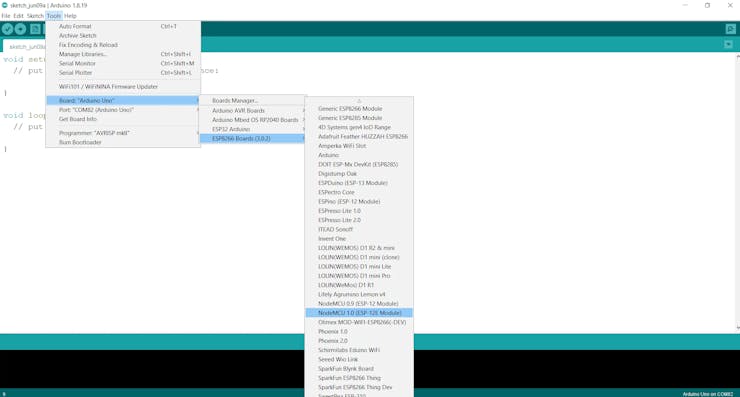
* Lets's check whether boards are installed or not, go to tools -> boards
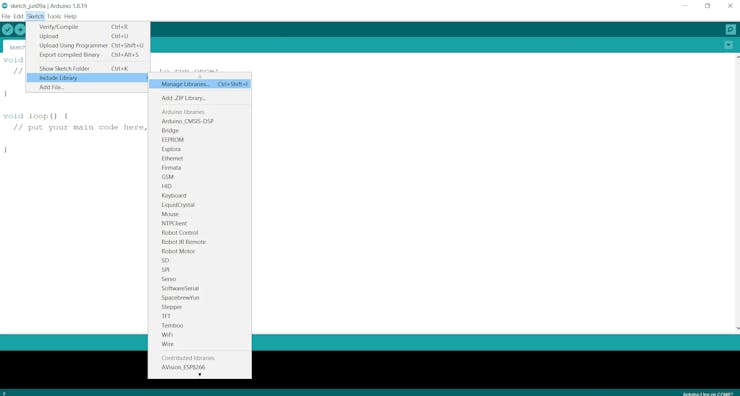
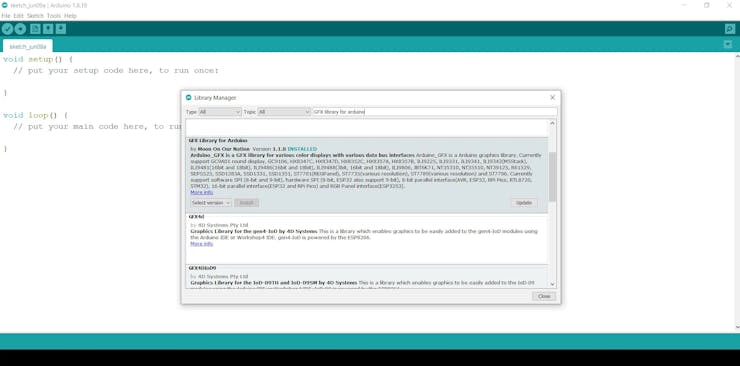
- Now go to sketch -> include library -> manage libraries
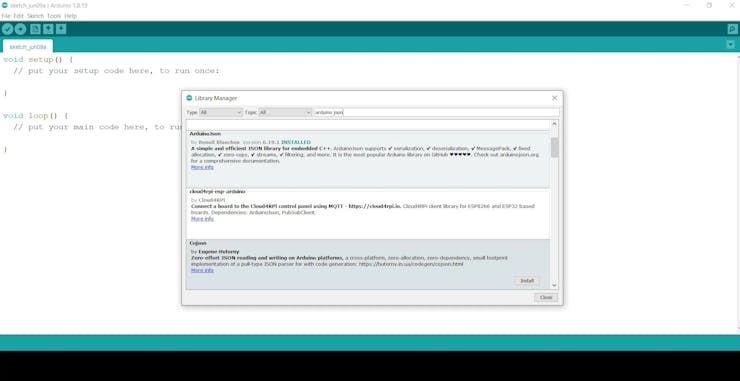
- Install all libraries which is mention below
- Choose Port and ESP8266 board from the board manager
open the.ino file in the /RoundyStockMonitor Directory. then simply upload the code and run the program by powering on the Roundy Fi
As a network is not found it should go into Access point mode and look like this
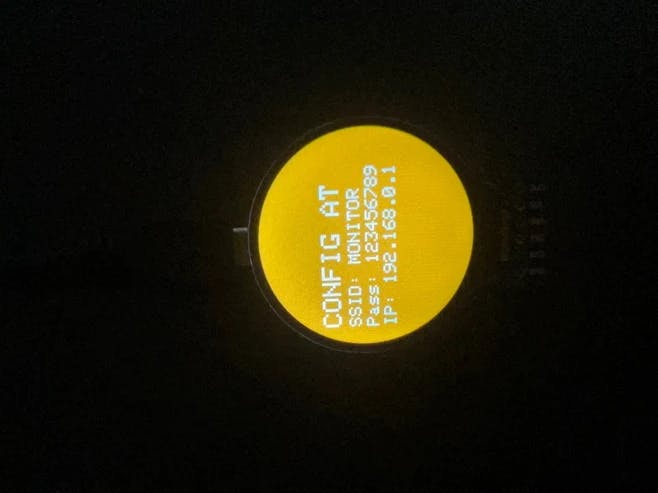
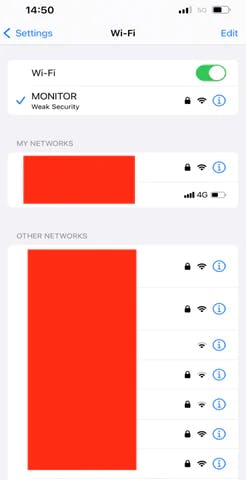
Then search for a network called Monitor and connect using the password 123456789 or the one displayed
Then go to the ip address shown on the screen and configure it to the local internet.
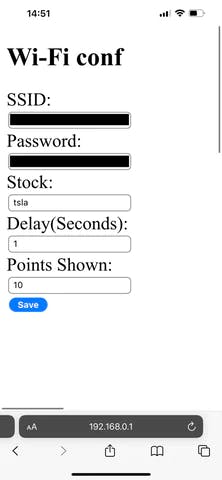
Once it has rebooted it should automatically connect and start showing stock data. For future configuration press the button at the back and it would show its current information
