Project Description: Refrigerator Inventory Tracker
Introduction
Managing refrigerated products such as cold drinks and perishable items efficiently is crucial to prevent spoilage and reduce waste. Traditional manual inventory methods are often inefficient and prone to errors, leading to overstocking or understocking, which results in financial losses. Our project aims to solve this problem by creating a Refrigerator Inventory Tracker that leverages Internet of Things (IoT) technology for real-time, automated inventory management. The end result is a system that enhances efficiency, reduces waste, and ensures timely restocking of temperature-sensitive goods.
Step-by-Step Build Process
1. Assemble Components
First, gather the required components for the project:
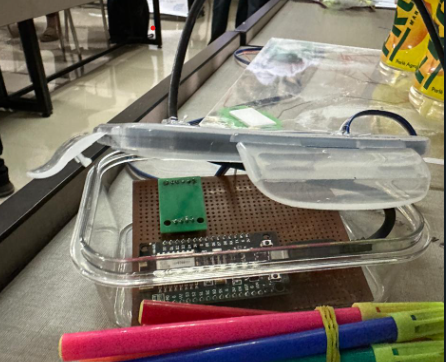
- NodeMCU ESP-12E microcontroller
- HX711 load cell amplifiers
- Load cells
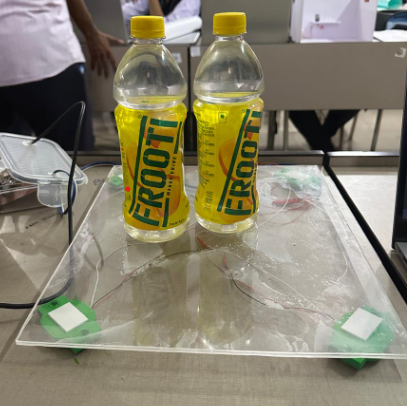
- Acrylic board
- Jumper wires
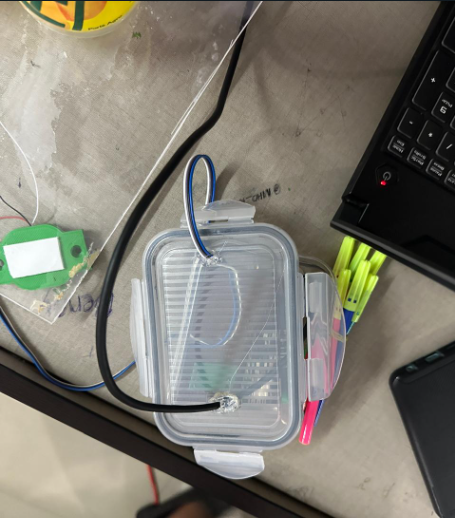
- Container
2. Connect the Hardware
- Connect the load cells to the HX711 amplifiers.
- Connect the HX711 amplifiers to the NodeMCU ESP-12E for power and data transmission.
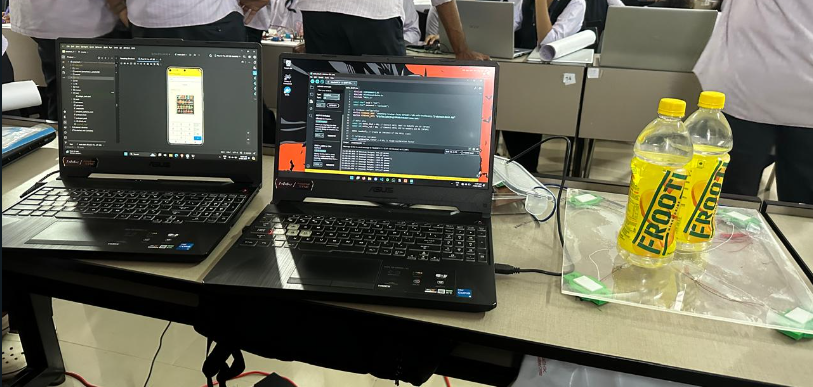
3.Develop Firmware
- Program the NodeMCU to read weight data from the HX711 amplifiers.
- Use the Arduino IDE to write and upload the code to the NodeMCU.
4. Test and Calibrate
- Ensure all hardware connections are secure and functional.
- Use known weights to calibrate the load cells for accurate weight measurements.
5. Create Mobile App
- Develop a mobile application using the Flutter framework.
- Integrate the app with Firebase to display real-time inventory data.
6. Integrate and Deploy
- Combine all components into a cohesive working system.
- Deploy the system in the refrigerated storage area and test its performance.
7. Document and Train
- Prepare user manuals and documentation for system setup and maintenance.
- Train users on how to operate and monitor the system effectively.
PICTURES